3
70923
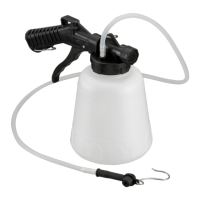
3) Start with wheel furthest from the master cylinder. Make sure bleeder screw
is clean and unrestricted. Mount the black rubber hose connector onto the
brake nipple on the first wheel. Make sure the adapter is firmly fitted to
bleeder and open the nipple about 1/4 turn counterclockwise. (Figure 2)
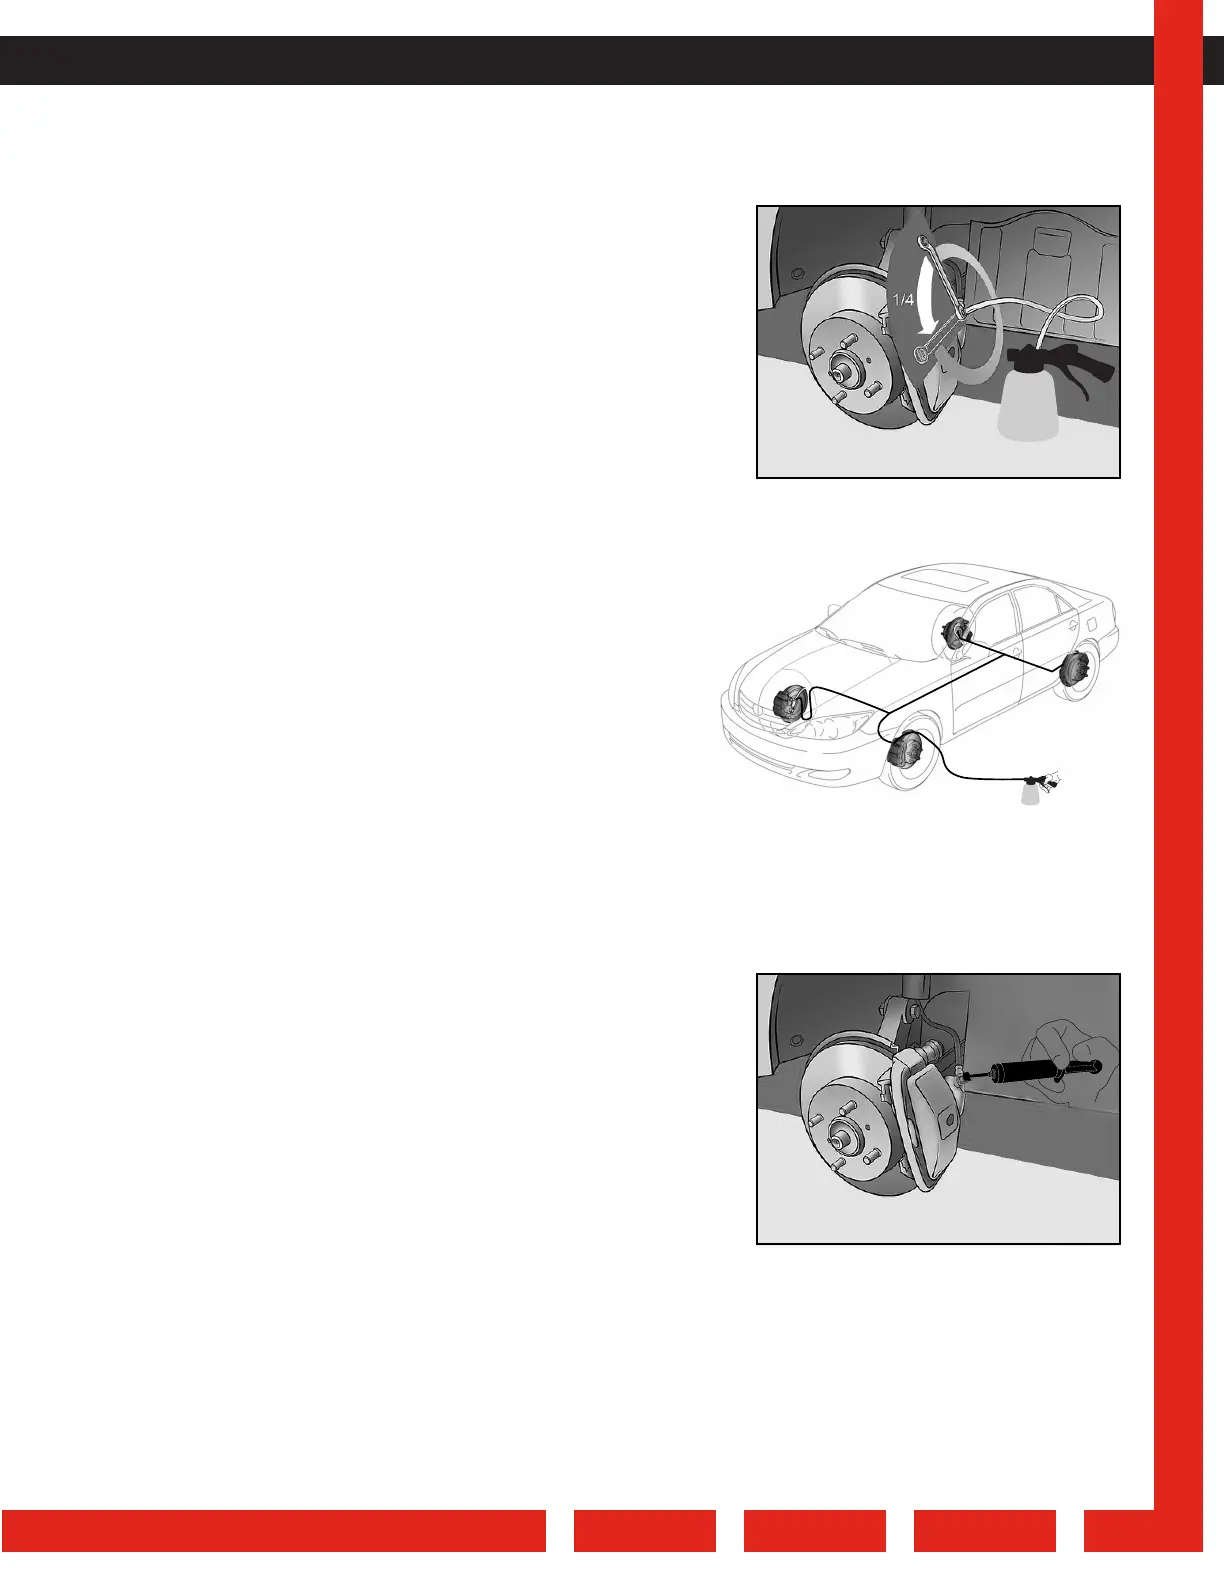
4) Activate the brake bleeder’s trigger. The vacuum created will draw the
brake fluid from the vehicle’s brake system. (Figure 3)
5) Check the level of the brake fluid in the reservoir and top off if necessary.
6) Continue to bleed the system and fill the reservoir until there are no air
bubbles visible in the clear hose.
7) Keep suction applied until bleeder screw is firmly seated so air cannot back
flow into system. Close the brake nipple and remove the rubber hose
connector from step 3.
8) Depress the trigger to remove brake fluid from the clear hose.
9) Repeat the process at all four wheels. In general, it is best to work from
the furthest wheel to the closest wheel from the master cylinder.
Changing the Brake Fluid Procedure
1) Repeat the brake bleeding procedure as described above until the master cylinder reservoir is at its minimum level. Fill the
reservoir with new brake fluid and continue to bleed the system. Check reservoir level regularly.
4) Apply anti-seize to the brake bleed nipples before and after the brake
bleeding procedure to eliminate the possibility of seized or broken
nipples when the brakes are next bled. (Figure 4)
2) When new fluid can be seen in the clear hose, tighten the brake nipple.
3) Repeat the process at all four wheels.
2) Connect the brake bleeder to a suitable air compressor. Make sure connection is
secure so that there is no loss in vacuum. Ensure a good and constant air supply
to tool.
WARNING: When brake bleeding and/or fluid changing is complete, test action of brake pedal to ensure that the brakes
are working before driving the vehicle.
Figure 2
Figure 3
Figure 4
 Loading...