Valve Service follow steps 1 – 7, & 13 - 19
TORQUE CHART
Torque
Pump Item Thread Tool Size (P/N) in lbs ft. lbs. Nm
3 Series Valve Plug 22mm 24mm Hex 475 40 53.9
Manifold Bolts 8mm 6mm Allen 215 18 24.5
Connecting Rod 6mm 10mm Hex 95 8 10.8
Plunger Retainer 5mm 4mm Allen 60 5 6.9
5 Series Manifold Bolts 8mm 6mm Allen 215 18 24.5
Connecting Rod 6mm 10mm Hex 95 8 10.8
Plunger Retainer 5mm 4mm Allen 60 5 6.9
7 Series Outer Manifold Bolts 8mm 6mm Allen 215 18 24.5
Inner Manifold Bolts 10mm 8mm Allen 475 40 53.9
Connecting Rod 6mm 10mm Hex 95 8 10.8
Plunger Retainer 5mm 4mm Allen 60 5 6.9
11 Series Manifold Nuts 12mm 19mm Hex 695 55 78.5
Connecting Rod 8mm 13mm Hex 215 18 24.5
Plunger Retainer 5mm 4mm Allen 60 5 6.9
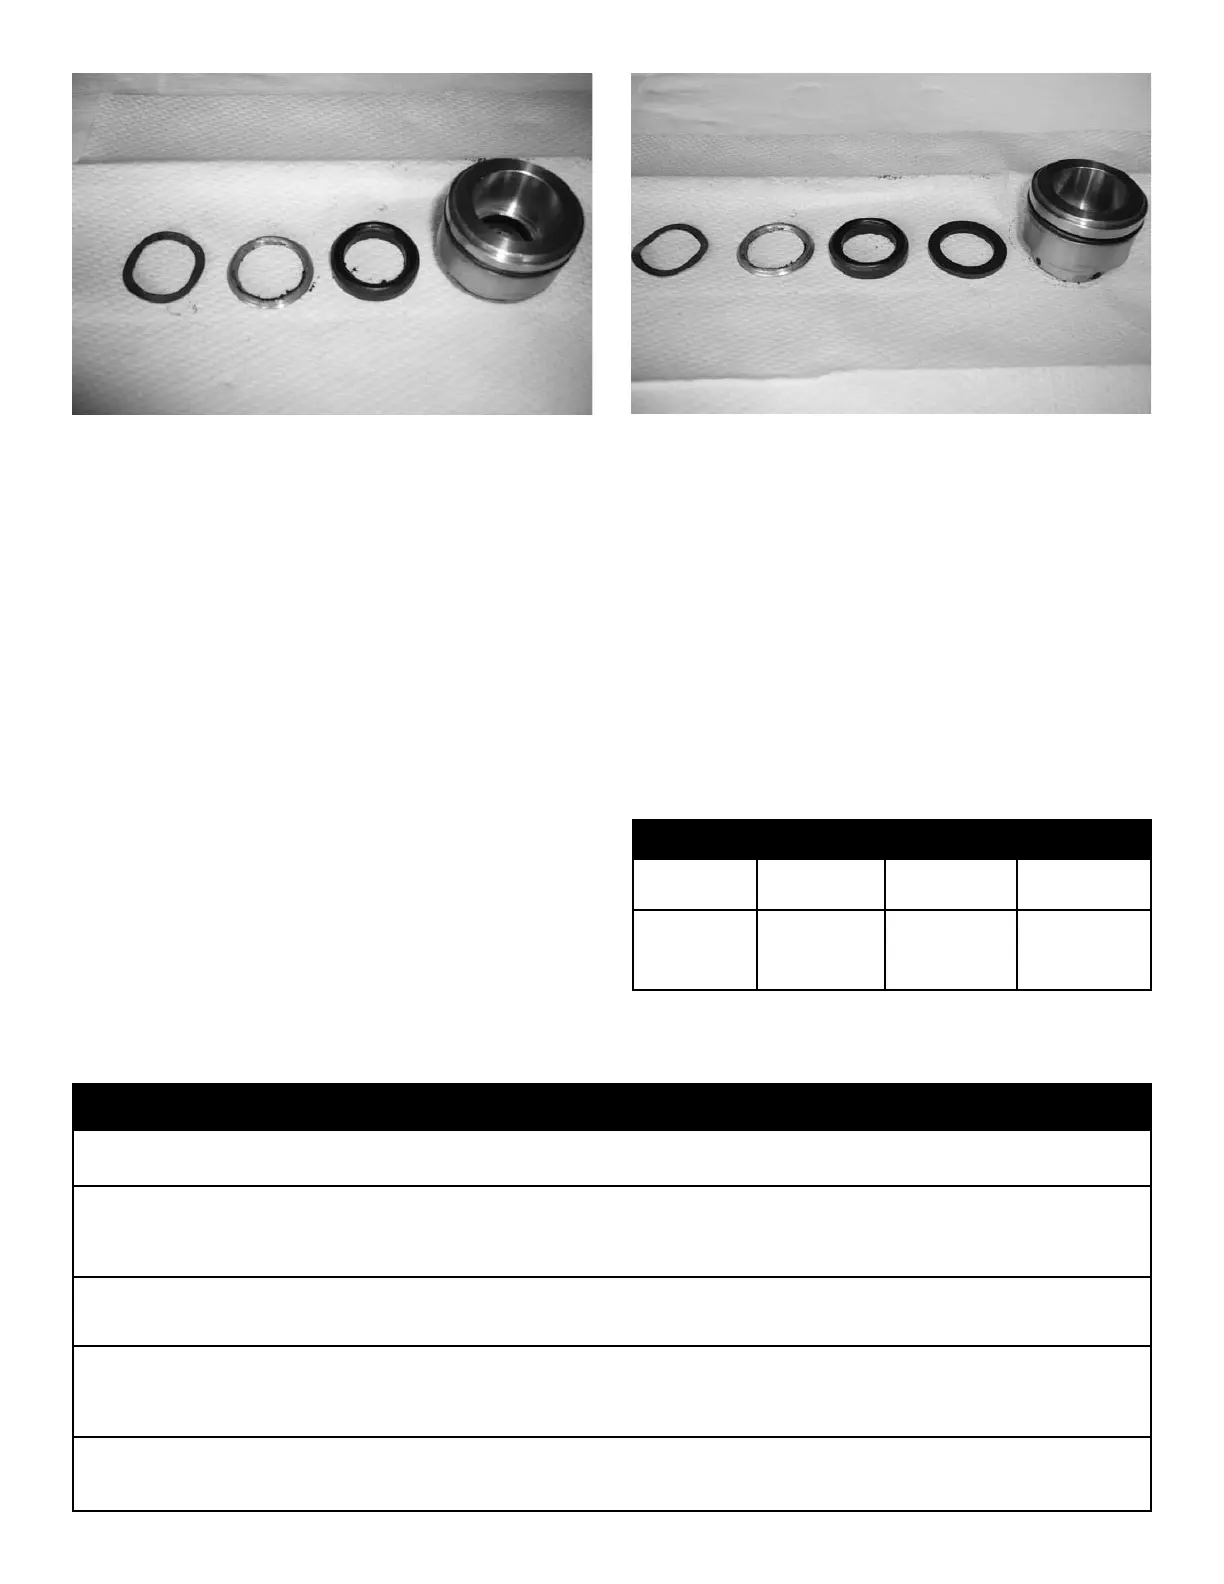
10. Insert Wave Washer, Spreader, V packing, (and back-up ring
for Model 516) into Seal Chamber of manifold. The Vacuum
Seal can be installed by squeezing and fitting into inside
groove of Seal Retainer. Be sure to install Vacuum Seal with
“u” of seal facing towards V packing.
11. Replace O-Ring (included in Seal Kit) around outside of
Seal Retainer.
12. Lightly lubricate seal bore and insert Seal Retainer. Even
force will allow Seal Retainer to slide into position.
13. Place Manifolds together. Manifold Dowel Pins will guide the
2 Manifolds together. Note: To insure Manifold O-Ring
remains in position during servicing, re-install and hold in
place with grease.
14. Replace 8 outer bolts and tighten finger tight.
15. Lightly lubricate Plungers and carefully slide Manifold
Assembly over Plungers until it contacts Crankcase
Assembly.
16. Replace center 4 bolts and torque to specifications listed in
torque chart below. Note: Bolts should be tightened following
the standard practice of an X pattern around Manifold
Assembly.
17. After the center 4 bolts are torqued, tighten 8 outer bolts to
torque to specifications listed in torque chart below. Use
standard practice of X pattern for these bolts as well.
18. Crankshaft should turn with minimal effort by hand when
service is complete. Check/add crankcase oil to proper level
on dipstick before operation. Arimitsu oil (PN30103).
Pump Inlet Outlet Seal
Model Kit Kit Kit
508 30111 30112 30110
511 30111 30112 30120
516 30101 30101 30100
KIT REFERENCE CHART
(model 508 & 511) (model 516)
 Loading...