1
• Unstable installation causes vibration and
noise of refrigerator.
• Wooden floor or carpet can be discolored
under the refrigerator.
• Doors look hanged down due to the twist
of refrigerator unless it is leveled.
• More than 5 cm from 3 sides (left, right
and back) is good enough for ventilation.
• Insufficient space causes the noise of
vibration, weakening of refrigerating
power and the waste of electricity.
• Direct sun lays, side heat of stove and gas
range can weaken the refrigerating power.
•
Avoid location by a sink or where moisture and
water can cause rust and corrosion.
•
Avoid location where moisture can cause
electrical problems.
• Use hard board or plank on the
concrete/cement floor.
1. Installation Instructions
Where the floor is solid and level Where ventilation is good Where there is little or no heat, moisture
Suitable Installation Place
Grounding is necessary
where
Grounding by using grounding
wire
Grounding by using
short-circuit breaker
Grounding is not necessary
You should not connect the
ground wire to
■ Grounding terminal is the green one connected to the power cord in the back of refrigerator.
Bury copper plate to whitch grounding wire is connected 25 cm deep in the ground.
Short-circuit breaker is a must where the floor is always wet, for example, fish shop, restaurant
kitchen etc.
in case of using side-grounded outlet.
water pipe, gas pipe, telephone line,
lightening-rod.
There can be explosion or fire.
Grounding wire
Side
Grounded
outlet
Grounding
Correct usage of Refrigerator
Height Adjustable
Feet Installation
water can splash easily ;
bathroom etc.
there is much moisture ;
basement etc.
any wet and/or watery
places.
Plug in the refrigerator
right after installation.
Set the both
compartments’
temperature to “3” to
perform preparatory run
for 2 or 3 hours.
When the inside is cold
enough, put the foods in.
* See page for
details.
* When the surrounding
temperature is hot in
midsummer, do not
open and shut the doors
too often after
installation.
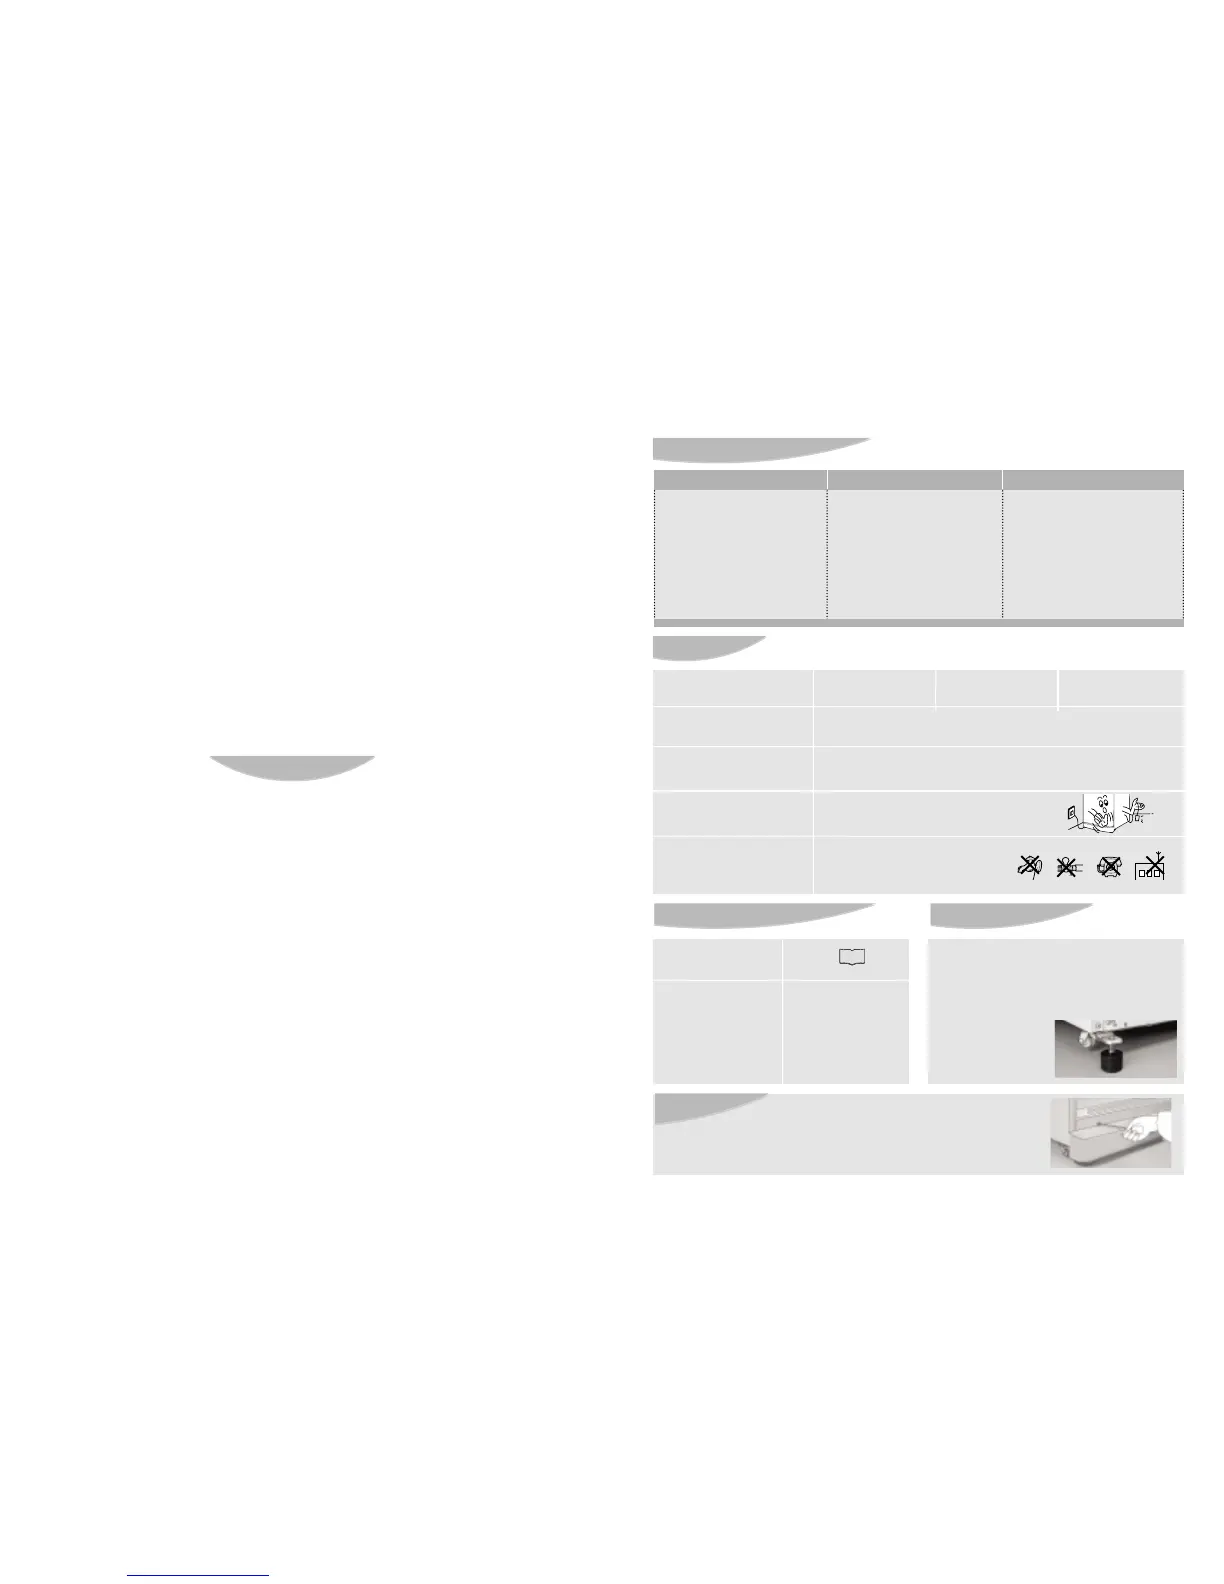
Open the fresh food compartment door and lift
up a little.
Attach the height adjustable foot to their holes in
the left and right bottom of refrigerator.
Adjust the height by turnning the legs until the
touch the floor.
• Let the right adjustable feet
touch the floor firmly, while
the left, smoothly.
Front Cover
Installation
CONTENTS
1. Installation Instructions........................... 1
Suitable Installation Place .......................... 1
Grounding ................................................... 1
Correct usage of Refrigerator..................... 1
Height Adjustable Feet Installation .................. 1
Front Cover Installation ...............................1
2. Safety Instructions................................... 2
3. Trobleshooting Guide ............................. 6
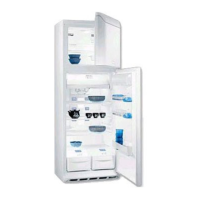
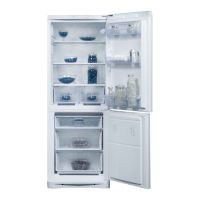
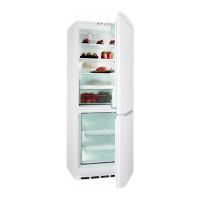
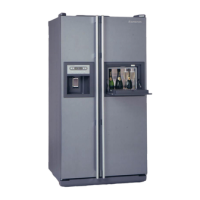
4. Interior Features / Temperature Controls
MTZ 52
*
NF (T) / MTZ 55
*
NF (T)
............... 8 ~ 9
MTZ 63
*
NF (T)
.................................... 10 ~ 11
5.Care & Cleaning .................................... 12
6. Helpful Hints............................................ 13
7. Efficient Storage of Foods.................... 13
Please remove the screws on the front bottom panel first.
• After installation and/or door leveling, click the front cover and fasten
it with screws.
 Loading...