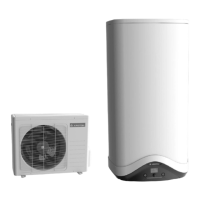
Heat pump water heater – OPERATING AND MAINTENANCE INSTRUCTIONS
46
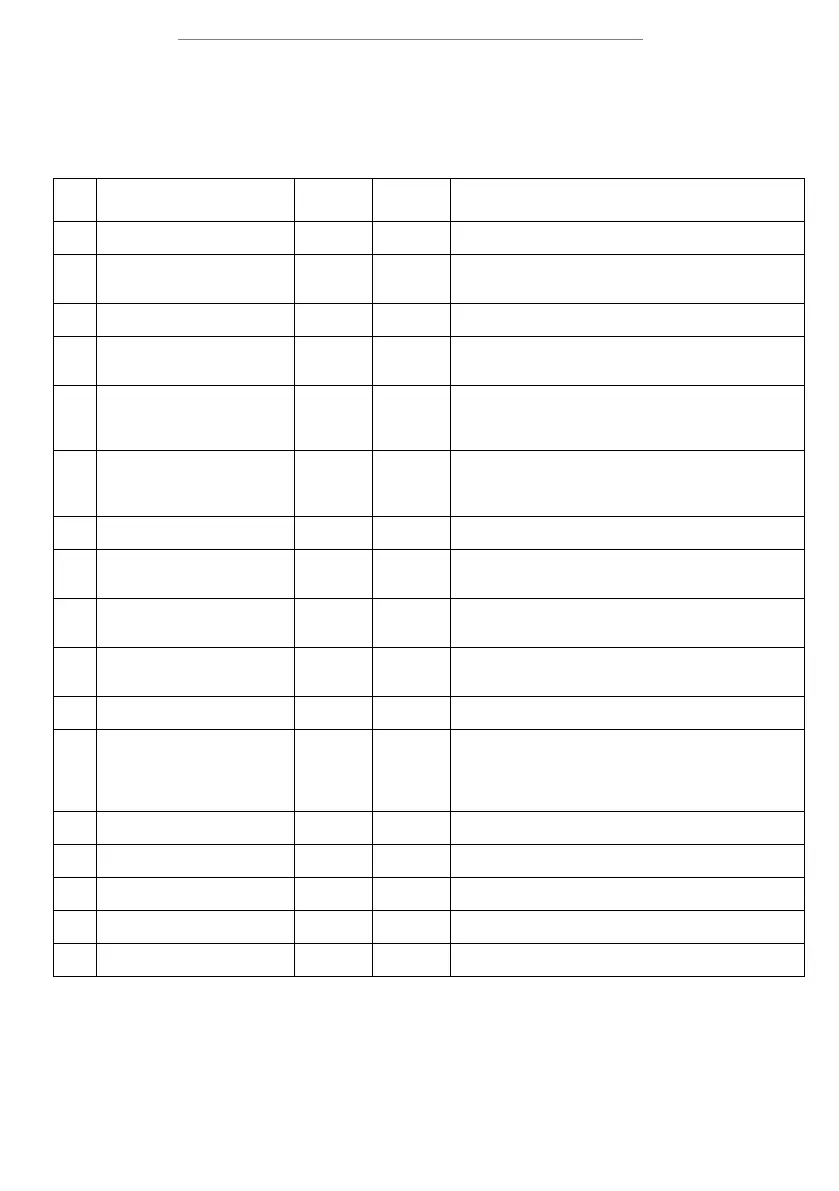
7.12 Faults
As soon as a fault occurs, the appliance enters into the fault mode while the display emits flashing signals and
visualises the error code. The water heater will continue supplying hot water provided the fault affects only one of two
the heating units, by activating the heat pump or heating element.
If the fault involves the heat pump, the symbol "HP" will flash on the screen, while the heating element symbol will
flash if the fault involves this component. If both components are affected, both symbols will flash.
Error
code
Cause
Heating
element
operation
Heat pump
operation
What to do
E1
Heating occurs without any water in
the water tank
OFF OFF
Turn off the appliance. Verify the causes of the lack of water
(leakage, faulty hydraulic connections, etc.)
E2
Excessive temperature of the water
in the tank
OFF OFF
Turn the appliance off then wait until the water temperature
decreases; if the problem persists, contact the technical assistance
service
E4 Sensor fault – heating element zone OFF OFF Check or replace the heating element zone sensors, if necessary
E5
Excessive difference between the
temperatures of the heating
element zone sensors
OFF OFF Check or replace the sensors, if necessary
H2 Circuit in low pressure or fan fault ON OFF
Check that the fan is not broken and that
the evaporator is not obstructed. Check whether the hot gas valve
functions properly and replace it if necessary. Check the
evaporator sensor.
H3 Compressor fault or gas leak ON OFF
urn off the appliance. Check that the evaporator is not obstructed.
Verify whether the wirings and the compressor functions properly
and/or check for any refrigerant gas leakages. Check or replace
the evaporator sensor.
H4 Evaporator obstructed ON ON
off the appliance. Check that the evaporator and the external
unit casing is not obstructed.
H5 Fan fault ON OFF
Turn off the appliance. Verify that there are no physical
impediments to the movement of fan blades, check the wiring of
connection with circuit boards. Check the evaporator sensor.
H6 Air sensor fault ON OFF
Check the proper connection of the
units, Verify whether the sensor is properly connected and
positioned, and replace it if necessary.
H7 Evaporator sensor fault ON OFF
Check the proper connection of the
units, Verify whether the sensor is properly connected and
positioned, and replace it if necessary.
H8 Hot water sensor fault ON OFF
Verify whether the sensor is properly connecte
and replace it if necessary
H9 Active defrost fault ON
(if air
temperature
il below 5
°C)
Check that the fan is not broken and that the evaporator is not
obstructed. Check whether the hot gas valve functions properly
and replace it if necessary. Check that the external unit casing is
not obstructed.
F1 PCB fault OFF OFF
Try turning the appliance off then on again and verify the operation
of the control boards, if necessary replace it.
F2
(RELEASE)
OFF OFF Temporarily disconnect the product from mains.
F3
Lack of communication between the
PCB and interface
OFF OFF
Try turning the appliance off then on again and verify the operation
of the control boards or replace them, if necessary.
F4
current anode circuit open
OFF OFF
Verify whether there is any water in the tank, check or replace the
impressed current anode, if necessary.
F5
current anode circuit
ON ON Check or replace the impressed current anode if necessary
 Loading...