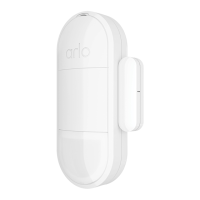
All-in-One Sensor
What’s in the box
Sensor
Adhesive
Flat Wall Plate with
Short Screw and Anchor
Corner Wall Plate with
Long Screw and Anchor
Magnet with
Adhesive
Note: Your sensor might not need a wall plate, depending on how it
will be used. The Arlo Secure App explains this during setup.
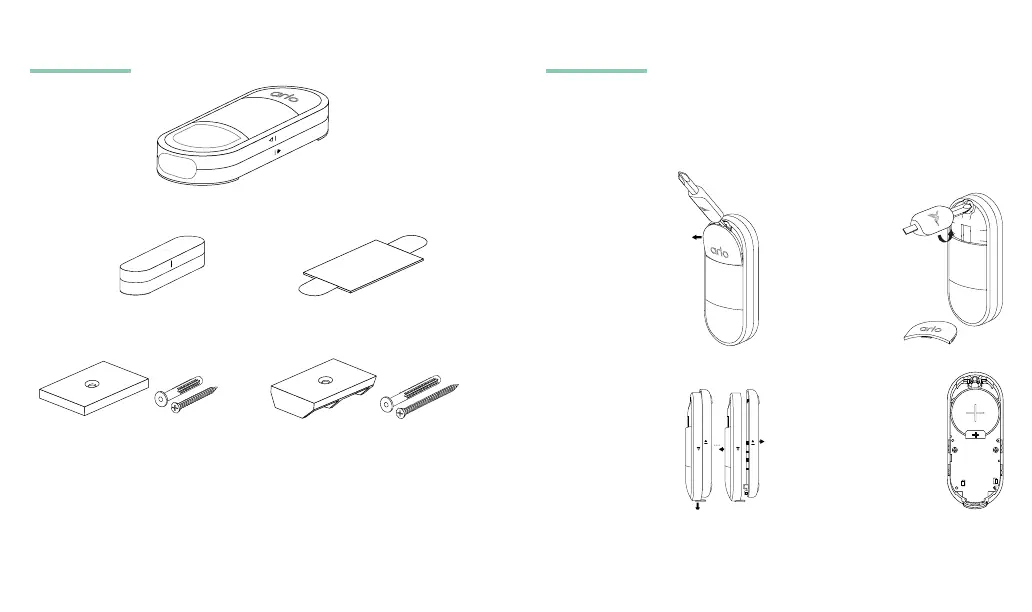
1. Remove screw cover
from Sensor using
the at side of the
screwdriver.
4. Once tab is removed,
ensure battery is still
in place and the plus
symbol is facing up.
Battery Access and Onboarding
Note: The sensor is for indoor use only. The Arlo Secure App shows
you how to separate and reattach the screw cover and back
cover from the housing.
Aer you install your Keypad Sensor Hub, you can use the Arlo
Secure App to add All-in-One Sensors.
To install your All-in-One Sensor:
3. Slide front cover
down to reveal
the battery and
remove black tab
located underneath
battery.
2. Turn captive screw
counterclockwise
(~6 times).
Screw will turn
freely but won’t
come out.
2 3
 Loading...