Do you have a question about the Asko Classic T208H and is the answer not in the manual?
Guidelines for placing the dryer freely and securing it against movement.
Advice on optimal room conditions, ventilation, and location for the dryer.
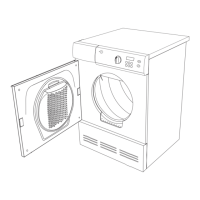
Visual representation of the dryer door's opening angle from a top-down perspective.
Explains how to connect the drain hose for continuous water removal.
Information about the dryer's specifications and electrical connection requirements.
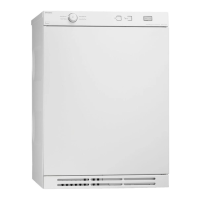
This document provides comprehensive instructions for the installation, connection, and maintenance of a dryer, including details on its placement, door opening direction, condensate draining, and electrical connection.
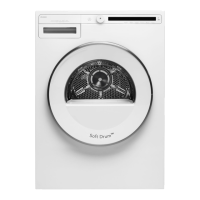
The dryer is designed to extract moisture from laundry through a condenser unit, accumulating the water in a condensate tank. It can be operated as a free-standing appliance or stacked on top of a washing machine. The appliance is designed for domestic use, providing a convenient way to dry clothes.
The door opening direction can be changed by following these steps:
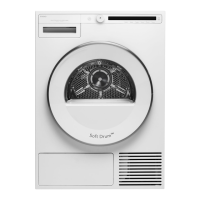
The condensate tank needs to be emptied regularly. To simplify this and avoid interruptions to the drying cycle, the condensate discharge tube located at the back of the appliance can be run directly into a drain.
| Appliance Category | Dryer |
|---|---|
| Brand | Asko |
| Model | Classic T208H |
| Type | Heat Pump Dryer |
| Capacity | 8 kg |
| Energy Rating | 8 stars |
| Dimensions (HxWxD) | 850 x 595 x 654 mm |
| Weight | 51.5 kg |
| Noise level | 65 dB |
| Voltage | 220-240 V |
| Frequency | 50 Hz |
| Drum material | Stainless Steel |
| Number of programs | 12 |