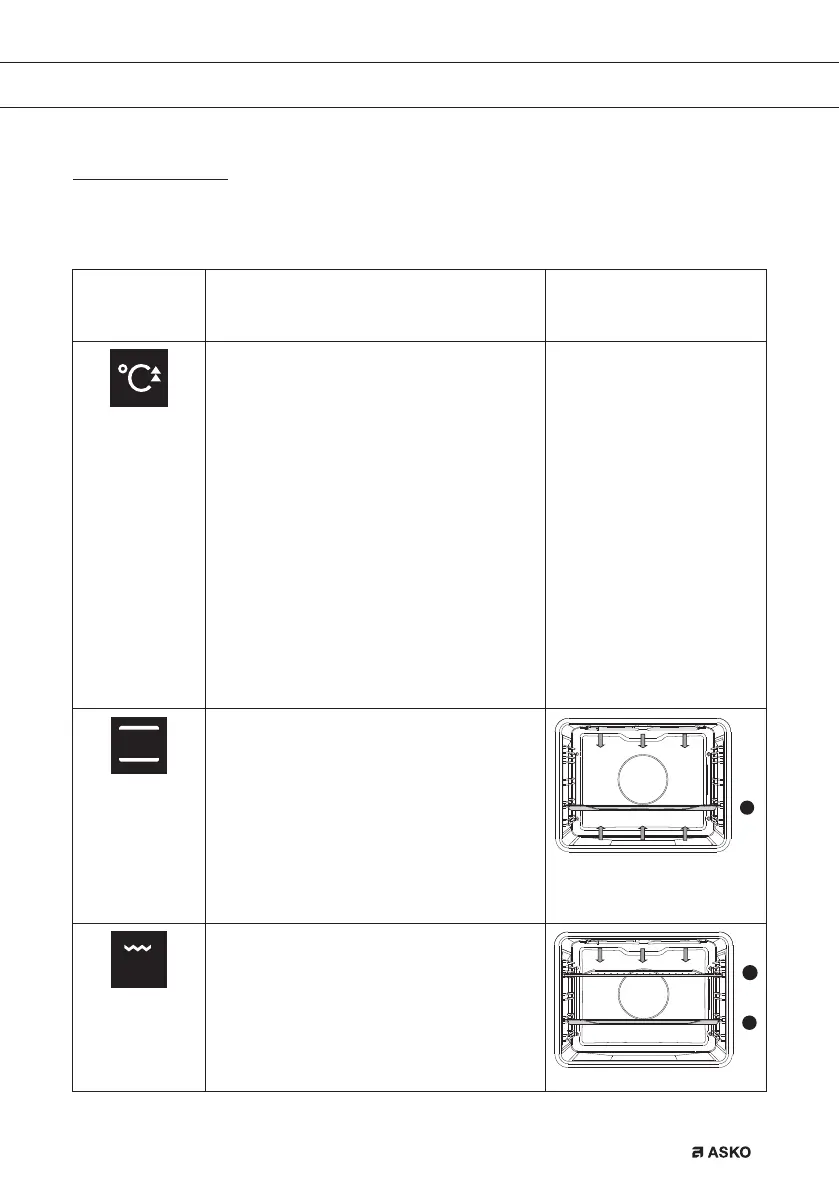
EN 13
Function/
Recommended
temp. °C
Description
160 °C
Quick preheat
Use this function to heat the oven quickly to
the desired temperature.
This function is not suitable for cooking
food!
• Turn the ‘oven function dial’ to the ‘quick
preheat’ position.
The prior set temperature will be displayed.
You can alter this temperature.
Note:
Preheat will begin after you have started the
oven using the ‘start/stop’ button.
Preheat is complete when the set
temperature is reached and a signal sounds.
200 °C
Top heat + bottom heat
Heat is generated by the heating elements
at the top and bottom of the appliance. This
setting is suitable for traditional baking and
roasting.
• The baking tray or the grill rack is usually
placed at level 2.
• Preheating is recommended.
2
240 °C
Small Grill
Food is heated by the grill element.
• For grilling, the grill rack is usually placed
at level 4 and the baking tray at level 2.
• Keep an eye on the cooking process. At
high temperatures, meat can burn quickly.
• Preheat the oven for 5 minutes.
2
4
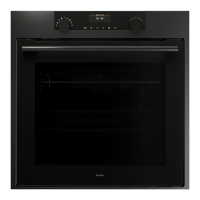
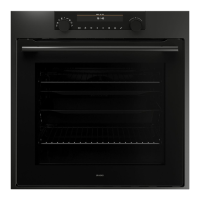
USE
Oven settings
Use the table to select the right oven function. Also consult the cooking instructions on the food
packaging.
862798_en_naslovnica_drug_papir.indd EN13862798_en_naslovnica_drug_papir.indd EN13 29. 09. 2022 12:16:3229. 09. 2022 12:16:32