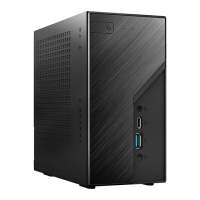
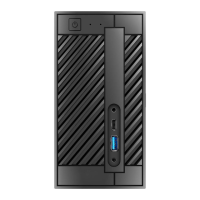
Jupiter
Quick Installation Guide
D-SUB
Разъем D-SUB
Power Input
Разъем
питания
USB Ports
Разъемы USB
COM Port
Разъем COM
порта
Kensington Lock
Замок Кенсингтона
Audio Line-Out
Аудио выход
Antenna Port
Разъем антенны
HDMI
HDMI
DisplayPort
Разъем дисплей
порта
LAN port
Разъем
локальной сети
P/N: 15G067040000AK V1.0
Package Contents / Комплектация
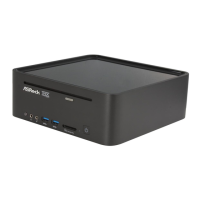
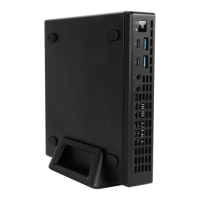
Front View / Вид спереди Rear View / Вид сзади
Carefully insert the SSD into the slot.
*Supports type 2280 M.2 SATA3 6.0 Gb/s module and
M.2 PCI Express module up to Gen3 x4 (32 Gb/s).
Tighten the screw to secure the SSD to the motherboard.
小心地将 SSD 卡 插 入。
Аккуратно установите SSD модуль в разъем. Закрепите с помощью винта модуль SSD на материнской
плате.
将 之 前 卸 下 的 螺 丝 重 新 锁 上。
Jupiter
Support CD
Диск с драйверами
Heatsink
Система
охлажения
VESA Mount Bracket
& screws (optional)
VESA крепление:
салазки и винты
Quick Installation Guide
Руководство по быстрой установке
M.2 SSD / Установка M.2 SSD
A
*15G067040000AK*
Power button
я
USB 3.2 Gen1 Type-C Ports
порт USB 3.2 Gen1 Type-C
USB 3.2 Gen1 Type-A Ports
порт USB 3.2 Gen1 Type-A
Headphone
Разъем наушников
Microphone Jack
Разъем микрофона
1 2
Remove the screw of WLAN card. Remove the WLAN card Disconnect the two antennas by manually liing o
the clips that hold them in place.
Выкрутите винт, крепящий сетевую карту.
Аккуратно вставьте в разъем модуль памяти SO-DIMM. Нажмите на модуль до щелчка.
Извлеките сетевую карту.
Отсоедините обе антенны, потянув их вверх за разъемы.
取下 WLAN 模 組 上 的 螺 絲。 取下 WLAN 卡。
將 WLAN 卡 兩 側 的 天 線 取 下。
Wireless Module / Беспроводной модуль
How to Safely Remove the Module / Как аккуратно извлечь WIFI модуль
B
1 2 3
Carefully insert SO-DIMM memory modules. Push down until the modules click into place.
小心地安裝 SO-DIMM。 下壓固定 SO-DIMM。
DRAM / Установка модулей памяти
C
1 2
Stand (optional)
Подставка (приобретаются
отдельно)
Adapter and Power cord (optional)
Адаптер питания и сетевой шнур
(приобретаются отдельно)
Antennas
Антенны
*If the rubber feet come o or are removed from the bottom case, please re-attach them.
Power Input
Разъем
питания
Kensington Lock
Замок Кенсингтона
Audio Line-Out
Аудио выход
Antenna Port
Разъем антенны
HDMI
HDMI
DisplayPort
Разъем дисплей
порта
DisplayPort
Разъем дисплей
порта
LAN port
Разъем
локальной сети
USB 3.2 Gen1 Type-A Ports
порт USB 3.2 Gen1 Type-A
COM Port
Разъем COM порта
H410
H470 / Q470