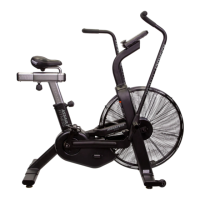
Do you have a question about the Assault Fitness Air Bike and is the answer not in the manual?
| Resistance Type | Air |
|---|---|
| Display Type | LCD |
| Max User Weight | 350 lbs |
| Drive System | Chain |
| Handlebars | Multi-grip |
| Programs | Interval, Target |
| Display Metrics | Time, Calories, Watts, Distance, Speed, RPM, Heart Rate |
| Warranty | 2 years parts |
| Seat Adjustment | Fore/Aft and Up/Down |
| Heart Rate Monitoring | Compatible with chest strap (not included) |
Instructions for cutting straps, opening the box, and removing outer packaging layers.
Remove protective materials, lay out parts, and disengage the red transport tube.
Use the red tube to prop the bike and secure the front stabilizer bar with screws and washers.
Use the red tube to prop the bike and secure the rear stabilizer bar with screws and washers.
Route the speed sensor cable through the console mast and ensure there is no slack.
Attach the console mast to the bike, ensuring the speed sensor cable is not pinched.
Securely mount the computer console to the mast and insert the AA batteries.
Remove protective foam and zip ties, then install and tighten the handlebar assemblies.
Attach linkage arms and secure pivot pins with washers and locknuts, ensuring no movement.
Prepare the seat post assembly, install the seat, and tighten it securely to the post.
Thread and tighten the left (reverse) and right (normal) pedals onto the crank arms.
 Loading...