6
8
8
.
.
S
S
A
A
M
M
P
P
L
L
E
E
E
E
X
X
E
E
R
R
C
C
I
I
S
S
E
E
S
S
9 Volt Battery Test
Items needed: 9 Volt battery. Signal input leads.
In the following hands-on exercise, you will set up a channel to monitor a 9 Volt battery in Realtime. Next, a data capture
will be set up to record when the battery voltage is applied. Finally, the captured data will be reviewed.
Note: The steps below are for the NDV1 or IHV1 voltage modules installed in Slot 1 (Channel 1).
Please contact Astro-Med if you have any questions regarding the use of other modules.
In the exercise, every action needed is detailed in a step-by-step fashion to help you quickly become familiar with the
operation of the Dash 8Xe / Dash 8X. The ACTION on the left-hand side describes what is to be done.
The HOW TO section provides the detailed steps to take using the pull-down menus of the Menu Bar.
I. Real-time Monitoring: Monitor the voltage of a 9 Volt battery.
Set up the channel so that when there is no signal, the waveform trace will be at the center of the channel and when the 9
Volt signal is applied, the waveform trace will be near the top of the channel.
ACTION HOW TO (Use the Menu Bar Pull-Down menus)
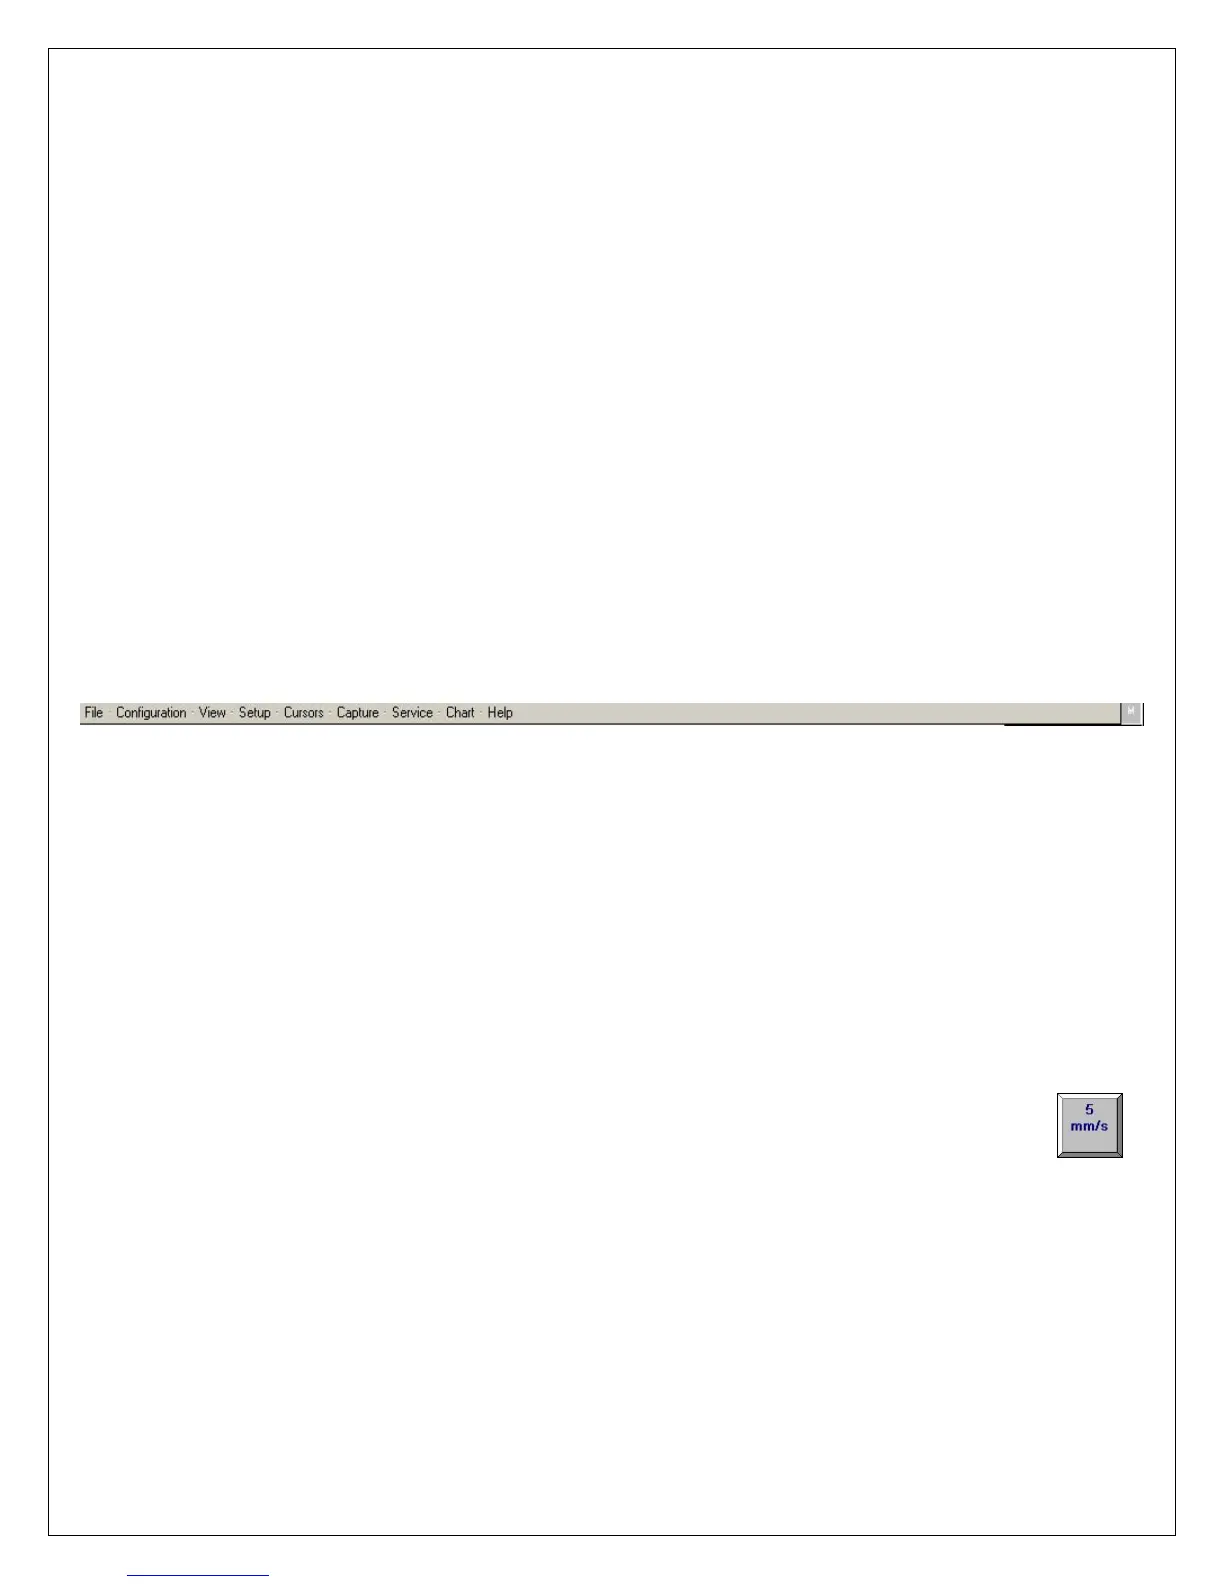
Verify Menu Bar display
If the date and time are shown at the top of the screen, press the M icon in
the upper right hand corner to show the Menu Bar.
Dash 8Xe / Dash 8X Menu Bar
Default the
Dash 8Xe / Dash 8X
Choose Configuration >> Utilities from the menu bar to open the Utilities
window.
Choose Defaults >> System from the menu bar to set the recorder to
factory defaults.
Click Yes to accept.
Enter Realtime Mode
Choose Configuration >> Realtime from the menu bar to enter Realtime
Mode.
View All Channels
Choose View >> Basic All Channels from the menu bar.
Set speed to 5 mm/sec
Press the [5 mm/s] icon on the control panel.
Continued…
 Loading...