13" NUT/THREAD SETTING HAND RIVETER KIT
WITH 3PC METRIC AND 3PC SAE MANDREL/NOSEPIECE SETS
AND RIVET NUT ASSORTMENT
M5
M5
M5
M6
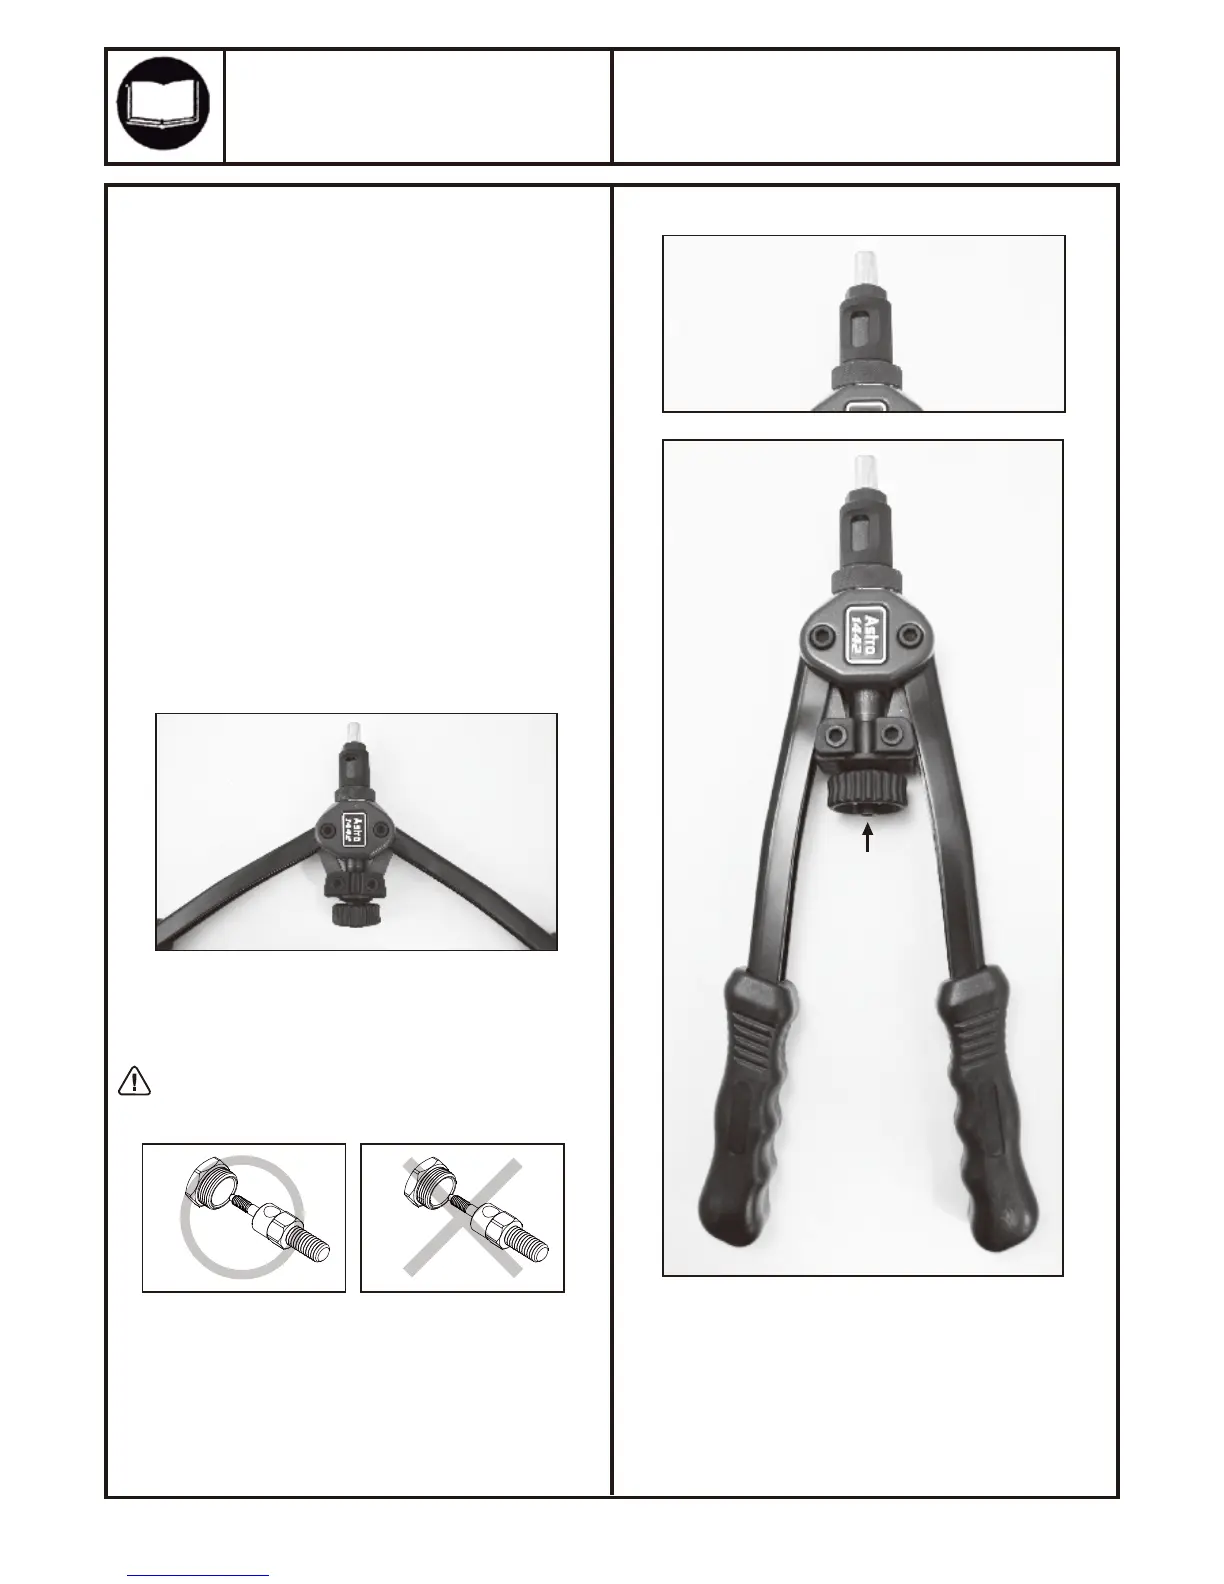
1. Proper adjustment of the riveter is necessary for efficient
and easy operation.
2. The adjustment of the riveter will vary, depending on the
size and type of rivet nut being used and the hole size.
3. Adjust the riveter by opening the handles outward as far as
possible lossening the #4 adjusting nut and turning the #3
outer sleeve clockwise to increase the number of threads on
the mandrel protruding beyond the nosepiece for larger rivet
nuts, and by turning the #3 outer sleeve counterclockwise
for smaller rivet nuts. Once adjustment is set tighten the #4
adjusting nut by hand. Fine adjustment can be made by
turning the rivet nut on the mandrel to position the rivet nut
closer or further away from the nosepiece, as long as the
mandrel is threaded all the way through the rivet nut.
4. Always assure that the mandrel is threaded into all threads
of the rivet nut to prevent damage to the threads on the
mandrel and/or the rivet nut.
5. If the handles are extended too far outward to provide
enough leverage to pull the handles inward to set the rivet
nut, turn the #3 outer sleeve clockwise or turn the rivet nut
counterclock wise slightly to change the handle angle to
provide the proper leverage.
1442
MODEL: PRODUCT TYPE:
Page 3
ADJUSTMENT INSTRUCTIONS:
Riveter properly prepared
for setting rivet nuts
Store matching nosepieces and mandrels
together when not in use to prevent mismatching
the sizes and for convenience.
Open handles
and thread
rivet nut
onto mandrel
Turn knob
counterclockwise
after rivet nut
setting is
complete to
remove riveter
from the rivet nut
 Loading...