lll. OPERATION GUIDE:
lV. MAINTENANCE:
1. The nut riveting adapter is
lubricated before shipping.
Recommended: cleaning
the components of plunger
tube, and using lubricant
grease to re-lubricate its
parts on a yearly basis
or earlier.
2. Threaded mandrel
replacement:
Life span of threaded mandrel varies with usage
frequency and the uses of different rivet nut sizes/types.
Recommended: replacing the threaded mandrel with
new spare and its nosepiece before worn-out.
WARNING: The objects to be riveted MUST BE
SECURELY FIXED BEFORE riveting in order to avoid
possible injury. Unsecured objects may rotate with the
driving tool if not secured.
IMPORTANT: Ensure the threads on mandrels are clean
and the loaded rivet nut has full thread engagement with
threaded mandrel during riveting. It is strongly
recommended to clean and lubricate (ex. silicone spray)
the threads on mandrels before and after use.
CRITICAL: Before using the tool on your intended work
piece, it is REQUIRED that you test the tool with a rivet nut
on a test piece to determine the adequate torque needed
for your rivet nut size, rivet nut material, and sheet metal
thickness and material.
• Ensure drill is in "driver" mode and not drill mode.
Different drills will require different torque limiting settings
for the same material.
• On the test piece, set your drill to a low clutch setting and
work up to higher settings until the torque level is enough
to fully set the rivet nut but not over set - WARNING: Over
setting rivet nuts may permanently damage the mandrel or
tool.
• Once the torque level is determined, test again on a new
hole at your intended setting to confirm. The knurled part
of the rivet nut should look mushroomed and starting to
become flat on the other side of the work piece and should
not rotate when you install a bolt.
ADN14
MODEL: PRODUCT TYPE:
Page 3
RIVET NUT DRILL ADAPTER KIT
2.4 Ensure the rivet nut has adequate thread
engaged
and that there is no cross threading. Check
and confirm the objects to be riveted are SECURE.
2.5 Some small amount of clearance between nose
piece and the flange of rivet nut may be beneficial to
operation, but keep adequate thread engagement on
the nut.
2.6 Refer to Section III. for determining the proper
drill torque settings. (REQUIRED).
2.7 Put the rivet nut now threaded onto the tool's
mandrel fully into the proper size hole (see Sizing Chart
on page 2).
2.8 Align the adapter with the hole angle as best
you can. While gripping the adapter firmly with one hand
(wear work gloves), operate the drill in the FWD
direction until you feel or hear the drill's torque clutch
catching.
The adapter should not rotate while the drill
works. Release your grip on the adapter and reverse
the drill out of the rivet nut. Depending on the material,
you may need to manually help the adapter thread out
of the rivet nut with your off hand.
Tip 1: If the torque setting of your drill is too high,
not on, or on a drill setting, you WILL damage the
rivet nut, workpiece, mandrel or tool. Monitor
threads for burrs and lubricate when needed.
Tip 2: Make a note of the torque setting matching
your application for future use.
1. Tool Installation:
Install a new mandrel and nosepiece to match your
intended rivet nut thread size. Use the included wrench
to install the new
mandrel into the #2 Plunger Tube.
Ensure that the mandrel and other components are
tightly fixed in position. After installing the front bushing
cover and lock bushing, lightly tighten the new
nosepiece onto the end of the tool. Install the hex shank
drive end of the tool into your drill and affix into its chuck.
2. Riveting:
2.1 While holding the adapter with your hand, operate
the drill in the REV direction until you hear the adapter
start to click. This means it has fully exposed the
mandrel.
2.2 Switch the drill to the FWD setting.
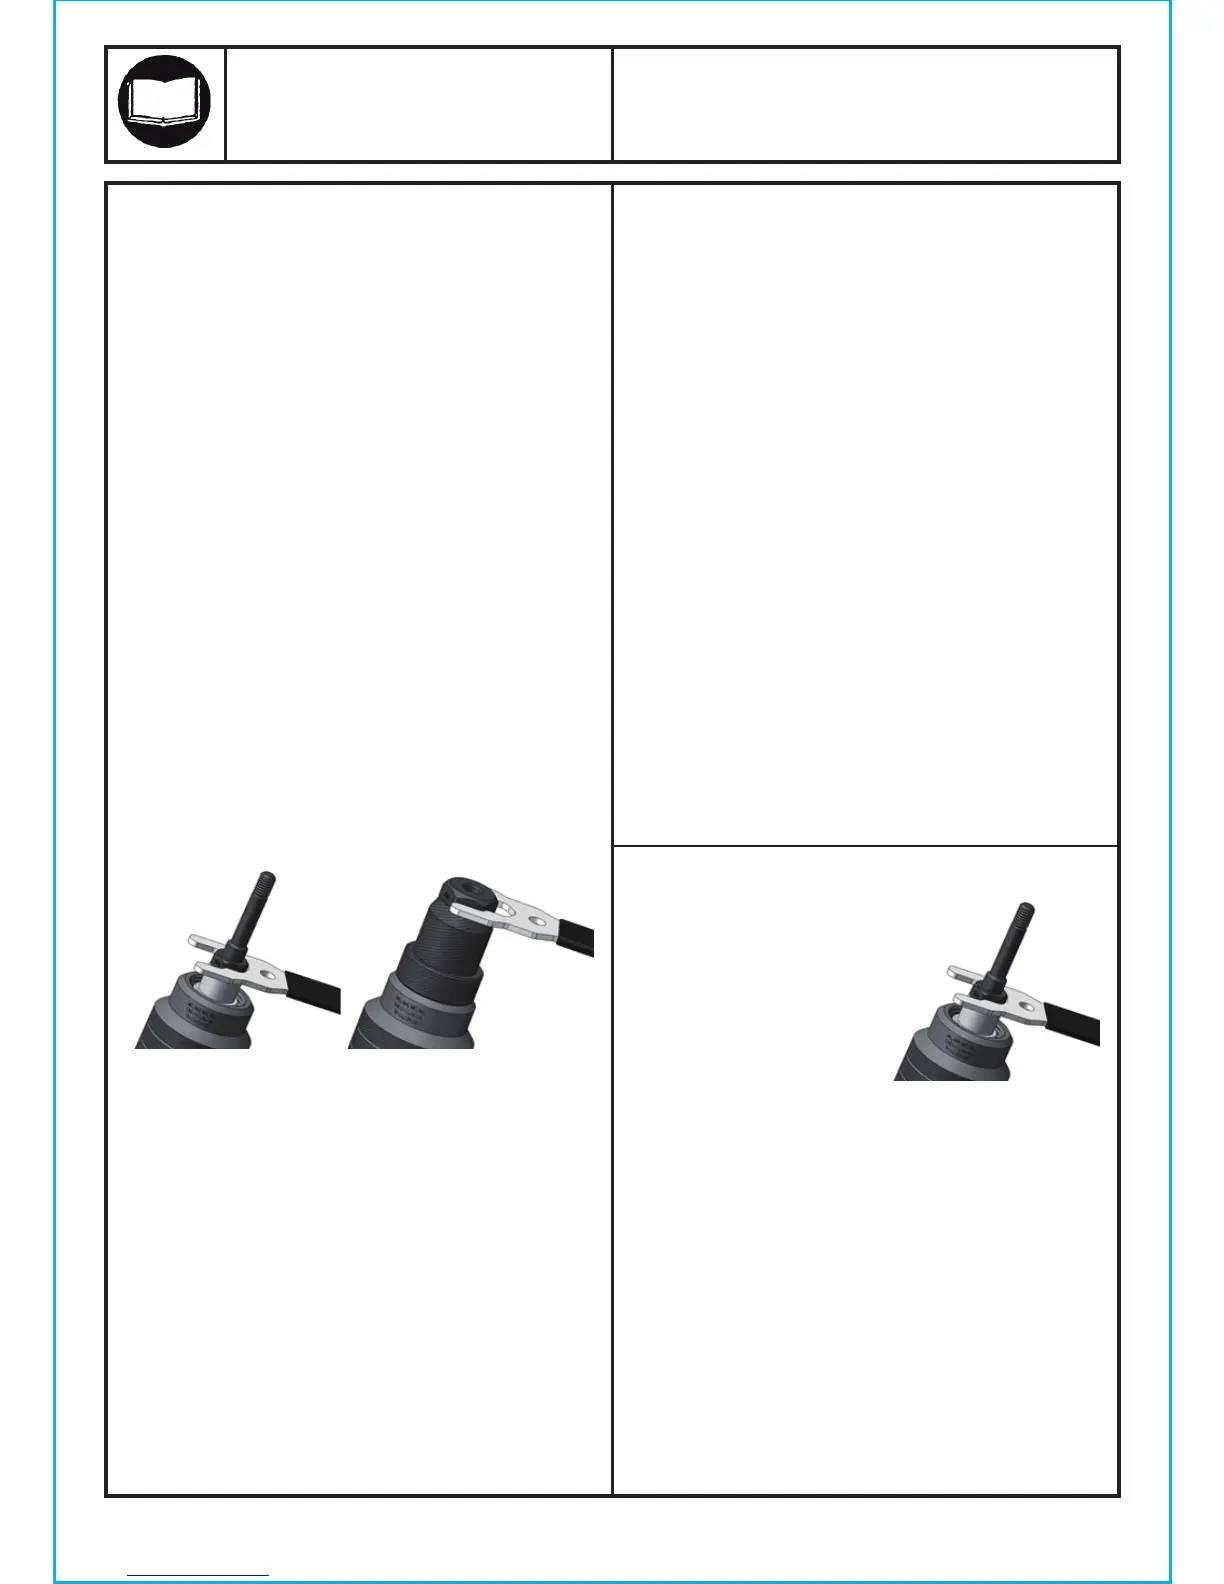
2.3 Manually thread the selected rivet nut onto threaded
mandrel; or hold the rivet nut in one hand and use
another hand to pull the drill trigger slightly to have the
nut threaded on by the tool.
 Loading...