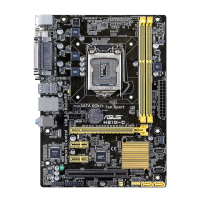
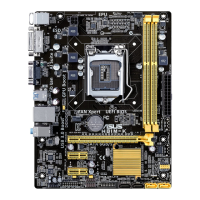
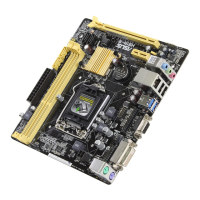
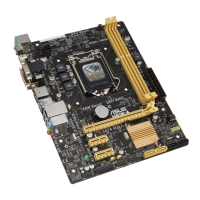
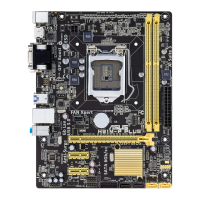
6. CPU and chassis fan connectors (4-pin CPU_FAN, 4-pin CHA_FAN)
Connectthefancablestothefanconnectorsonthemotherboard,ensuringthatthe
black wire of each cable matches the ground pin of the connector.
• Donotforgettoconnectthefancablestothefanconnectors.Insufcientairow
insidethesystemmaydamagethemotherboardcomponents.Thesearenotjumpers!
Donotplacejumpercapsonthefanconnectors!
• EnsurethattheCPUfancableissecurelyinstalledontheCPUfanconnector.
• TheCPU_FANconnectorsupportstheCPUfanofmaximum1A(12W)fanpower.
• Both3-pinand4-pinchassisfanssupporttheASUSFanXpertfeature.
• ThechassisfanconnectorsupportsDCandPWMmodes.Tosetthechassisfanto
DCorPWM,gotoAdvanced Mode > Monitor > Chassis Fan Q-Fan Control item in
BIOS.
CHA_FAN(DC mode)
CPU_FAN
CPU FAN PWM
CPU FAN IN
CPU FAN PWR
GND
CHA_FAN (PWM mode)
CPU FAN PWM
CPU FAN IN
CPU FAN PWR
GND
+5V
CHA FAN IN
CHA FAN PWR
GND
H81M-V3
H81M-V3 Fan connectors
1-18
 Loading...