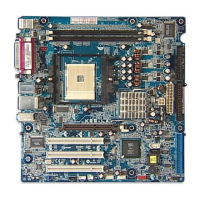
ASUS K8S-LA (Salmon)ASUS K8S-LA (Salmon)
ASUS K8S-LA (Salmon)ASUS K8S-LA (Salmon)
ASUS K8S-LA (Salmon)
55
55
5
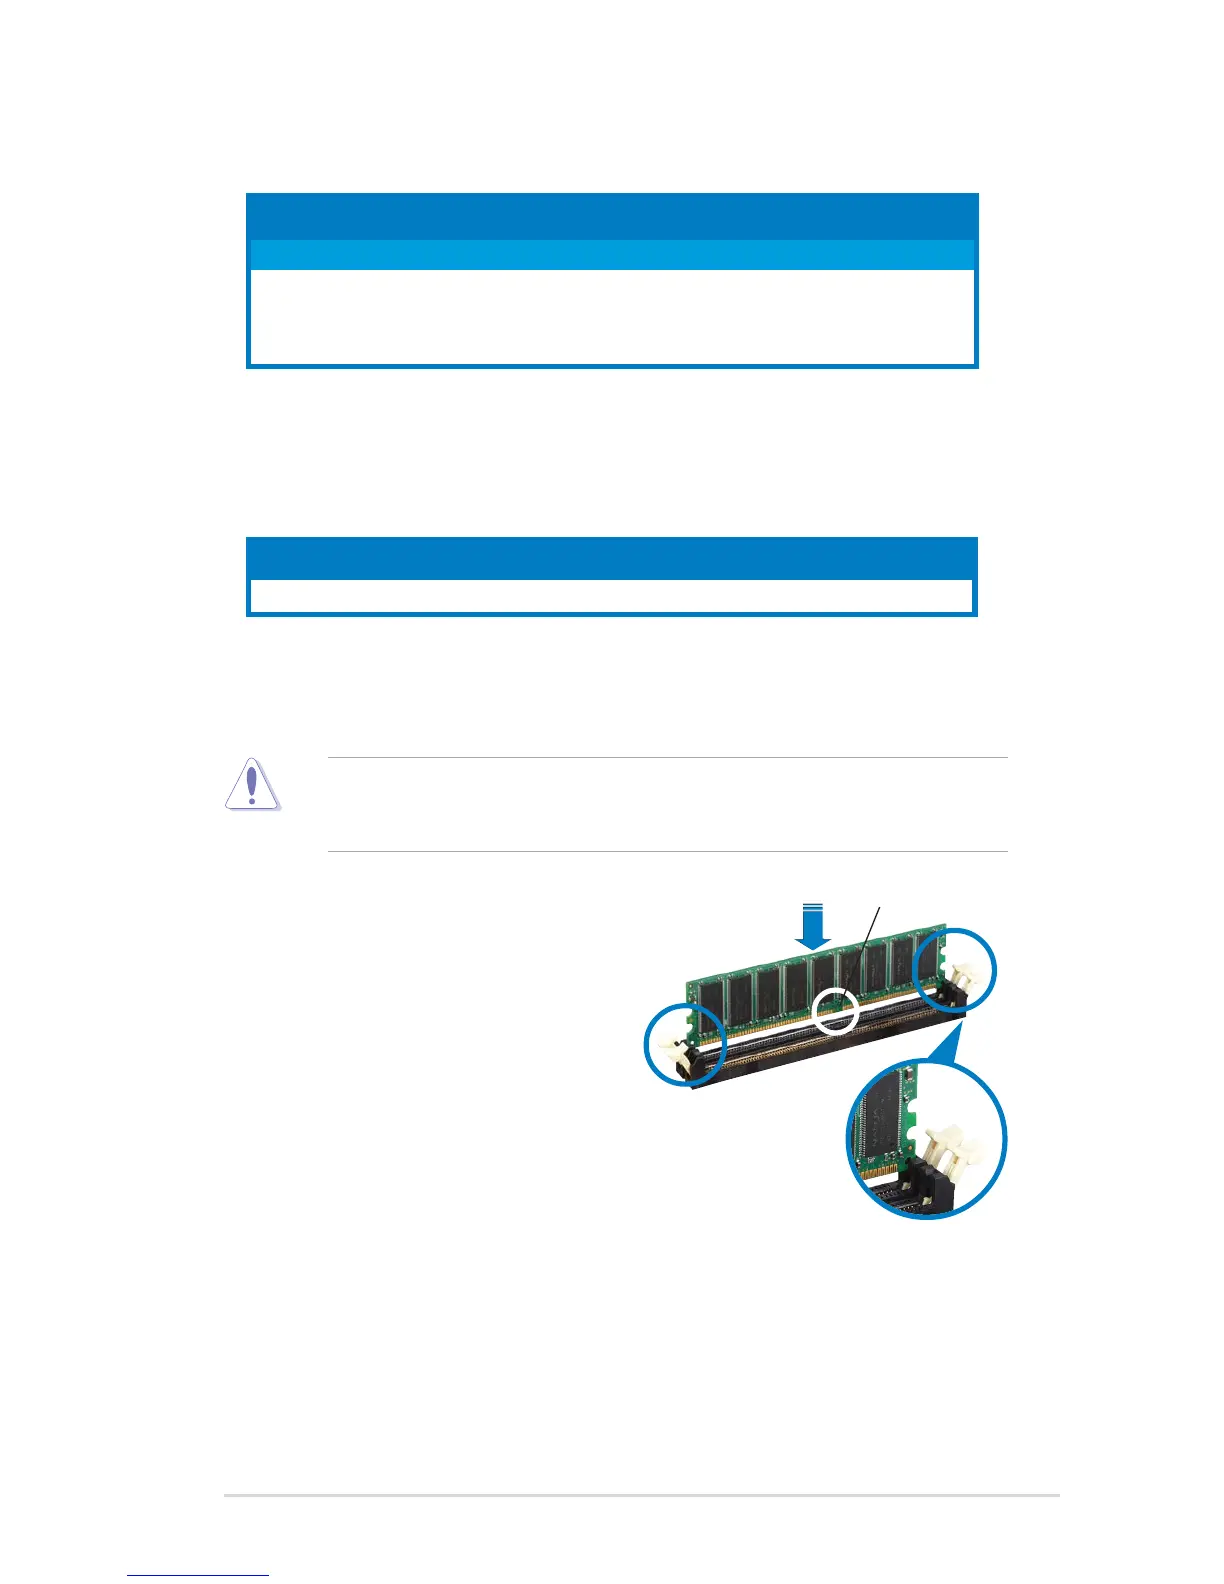
Make sure to unplug the power supply before adding or removing DIMMs
or other system components. Failure to do so can cause severe damage
to both the motherboard and the components.
Follow these steps to install a DIMM.
1. Unlock a DIMM socket by
pressing the retaining clips
outward.
2. Align a DIMM on the socket such
that the notch on the DIMM
matches the break on the
socket.
3. Firmly insert the DIMM into the
socket until the retaining clips
snap back in place and the DIMM
is properly seated.
Installing a DIMMInstalling a DIMM
Installing a DIMMInstalling a DIMM
Installing a DIMM
Recommended memory configurationsRecommended memory configurations
Recommended memory configurationsRecommended memory configurations
Recommended memory configurations
Memory frequency/CPU FSB synchronizationMemory frequency/CPU FSB synchronization
Memory frequency/CPU FSB synchronizationMemory frequency/CPU FSB synchronization
Memory frequency/CPU FSB synchronization
* Use only identical DDR DIMM pairs.* Use only identical DDR DIMM pairs.
* Use only identical DDR DIMM pairs.* Use only identical DDR DIMM pairs.
* Use only identical DDR DIMM pairs.
CPU FSBCPU FSB
CPU FSBCPU FSB
CPU FSB
DDR DIMM TypeDDR DIMM Type
DDR DIMM TypeDDR DIMM Type
DDR DIMM Type
Memory FrequencyMemory Frequency
Memory FrequencyMemory Frequency
Memory Frequency
1600 MT/s @ 800 MHz FSB PC3200/PC2700/PC2100 400/333/266 MHz
UnlockedUnlocked
UnlockedUnlocked
Unlocked
retainingretaining
retainingretaining
retaining
clipclip
clipclip
clip
DDR DIMM notchDDR DIMM notch
DDR DIMM notchDDR DIMM notch
DDR DIMM notch
SocketsSockets
SocketsSockets
Sockets
ModeMode
ModeMode
Mode
XMM1 XMM1
XMM1 XMM1
XMM1
XMM2XMM2
XMM2XMM2
XMM2
Single-channel (1) Installed —
(2) — Installed
(3)* Installed Installed
 Loading...