3-8 Chapter 3: BIOS setup
Chapter 3
3.4 Main menu
When you enter the BIOS Setup program, the Main menu screen appears, giving you an
overview of the basic system information. Select an item and press <Enter> to display the
submenu.
Refer to 3.3.1 BIOS menu screen for information on the menu screen items and how to
navigate through them.
Select Screen
Select Item
+-
Change Field
Tab Select Field
F1 General Help
F10 Save and Exit
ESC Exit
v02.61 (C)Copyright 1985-2008, American Megatrends, Inc.
BIOS SETUP UTILITY
Main Ai Tweaker Advanced Power Boot Tools Exit
System Time [10:55:25]
System Date [Fri 02/13/2009]
Language [English]
SATA1 [HDT722516DLA380]
SATA2 [Not Detected]
SATA3 [Not Detected]
SATA4 [Not Detected]
SATA5 [Not Detected]
SATA_E1 [Not Detected]
Storage Conguration
System Information
Use [ENTER], [TAB]
or [SHIFT-TAB] to
select a eld.
Use [+] or [-] to
congure System Time.
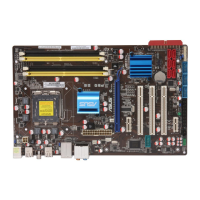
3.4.1 SATA 1-5; SATA_E1
While entering Setup, the BIOS automatically detects the presence of SATA devices. There
is a separate submenu for each SATA device. Select a device item then press <Enter> to
display the SATA device information.
SATA_E1 menu displays the status of the hard disk connected to the SATA_E1 (ornage,
port 0) connector on the motherboard.
Select Screen
Select Item
+- Change Option
F1 General Help
F10 Save and Exit
ESC Exit
v02.61 (C)Copyright 1985-2008, American Megatrends, Inc.
BIOS SETUP UTILITY
Main
SATA 1
Device : Hard Disk
Vendor : WDC WD800JD-00LSA0
Size : 80.0GB
LBA Mode : Supported
Block Mode : 16 Sectors
PIO Mode : 4
Async DMA : MultiWord DMA-2
Ultra DMA : Ultra DMA-5
SMART Monitoring: Supported
Type [Auto]
LBA/Large Mode [Auto]
Block(Multi-sector Transfer) M [Auto]
PIO Mode [Auto]
DMA Mode [Auto]
SMART Monitoring [Auto]
32Bit Data Transfer [Enabled]
Select the type of
device connected to
the system.
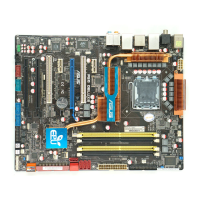
When using one hard disk in Normal Mode, connect the hard disk to the SATA_E1
(orange, port 0) connector on the motherboard.
 Loading...