36
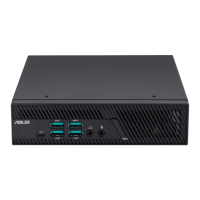
ASUS Mini PC PB62
Installing the CPU
IMPORTANT!
• Refer to http://www.asus.com for the list of compatible CPUs.
• Only ASUS-authorized technicians should remove and install
motherboard and mechanical parts inside your Mini PC. Please
refer to the terms and conditions in the warranty card.
• Visit an authorized ASUS service center or retailer for
information on module upgrades for your Mini PC.
1. Follow steps 1 - 3 under the Installing top memory module section to
prepare removing the heatsink and fan module.
2. Loosen the four (4) screws securing the CPU heatsink one by one in
a diagonal sequence as shown. Then remove the heatsink and fan
module completely.
A
B
D
C
A
D
B
C

 Loading...