30
PN Series
IMPORTANT!
• It is recommended that you install or upgrade the memory
modules, wireless card, and solid state drive (SSD), under professional
supervision. Visit an ASUS service center for further assistance.
• Ensure that your hands are dry before proceeding with the rest
of the installation process. Before installing any of the features
in this guide, use a grounded wrist strap or touch a safely
grounded object or metal object to avoid damaging them due
to static electricity.
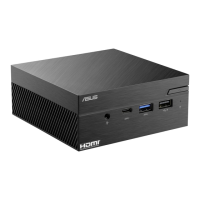
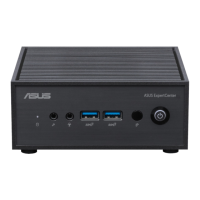
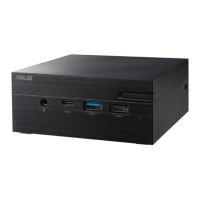
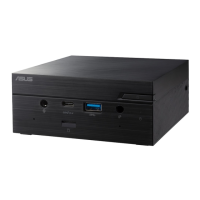
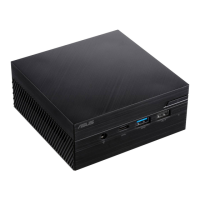
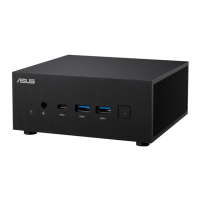
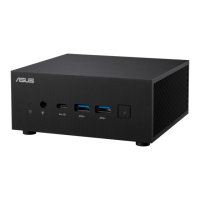
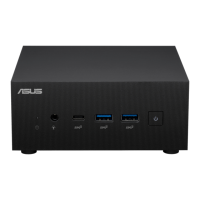
NOTE: The illustrations in this section are for reference only. The slots
may vary depending on model.
Removing the bottom cover
1. Turn o your Mini PC then
disconnect all cables and
peripherals.
2. Place the Mini PC on a at
stable surface, with its top
side facing down.
3. Remove the four (4) screws
from the bottom (A), then
push the bottom cover
towards the right to remove
the bottom cover (B).
 Loading...