Do you have a question about the Asus ROG MAXIMUS X HERO and is the answer not in the manual?
Precautions to prevent electrical shock hazards during system handling.
Guidelines for safe handling and operation of the motherboard and components.
Overview of the manual's structure and content chapters.
Resources for additional product and software updates.
Explanation of symbols and text conventions used in the manual.
Specifications for CPU, chipset, memory, graphics, and network interface.
Specifications for storage devices, audio features, and USB connectivity.
Special ROG features, KeyBot II, and UEFI BIOS capabilities.
Overview of special features, ASUS EZ DIY, and back panel I/O ports.
Details on internal headers, BIOS, and system manageability.
Supported software, operating systems, and physical dimensions.
List of included motherboard and essential cables.
Included accessories and user guides.
Visual guide to tools and components needed for installation.
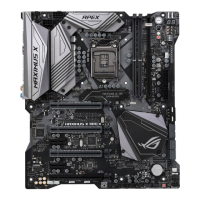
General introduction to the motherboard and its features.
Safety precautions and preparation steps before installing components.
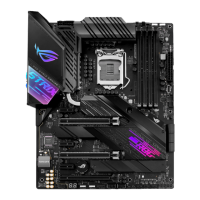
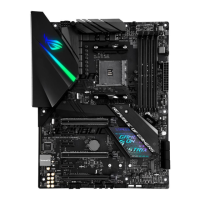
Diagram and identification of motherboard components and connectors.
Details on CPU compatibility and installation for LGA1151 socket.
Information on DDR4 DIMM slots and memory installation.
Description of PCIe slots and their operating modes.
Explanation of motherboard buttons for tuning and system control.
Details on jumpers like LN2 Mode and 3D Mount features.
Explanation of Q LEDs, Hard Disk LED, and Q-Code LED for status.
Guide to connecting internal components like SATA, USB, and fans.
Step-by-step guide to assembling PC components on the motherboard.
Detailed steps for installing the CPU into the LGA1151 socket.
Instructions for mounting the CPU cooler and fan.
Guide to securing the motherboard within the PC chassis.
Steps for installing RAM modules into the DIMM slots.
How to connect the main ATX power supply cables to the motherboard.
Instructions for connecting SATA hard drives or SSDs.
Connecting front panel headers for USB, audio, and power buttons.
Guide for installing graphics cards and other PCIe expansion cards.
Instructions for installing M.2 SSDs into the motherboard slots.
Guide to installing fan holders for additional cooling.
Instructions for updating the BIOS using USB BIOS Flashback.
Guide to connecting rear panel ports and audio devices.
Initial power-on procedure and POST checks.
Procedures for properly shutting down the system.
Introduction to UEFI BIOS and its importance for system configuration.
How to enter and navigate the BIOS setup utility.
Overview of the Advanced Mode for detailed BIOS configuration.
Introduction to the EZ Mode for basic system information and settings.
How to configure fan speeds and profiles in the BIOS.
Using the wizard for automatic overclocking and RAID configuration.
How to save and access frequently used BIOS items.
Overview of system information and basic settings like date, time, security.
Options for overclocking related settings.
Detailed system settings for CPU, storage, and other devices.
Monitoring system temperature, power, and fan settings.
Configuring boot order and CSM settings.
Accessing utilities like EZ Flash 3 and Secure Erase.
Options for saving, discarding changes, or loading defaults.
Procedures for updating the motherboard BIOS.
Introduction to Intel Rapid Storage Technology and RAID levels.
Explanation of RAID 0, RAID 1, RAID 5, and RAID 10 configurations.
How to configure RAID settings within the UEFI BIOS.
Steps to create a driver disk for RAID installation in Windows.
Table of Q-Code error indicators and their meanings.
Regulatory compliance statements, including FCC.
Contact details for ASUS technical support and service.
| Form Factor | atx |
|---|---|
| Chipset | intel z370 |
| Processor Socket | socket lga 1151 |
| Processor Compatibility | intel core i5, intel core i3, intel core i7 |
| Maximum Memory | 64 gigabytes |
| Power Connector | 24-pin main power connector, 8-pin atx12v connector |
| PCI Slots | 6 |
| PCI Bus Slots | 6 |
| Memory Slots | 4 |
| Width | 12 inches |
|---|---|
| Net Weight | 6.26 ounces |