Quick Start Guide
4
English
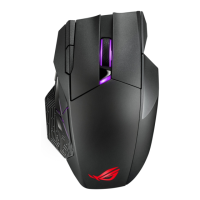
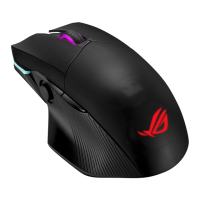
Package contents
• 1xPUGIOGamingMouse
• 1xROGpouch
• 1xAccessorybox
• 2xJapanese-madeOmronswitches
• 2xSidebuttoncovers
• 1xROGlogosticker
• Userdocumentation
System requirements
• Windows®10/Windows®8.1/Windows®7
• 100MBofharddiskspace(foroptionalsoftware
installation)
• Internetconnection(fordownloadingoptionalsoftware)
• USBport
Getting started
To set up your PUGIO Gaming Mouse:
1. Connect the USB cable to your computer’s USB port.
2. Download Armoury from http://www.asus.com then
install it in your computer.
3. For more on programmable buttons, performance
settings, lighting eects, download and install Armoury
from www.asus.com.
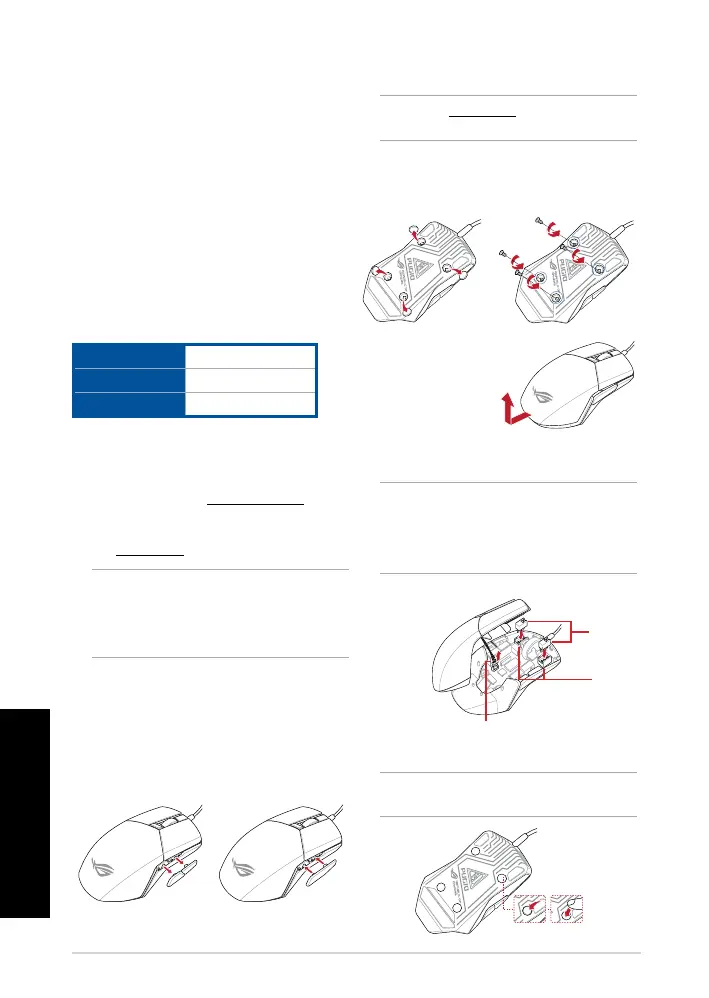
Replacing the switches
NOTE: Refer to www.asus.com for the list of compatible
switches.
If you want to replace the switches, follow the steps
below:
1. Remove the four (4) rubber covers under your mouse,
then remove the four (4) screws and set them aside.
Switching the side button cover
You may switch the left or right side buttons with a
cover:
1. Pull the left or right side buttons o.
2. Attach the new side button cover bundled in the
Accessory box.
Omron
switches
Switch
sockets
DPI indicator cable
Specications
Resolution 100 DPI to 12000 DPI
Default DPI 1 1600 DPI
Default DPI 2 400 DPI
IMPORTANT! When you encounter a problem while
updating the rmware, unplug the micro USB cable, then
press and hold down the left, right and scroll button on
your mouse and replug the micro USB cable to restart the
update.
2. Lift the top cover
slightly, then pull it
back away from the
USB cable to remove
the top cover.
3. Disconnect the DPI indicator cable.
4. Replace the switches.
IMPORTANT!
• Ensuretoinstalltheswitchwithitsbuttonfacingthe
front of the mouse to the switch socket.
• Ensurethattheswitchesareseatedproperlyonthe
switch sockets.
5. Reconnect the DPI indicator cable.
6. Replace the cover and secure with the screws.
7. Replace the rubber covers on the bottom of your mouse.
NOTE: Ensure the rubber covers are pushed in
completely.