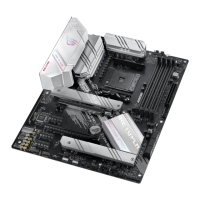
ROG STRIX B550-XE GAMING WIFI
2-13
Chapter 2
To install M.2 storage devices onto your ASUS HYPER M.2 X16 GEN 4 card:
1. Remove the six (6) cover screws that secure the cover to the ASUS HYPER M.2 X16
GEN 4 card, then remove the cover and set it aside.
To install HYPER M.2 X16 GEN 4 card
4. Insert the M.2 storage devices into the
PCIe M.2 storage device connectors
(A), then secure the M.2 storage
devices with the bundled screws (B).
3. Secure the stand screws onto the
ASUS HYPER M.2 X16 GEN 4 card.
2. (optional) If you are installing a single
sided M.2 storage device, ensure to
peel off the bundled M.2 rubber pads,
and stick them on top of the pre-
installed M.2 rubber pads on the ASUS
HYPER M.2 X16 GEN 4 card.
DO NOT install the bundled M.2
rubber pads when installing a
double-sided M.2 storage device.
The 1mm rubber pad installed by
default is compatible with double
sided M.2 storage devices.

 Loading...