2-4
Chapter 2: Basic Installation
Chapter 2
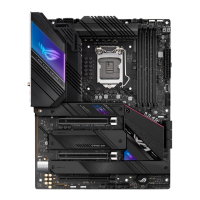
DO NOT overtighten the screws! Doing so can damage the motherboard.
2. Place nine (9) screws into the holes indicated by circles to secure the motherboard to
the chassis.
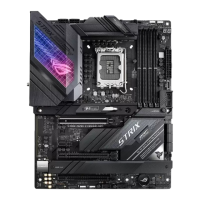
1. Place the motherboard into the chassis, ensuring that its rear I/O ports are aligned to
the chassis’ rear I/O panel.
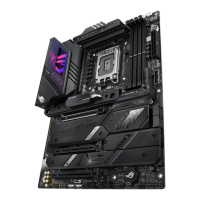
2.1.3 Motherboard installation
®
ON
OFF

 Loading...