1-4
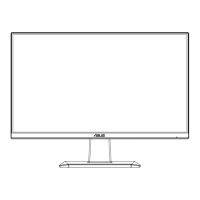
Chapter 1: Product Introduction
Installaion
1. Turn o your computer and unplug your computer's power cord.
2. Connect the signal cable to the HDMI (optional) and /or Type C (optional)
and /or DP (optional) input socket of the monitor, and the HDMI (optional)
and /or Type C (optional) and /or DP (optional) output socket of the
graphics card on the computer. Then tighten the thumbscrews on the
signal cable connector.
3. To use the RJ45 port: After USB upstream connection is established
between the computer and the monitor, use a RJ45 cable to connect the
monitor with an AP/ router. You can now access the Internet.
4. Insert the monitor power cable into the power port at the back of the
monitor.
5. Plug the power cords of your computer and your monitor into a nearby
electrical outlet.
6. To use the USB upstream/downstream function:
• Upstream: Use an USB Type-C cable and plug on end of the Type-c
connector
to the monitor's USB 3.2 Gen1 Type-C port as upstream and the other
end to your computer's USB Type-C jack. Or use an USB Type-C to
Type-A cable and plug the Type-C connector to the the monitor's USB
3.2 Gen1 Type-C port as upstream and the Type-A connector to your
computer's USB Type-A jack. Make sure your computer is installed with
the latest Windows10/Windows11 operating system.
• Downstream: Use an USB cable to connect your device with the monitor's USB
Type A jack.

 Loading...