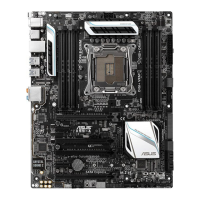
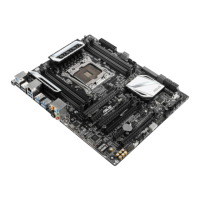
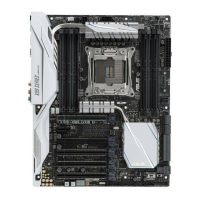
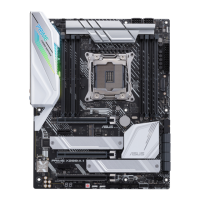
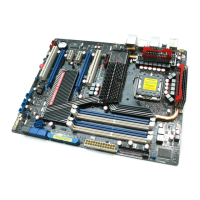
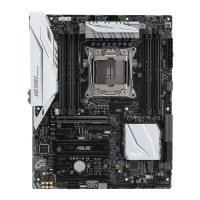
ASUS X99-A II
2-3
Chapter 2
2.1.2 CPU installation
Installing CPU
• Please note the order in opening/ closing the double latch. Follow the instructions
printed on the metal sealing hatch or the illustrations shown below in this manual. The
plastic cap will pop up automatically once the CPU is in place and the hatch properly
sealed down.
• Theillustrationsareforreferenceonly.
• TheCPUInstallationToolisonlycompatibleonASUSmotherboardswithanIntel
®
LGA2011-3 socket.
• EnsurethattheCPUisrmlyclickedintoplacebeforeinstallingitintotheCPUsocket
or socket slot.
• UsetheCPUInstallationToolforinstallingtheCPUonly.DONOTdamageorbend
the CPU Installation Tool.
• AlwaysrmlyholdbothsidesoftheCPUInstallationToolwheninstalling,removing,or
picking up the CPU Installation Tool.
• EnsuretouseasoftstablesurfacewheninstallingtheCPUtotheCPUInstallation
Tool to prevent CPU damage.
• ASUSwillnotcoverdamagesresultingfromincorrectCPUinstallation/removal,
incorrect CPU orientation/placement, or other damages resulting from negligence by
the user.
 Loading...