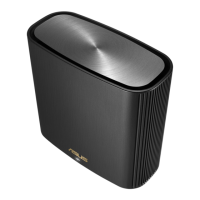
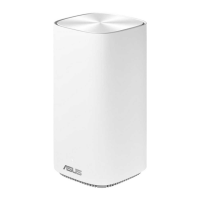
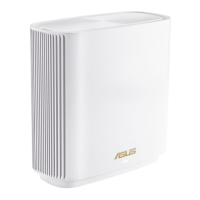
ASUS ZenWiFi AXE7800
AXE7800 Tri Band WiFi Router
Model: AXE7800
Quick
Start Guide
1
Plug the adapter into the DCIN port, and press the power button.
2
The power LED will light up when your hardware is ready.
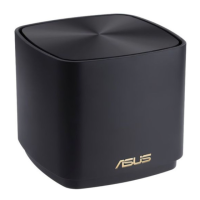
Hardware Explanations
Button and Port Explanations
Power switchDC-IN port
2.5G /1G WAN
port
LAN ports 1-3 USB 3.2 Gen 1 port
2.5G / 1G WAN port
Connect your optical modem to this
port with a network cable.
LAN ports 1-3
Connect your PC to a LAN port with a
network cable.
Before Setup
ASUS Router App
AiMesh Setup Steps
Troubleshooting
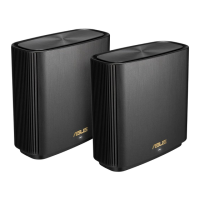
1
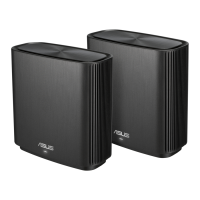
Find three ZenWiFi AXE7800, and power them on.
2
Use a network cable to connect your optical modem to the WAN port of one ZenWiFi AXE7800, which will
be the AiMesh router, and the other two ZenWiFi AXE7800 will be the AiMesh nodes.
3
The LED turns solid blue to indicate that ZenWiFi AXE7800 is ready for setup.
Preparing to set up an AiMesh WiFi system
AiMesh Setup Steps
AiMesh routerAiMesh nodes
Download free ASUS Router APP to set up and
manage your router(s).
AiMesh router
AiMesh node
Prepare
01
Place your AiMesh router and nodes at least 1
meter apart from each other during the setup
process.
AiMesh nodes
02
Keep your AiMesh nodes powered on and
standby for AiMesh system settings.
Launch ASUS Router APP, and then follow the on-screen instructions to nish the AiMesh setup.
Launching ASUS Router APP
03
If your AiMesh router cannot nd any AiMesh node nearby or
synchronization fails, please check the following and try again.
a
Move your AiMesh nodes closer to the AiMesh router ideally. Ensure that they are within 3 meters of each
other.
b
Your AiMesh nodes are powered on.
DC Power adapter DC Output: +12V with max 3A current
Operating Temperature 0~40
o
C Storage 0~70
o
C
Operating Humidity 50~90% Storage 20~90%
Specications:
NOTE: When you’re using a wireless backhaul to connect your router and AiMesh node, the WAN port on your AiMesh node
can be used as a LAN port providing up to 2.5G transmission speed.
1 meter
apart
1 meter
apart
AiMesh node
E23297