==
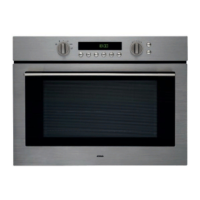
Montage bevestigingsschroeven en plaatsen
magnetron
Vis de fixation pour le montage et
placement du four à micro-ondes
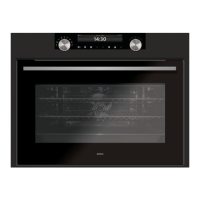
1. Bepaal met behulp van de aftekenmal de positie van de
bevestigingsschroeven.
1. Déterminez à l'aide du gabarit la position des vis de
fixation.
3,5 mm min.
4,5 mm max.
x
X=1,5 mm
1 mm
A
2. Draai de schroeven (4x20 mm) in de bodemplaat.
Laat de schroeven minimaal 3,5 mm / maximaal 4,5 mm
uitsteken.
2. Vissez les vis (4x20 mm) dans la plaque de fond.
Les vis doivent dépasser de 3,5 - 4,5 mm sous tête.
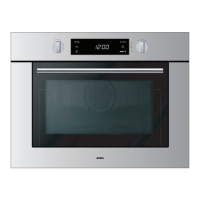
3. Schuif de magnetron gedeeltelijk in de nis. Leid de
aansluitkabel naar de plaats waar het aansluitpunt zit.
3. Glissez partiellement le four à micro-ondes dans la niche.
Guidez le câble de raccordement jusqu’au point de
raccordement.
4. Schuif de magnetron geheel in de nis.
Als x=1,5 mm: attentie!
4. Glissez entièrement le four à micro-ondes dans la niche.
Comme x=1,5 mm: attention!
5. Schroef de magnetron vast met de
2 schroeven (4x25 mm). Plaats de sierdopjes.
5. Fixez le four à micro-ondes en utilisant les
2 vis (4 x 25 mm). Placez les caches.
Fitting fastening screws and installing
microwave oven
Montage der Befestigungsschrauben und
Einbau des Mikrowellengerätes
1. Using the marking template, determine the position of the
fastening screws.
1. Bestimmen Sie mit Hilfe der Schablone die Position der
Befestigungsschrauben.
2. Screw the screws (4x20 mm) into the bottom plate.
Leave the screws sticking out from 3,5 mm minimum to
4,5 mm maximum.
2. Drehen Sie die Schrauben (4x20 mm) in die Bodenplatte.
Lassen Sie die Schrauben 3,5 mm min. / 4,5 mm max.
herausragen.
3. Slide the microwave oven partly into the recess. Lead the
connection cable to the place where the power point is.
3. Schieben Sie das Mikrowellengerät teilweise in die Nische.
Leiten Sie das Anschlußkabel zur Anschlußstelle.
4. Slide the microwave oven completely into the recess.
When x=1,5 mm: attention!
4. Schieben Sie das Mikrowellengerät ganz in die Nische.
Wenn x=1,5 mm: Bitte beachten!
5. Fasten the microwave oven using the 2 screws
(4x25 mm). Put the decorative caps on.
5. Verschrauben Sie das Gerät mit den 2 Schrauben
(4x25 mm). Bringen Sie die Abschlußkappen an.
==
3,5 mm min.
4,5 mm max.
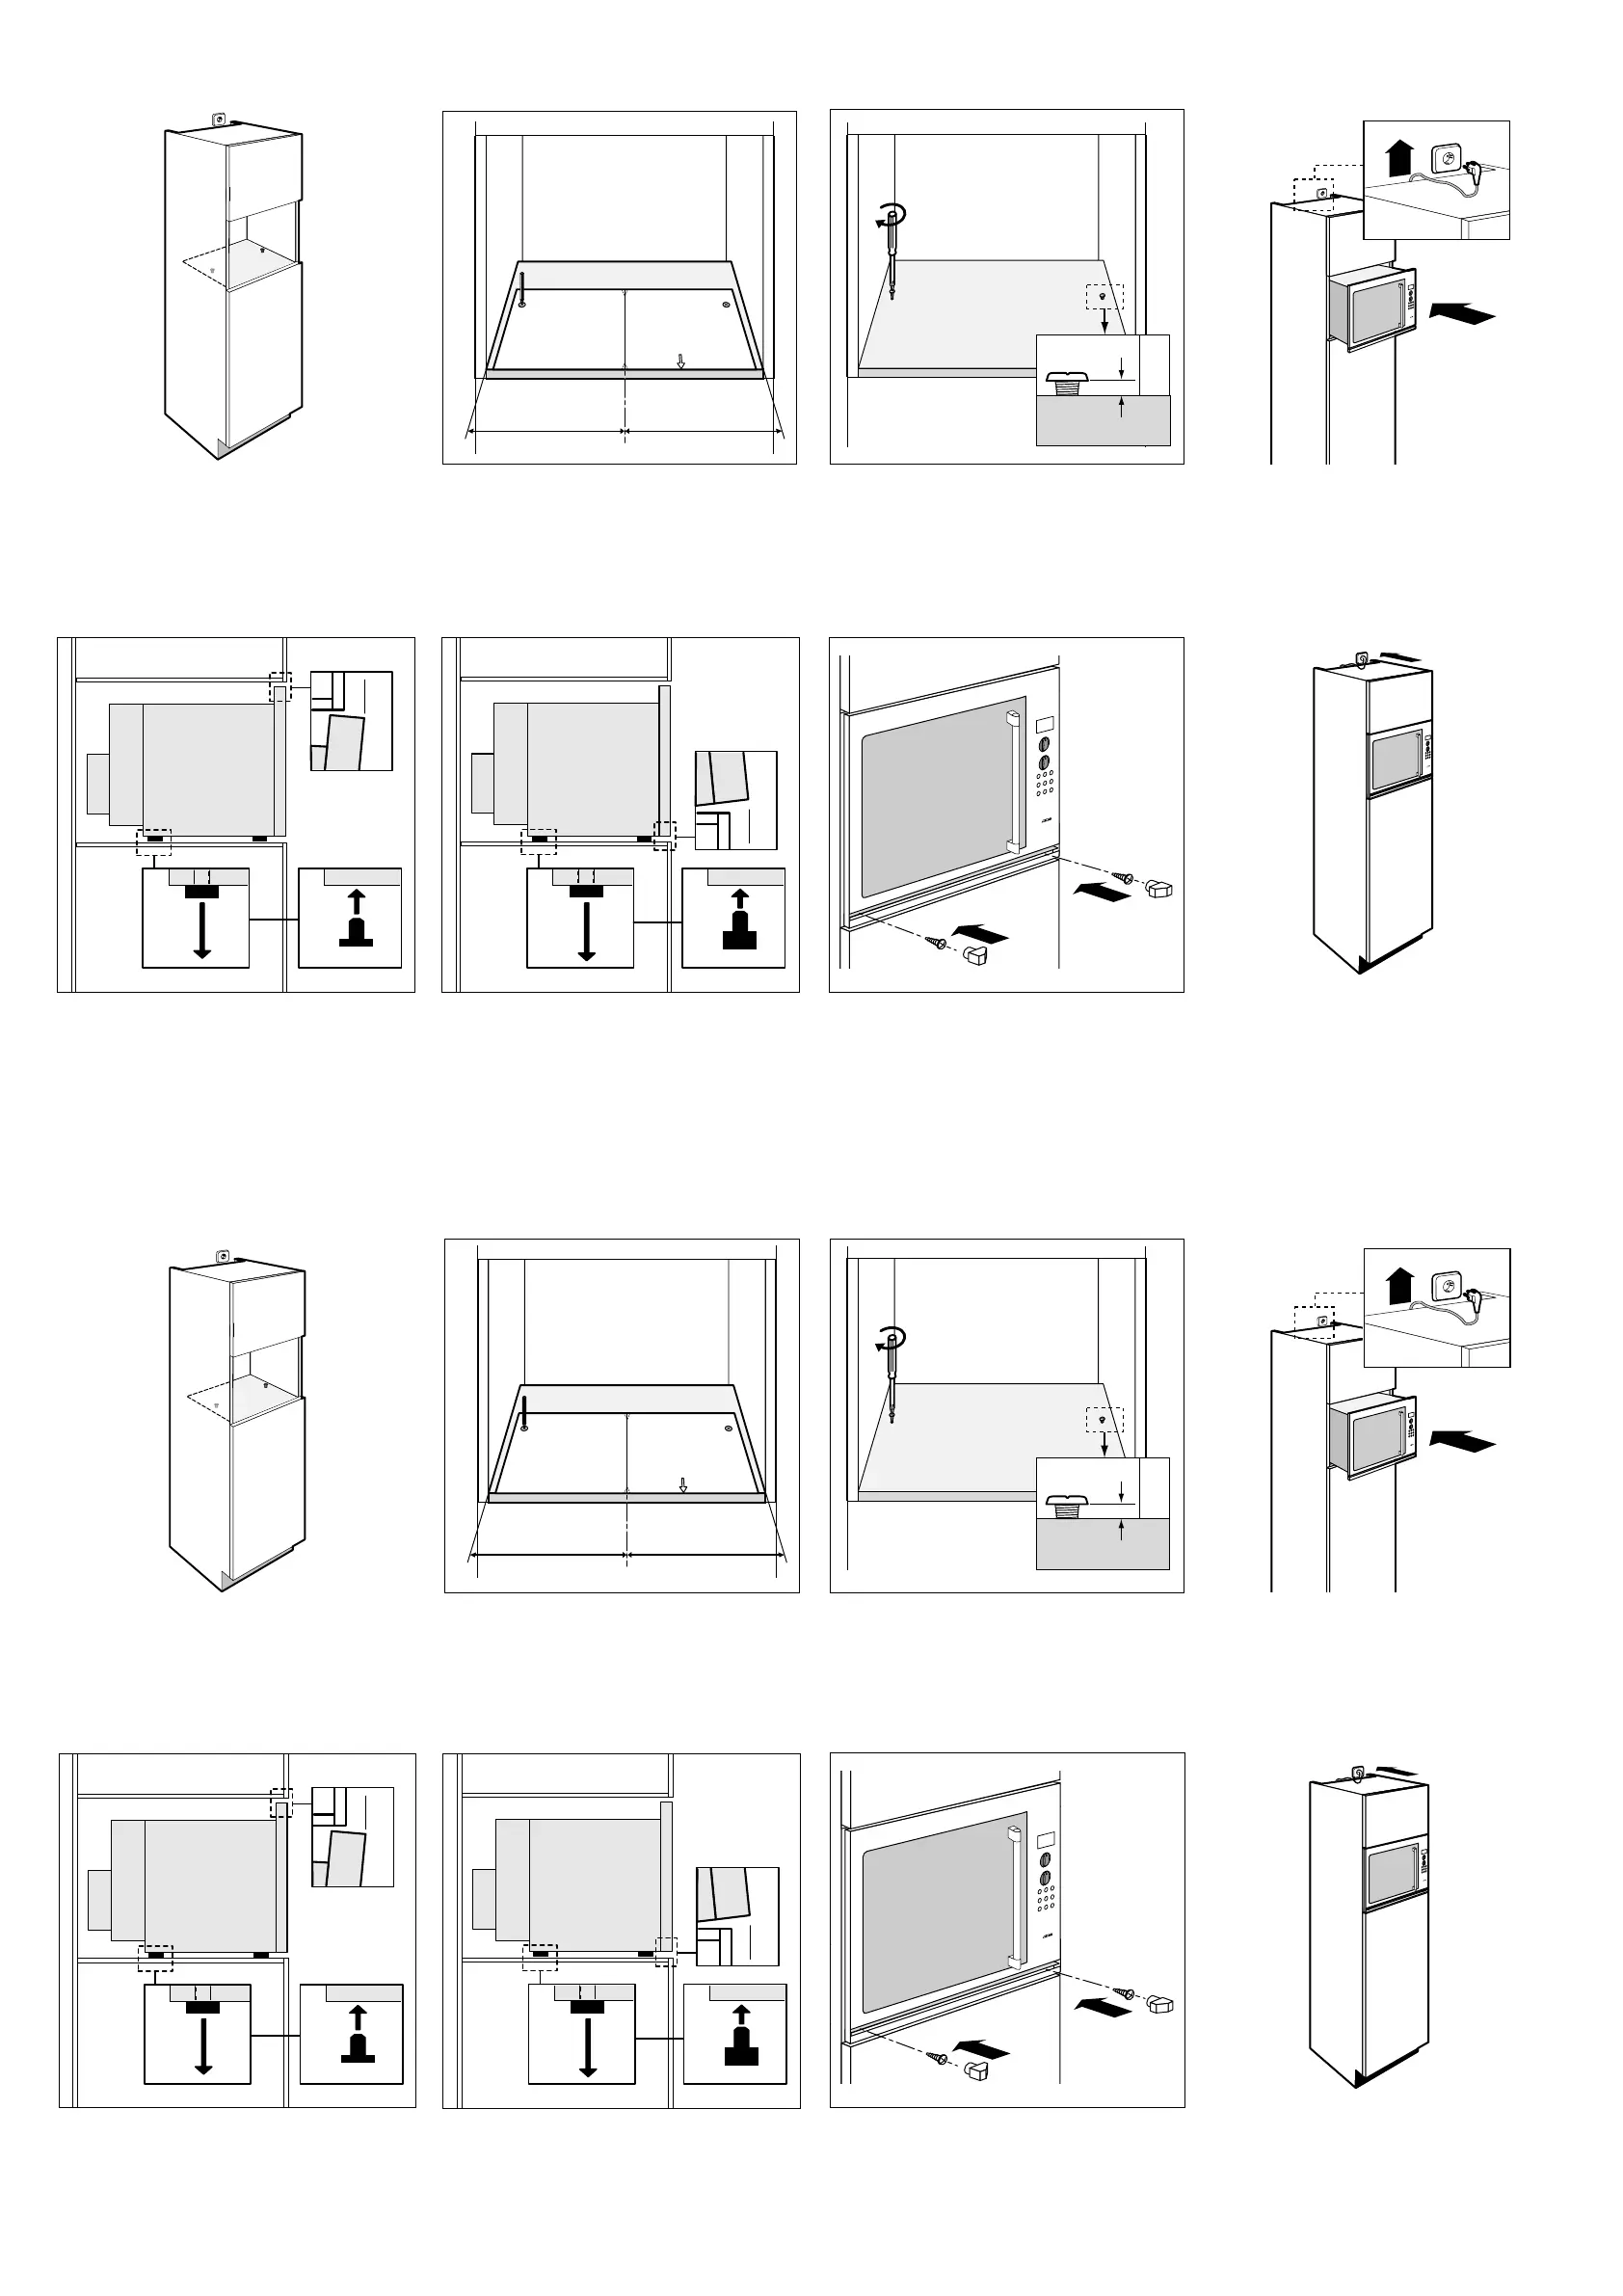
inbouwen / encastrement
Einbauen / building-in
6. Maak de elektrische verbinding. Controleer de werking van
het toestel.
6. Effectuez le branchement électrique. Contrôlez le
fonctionnement de l’appareil.
6. Make the electrical connection.
Check that the appliance works.
6. Sorgen Sie für den elektrischen Anschluß. Schieben Sie
das Mikrowellengerät ganz in die Nische.
Überprüfen Sie die einwandfreie Funktion des Gerätes.
X=1,5 mm
B
3 mm
x
x
X=1,5 mm
1 mm
A
X=1,5 mm
B
3 mm
x
 Loading...