GB
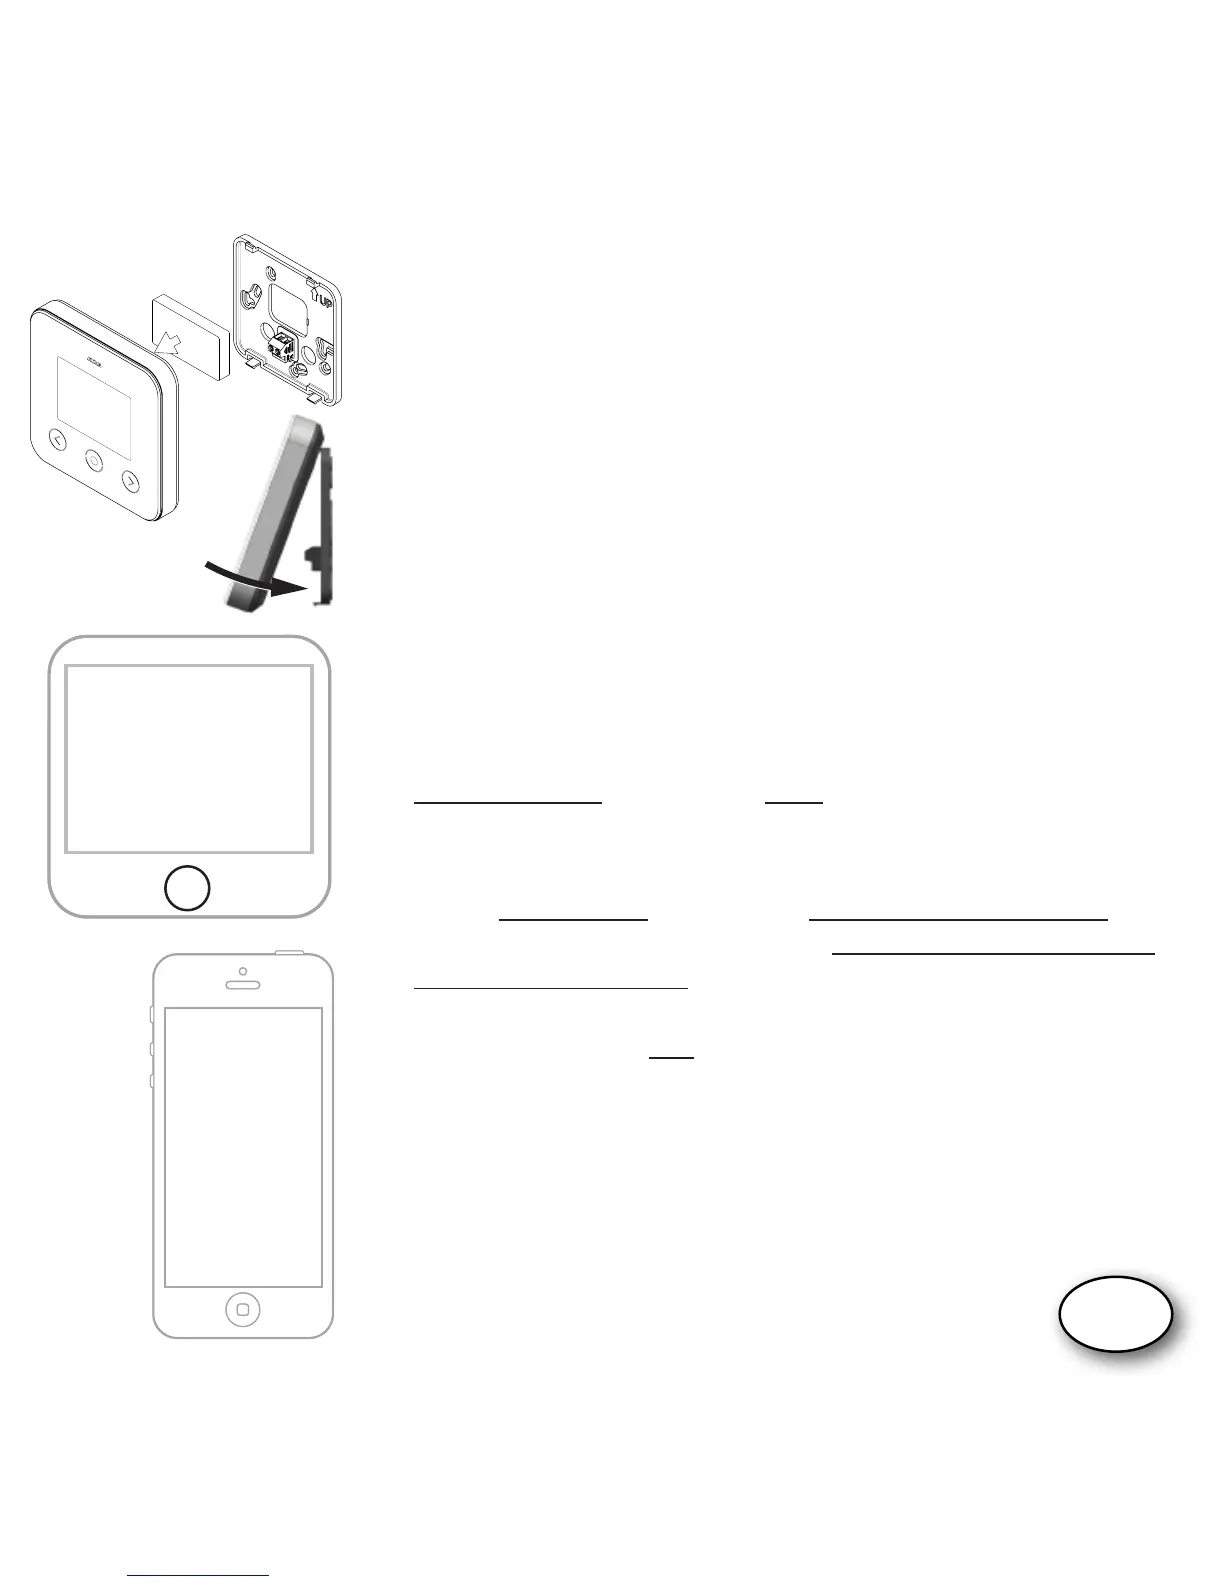
1. Install ATAG One:
- Screw the base plate of the ATAG One against the wall
(at the place of the old thermostat).
- Turn off the power supply to the boiler.
- Connect the ATAG One to the boiler. When necessary:
see the connection scheme of the BCU for connecting
the power supply and thermostat cables.
- Place the battery in ATAG One. Hook and click the
ATAG One to the base plate and switch on the power
supply to the boiler.
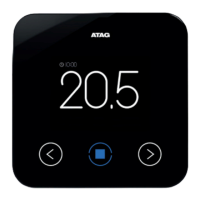
2. ATAG One thermostat:
At rst start:
Select your language and follow all steps until
CONFIGURE and select: Yes*.
(In case ATAG One is already connected and you want
to leave or check the P-number and installer data:
Go to SETTINGS and select RECONFIGURE: YES).
(From SW/R43: Go to SETTINGS/CONFIGURATION/WIFI-
RECONFIGURATION)
*In case you select NO a few steps have to be done to adjust
time and date. The ATAG One is not connected to the Wi-Fi
network and will function ofine as a room thermostat.
3. Start One-app.
- Enter the email address and the password of your
installer account.
- Press LOGIN
CONFIGURE
Would you like to connect
your ONE app now?
YES NO
Remember me
E-mail address
Password Reset
Login
Registrer user
Wi-Fi conguration
Skip login

 Loading...