- Select NO
- Press the blue button again to return to the default
readout screen.
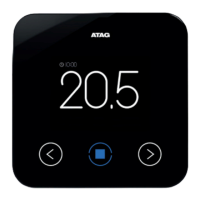
Check the ATAG One thermostat if all data are
available and everything is working:
- Go to SETTINGS
- Go to Log
(From SW/R43: Go to SETTINGS/INFORMATION/SYSTEM)
At P-# the (entered) P-number of the boiler should be
visible.
At HELP you will nd your company name and phone
number. (From SW/R43: Go to SETTINGS/INFORMATION/
SUPPORT)
- Set the thermostat back to the default readout by
selecting BACK.
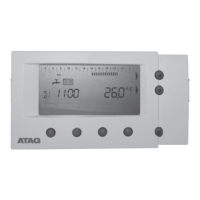
The battery is situated on the back side op the ATAG One.
When necessary the battery can be replaced. Following the
instructions below:
1. Pull the ATAG One at the bottom towards you and lift it
from its hooks of the base plate. (NOTE: Do not pull strait-
wards from the wall. This will damage the base plate!)
2. The battery is on the back side of the ATAG One. Place
your nger in the half round spacing, press the clamp to the
outside and lift the battery from its place.
3. Place the new battery under an angle in its spacing and slide
it in its place by clicking it into the clamp.
Battery replacement
SETTINGS
^
HELP
.............................
........................
..............
LOG
GB

 Loading...