23
SL1 DATA LOGGER User Manual Rev. AD
sales.get@athena.euwww.getdata.it
ENGLISH
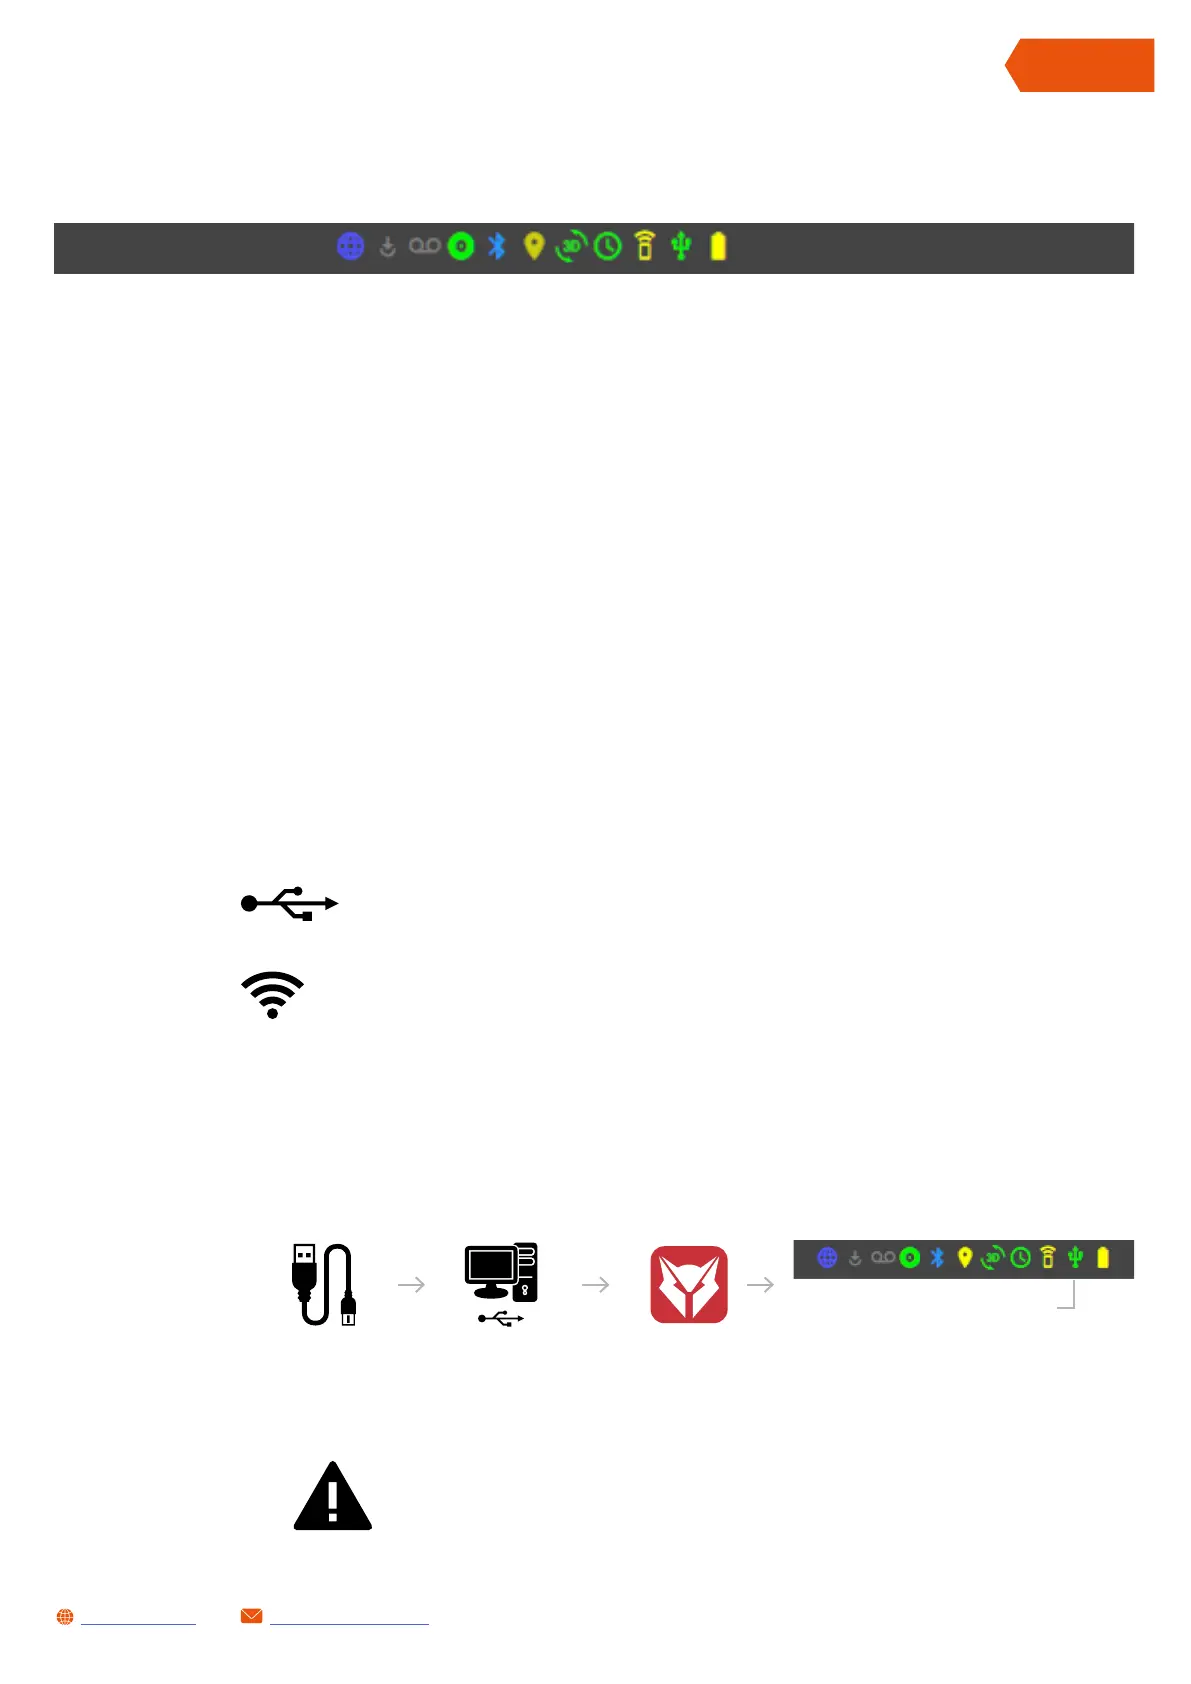
11.3 LYNXLOG STATUS BAR
12 HOW TO...
12.1 CONNECTING THE SL1 DATA LOGGER TO THE PC
The icons on the status bar show the current status of the following:
• Internet connection
• Requested system update (OTA)
• Use of the internal memory
• Bluetooth status
• GPS status
• Status of the inertial platform (IMU)
• Status of the system clock
• WiFi status
• USB status
• Status of the backup battery
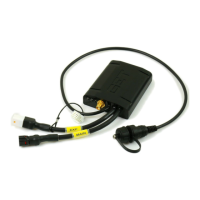
The SL1 Data Logger can be connected in two ways:
Via USB (code GK-SL1-0001 and GK-SL1-0002)
Via WiFi (only code GK-SL1-0001)
12.1.1 USB CONNECTION
Proceed as follows to connect the SL1 Data Logger via USB:
Connect the USB
data cable to the USB
port of the SL1 Data
Logger.
Insert the USB cable
into a USB port of
the PC.
USB CONNECTION OK
Run the LynXLog
software
Wait for LynXLog to recognise the SL1 Data Logger
– the USB icon in the status bar will turn green (it
may take up to 30 seconds if the system was off).
NOTE:
THE SL1 DATA LOGGER CAN BE POWERED VIA THE USB CABLE, THIS PERMITS
DOWNLOADING DATA WITHOUT THE NEED FOR AN AUXILIARY POWER SUPPLY