HyHydrdrauaulliic sc sysystetem / m / RReepapaiir r ininststruructctiioonns / s / CCoonntrtrool vl valalveve 88.2.277
Electrically operated control valve, dismantling and assemblingElectrically operated control valve, dismantling and assembling
1.1. Lower Lower down down the the forks forks and and relierelieve thve the pree pressure ssure in the in the hydrahydraulic sulic systemystem..
2.2. SwSwititch ch ofoff tf the he kekey sy swiwitctch.h.
3.3. Open Open the mathe machinchine houe housing sing cover cover and land lift up ift up the hthe hand reand rest so st so that ththat the valve valve bece becomesomes
accessible.accessible.
4.4. Place Place proteprotective ctive papepaper undr under ther the valve valve and e and relearelease thse the elece electric ctric cableables to ts to thehe
microswitch(s).microswitch(s).
5.5. LooLoosen asen all the oll the oil piil pipes cpes connonnectected to ted to the vahe valvlve, and e, and pluplug theg them.m.
6.6. LooLoosen sen the the valvalve ve from from the the trutruck, ck, and and liflift it t it outout..
7.7. When fWhen fittinitting, firsg, first plact place the e the valve valve in the in the tructruck but dk but do not to not tighten ighten until until all the all the oiloil
pipes are connected. Tighten the valve and then the pipes are connected. Tighten the valve and then the oil pipes, max 60 Nm.oil pipes, max 60 Nm.
8.8. AdjusAdjust the t the prespressure sure limitilimiting vang valve lve to the to the rated rated weigweight in ht in accaccordanordance wice with thth thee
machine plate.machine plate.
99.. SSeeal al ththe e sseettttiningg..
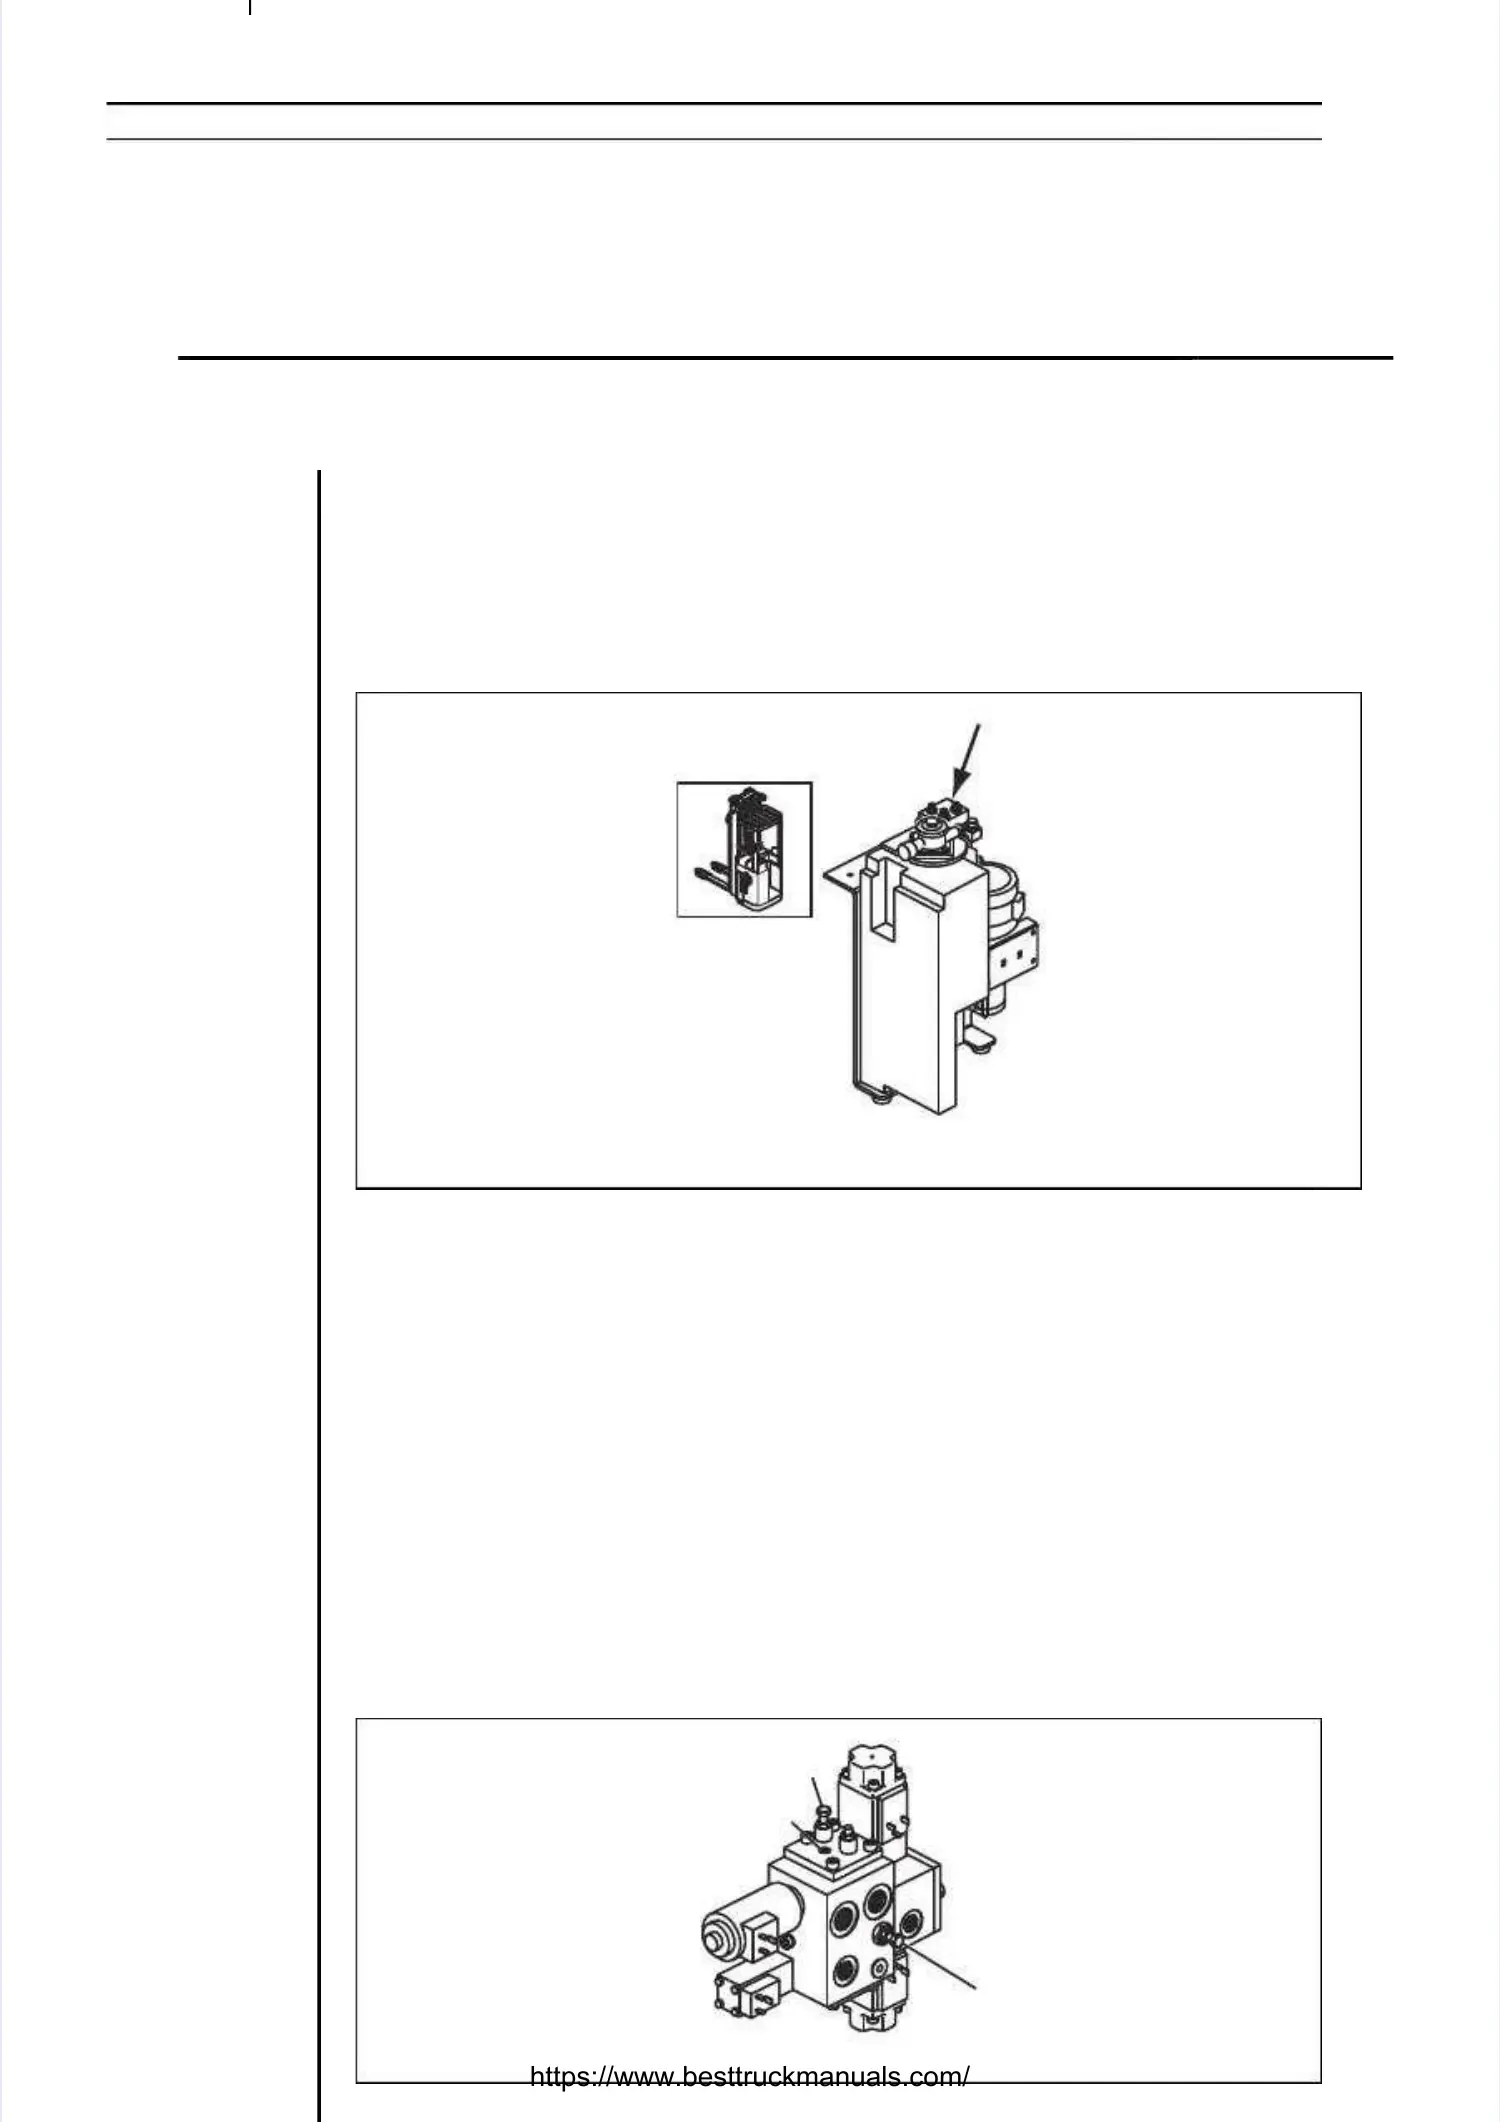
Figure 8.10Figure 8.10 Position of electric proportional valvePosition of electric proportional valve
Figure 8.11Figure 8.11
Electrically operated proportional valveElectrically operated proportional valve
08_010_A-ERGO_Pl
08_010_A-ERGO_Pl
aa
cElPropV.epscElPropV.eps
TighteningTightening
torque:torque:
60 Nm.60 Nm.
El
ElPropVentPropVent..epseps
11
22
33
 Loading...