OPERATING INSTRUCTIONS: TILLERS ALL MODELS
MULCHING
PAGE 13
1. The Atom Tiller is very easy and simple to use. It only takes a
few minutes to become an efficient user.
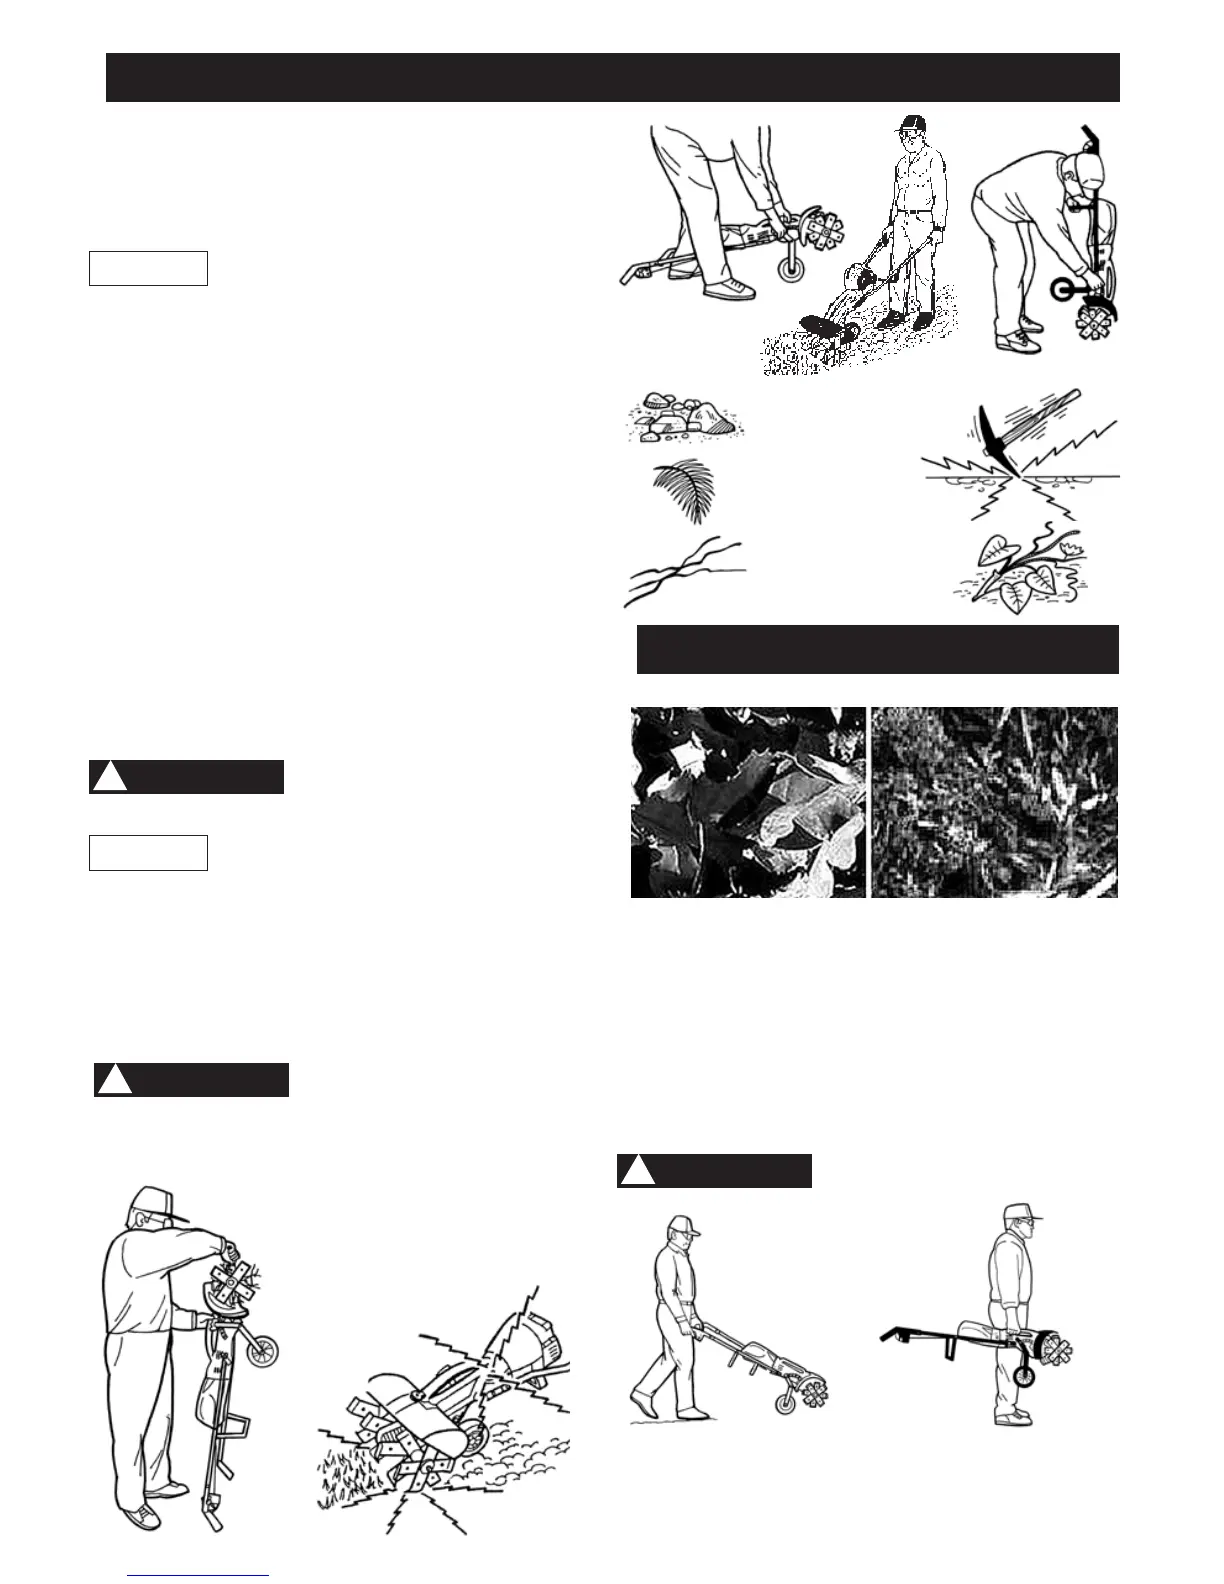
2. Thoroughly inspect the area where the tiller is to be used and
remove all long grass, stones, sticks, wires and other foreign
objects. Give the ground and little watering to soften the
ground and keep dust down.
FIG 71
Operate unit carefully. Be very careful
walking backwards as you may trip,
fall and injury yourself. Always have a firm footing.
! WARNING
Very hard ground, clay or rocky conditions: The Atom
rotary tiller is NOT DESIGNED for very hard ground, hard
or rocky conditions. These kinds of soil will not make a good
garden bed. NOT recommended for ground covered with palm
leaves, vines, wire or long grass as it will clog the tines and will
not till ground.
8
8
8
8
8
The Atom Tiller is not designed for large areas
where heavier duty equipment should be used.
If you cannot push a spade into the ground, then the ground is
too hard.
! NOTE
FIG 72
Using an Atom Tiller is a highly efficient method of creating a
compost heap in the corner of your garden. This nutrient rich mulch
and compost can be used to improve existing beds and stimulate
rapid earth worm activity.
It only takes a few minutes to produce compost. Make a pile of
leaves, lawn cuttings and other small leafy or vegetable matter,
about 500mm high. Place some soil on top and spray with water.
Use your Tiller to break it up into small pieces. Make the pile as big
as you like.
Repeat a week later. Leave for another week and it is ready for use.
You can add to the compost any time you wish.
TO AVOID PERSONAL INJURY,
NEVER CARRY THE TILLER WHILE
ENGINE IS RUNNING.
! WARNING
FIG 86 FIG 87
The Tiller can be easily moved as shown above.
Prior to lifting or carrying, stop the motor Fig.87.
AFTER FINISHING WORK
Storing: Keep the unit in a dry place until you need it again.
BEFORE AFTER
FIG 70
Before tilling, grass must be cut very low to the
ground (and removed) with lawnmower or string
trimmer/brush cutter to prevent fine grass strands from tangling
around and under tine drum.
! NOTE
3. Adjust tine depth (Fig.70 or 71). Try the third hole closest
to operator.
4. Start motor and, with both arms fully extended downwards,
(Fig. 72), hold both handle grips firmly.
5. As tilling action begins, the tines dig and move the tiller
forward.
6. NOTE: to reduce “Forward Pull” of tiller, adjust wheel arm
for shallower depth.
7. Continue at a moderate pace until you are familiar with the
controls and handling of the Atom Tiller.
NOTE: after allowing the tiller to cultivate 500mm you can
pull it back towards you and then allow the unit to move
forward again. You can repeat this procedure over the area
you are cultivating. Always have a firm footing.
8. Mulching. The tiller is ideal to mix, cut lawn clippings, leaves
etc into your garden bed. This method accelerates mulching/
composting process.
9. To go deeper adjust wheel arm adjustment forward or lift
handles. To go shallower adjust wheel arm adjustment
rearwards or push handles down.
If electric, disconnect lead before
carrying out any adjustment or cleaning.
! WARNING
If tines jam or stop (tines no longer rotate) pull unit back as it
could release blockage. Switch motor off. Place machine upright
with handles on ground (Fig.80). Remove obstruction.
FIG 80
Clutch: The Atom Tiller is equipped
with a centrifugal clutch.
DO NOT run tiller at low
speeds (or, if jammed) as
clutch shoes will prematurely
wear and cause
damage, Fig. 81.
FIG 81
 Loading...