Do you have a question about the ATOMIC MASS GAMES STAR WARS LEGION CHEWBACCA and is the answer not in the manual?
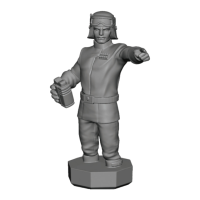
Shows the first step in assembling the Chewbacca miniature, involving part B01.
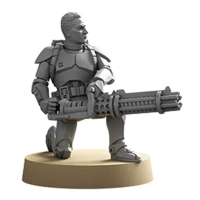
Shows the first step in assembling the General Weiss miniature, involving parts C01-C03.
Shows the second step in assembling the General Weiss miniature, involving part C04.
Details the initial assembly stages for the AT-ST, from Step 1 to Step 7, showing component attachments.
Covers assembly steps 8 through 11, illustrating the construction of various AT-ST components.
Details assembly steps 12 to 15, focusing on the construction of the AT-ST's articulated parts.
Illustrates assembly steps 16 through 19, showing the attachment of further AT-ST components.
Covers assembly steps 20 to 23, depicting the construction of the AT-ST's main body and legs.
Details assembly steps 24 through 27, showing the attachment of various AT-ST limb and weapon components.
Illustrates assembly steps 28 to 31, focusing on the AT-ST's chassis and leg assembly.
Covers assembly steps 32 through 35, detailing the construction of the AT-ST's main body and leg articulation.
Details assembly steps 36 to 39, showing the attachment of the AT-ST's cockpit and dorsal components.
Illustrates assembly steps 40 through 42, focusing on the AT-ST's cockpit and weapon systems.
Covers assembly steps 43 and 44, detailing the attachment of the AT-ST's main cannon and leg components.
Details assembly steps 45 and 46, showing the optional mortar installation and weapon attachment.
Illustrates assembly steps 47 through 50, focusing on the AT-ST's weapon systems and sensor pods.
Covers assembly steps 51 to 53, showing choices for the AT-ST's body and final assembly.
Details final assembly steps 54 and 55, including optional part placement and final model assembly.
| Brand | ATOMIC MASS GAMES |
|---|---|
| Model | STAR WARS LEGION CHEWBACCA |
| Category | Toy |
| Language | English |