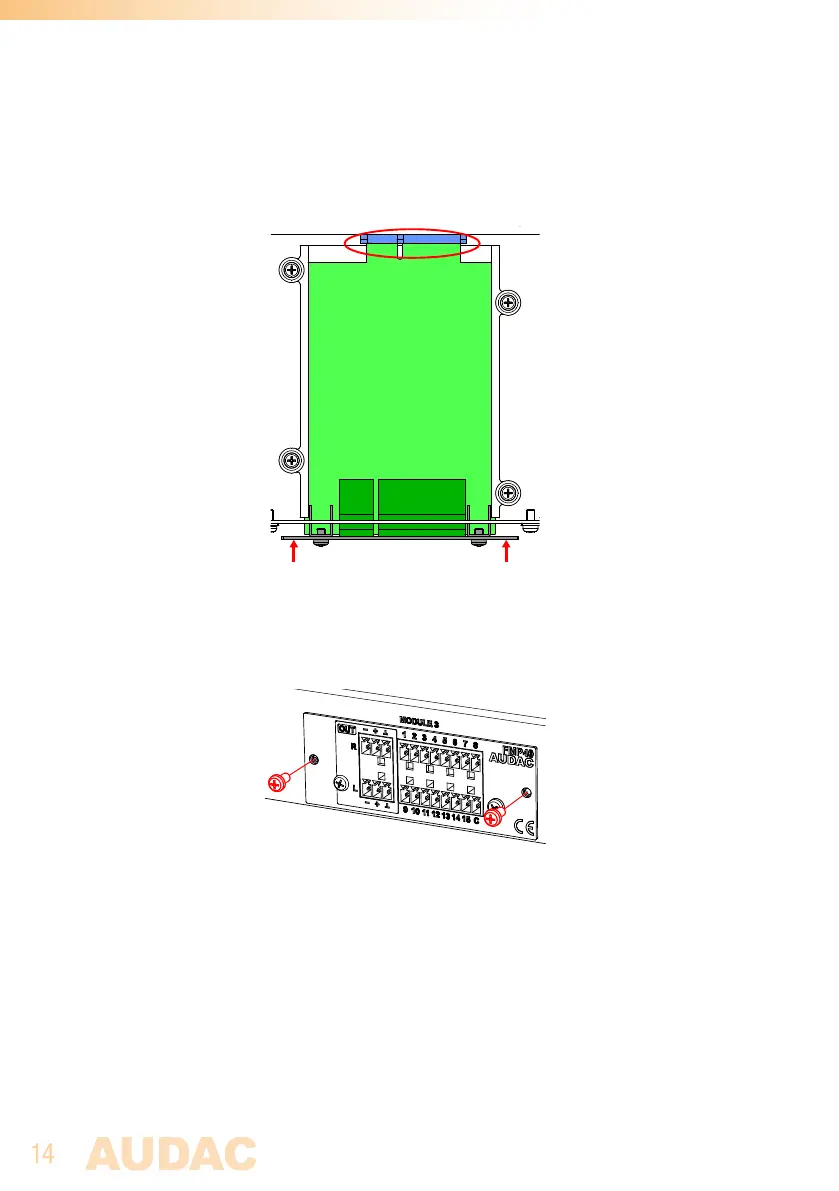
Step 4:
Some resistance might occur when the module’s board edge connector reaches the
connection counterpart on the main board. Gently push the module all the way into the
slot to ensure that the contacts are correctly inserted. The module is well inserted when
its connection panel touches the metal chassis of the main device where inserted to.
Step 5:
Fasten the module into the slot using the included screws. Be aware that damage or
malfunctions may occur if the module is not correctly fastened.
Step 6:
Once the module correctly installed, the system can be powered-on and the module
functionality will be automatically discovered.