A
Adam ReyesJul 31, 2025
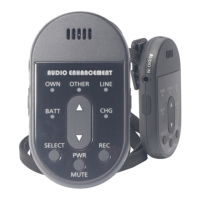
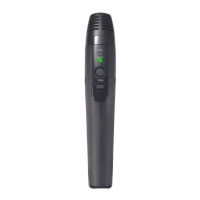
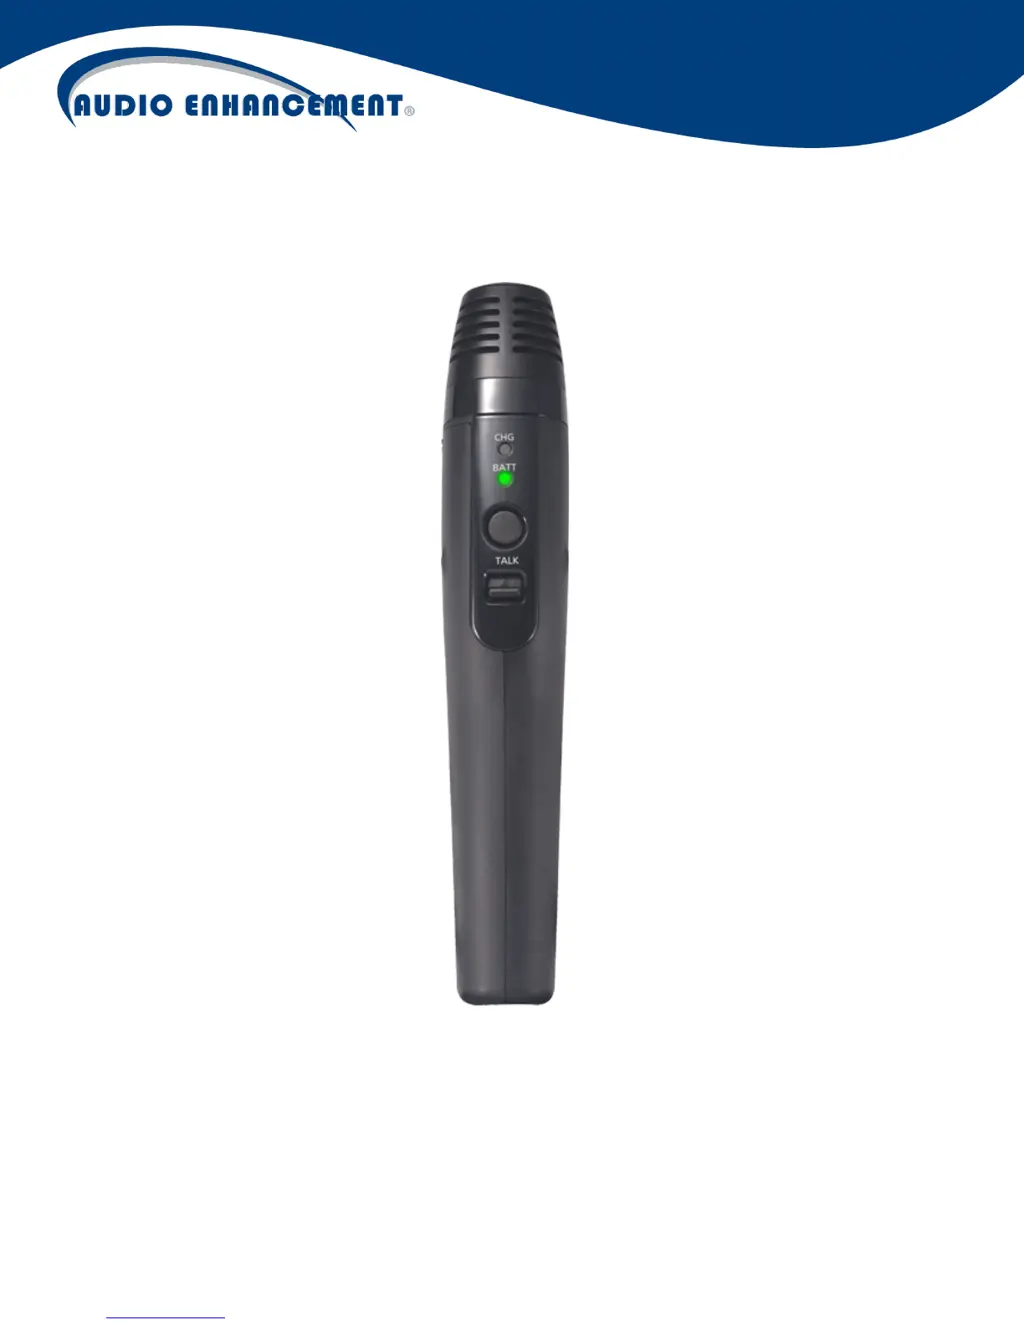
Why is my Audio enhancement K-SHH14 not charging, and the indicator is off?
- LLaura BirdJul 31, 2025
If your Audio enhancement Microphone isn't charging and the charge indicator is off, first ensure that a rechargeable battery is installed. Then, check that the micro-USB plug of the charger is fully inserted into the DC input terminal.