Do you have a question about the Audio Pro Mondial Series Sub1 and is the answer not in the manual?
Low level input (MONO) from amplifier, using enclosed Y-adaptor.
Standby switch for Auto or ON mode.
Phase switch for adjusting speaker phase.
Control for adjusting the sound level of the subwoofer.
Adjustable crossover control from 50Hz to 100Hz.
Red indicator shows the subwoofer operation status.
Speaker Level input connection from the amplifier.
Speaker Level output to satellite speakers.
Main power switch for the subwoofer.
Fuse (T1A) for power protection.
Mains cord connection for 230V power supply.
Instructions for unpacking the subwoofer and checking for damage.
Guidance on connecting the subwoofer to an amplifier or speaker terminals.
Connecting via Subwoofer-out terminal using LINE IN (1).
Connecting via Speaker Level (7) input using speaker cables.
Description of the ON/OFF power switch operation.
Operation of the standby switch in Auto and ON modes.
Explanation of the red main power indicator light.
Explanation of the blue power indicator light on the front.
How to adjust the sound level using the volume control.
Adjusting the lowpass crossover frequency for optimal matching.
Adjusting the phase between subwoofer and satellites.
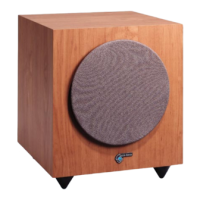
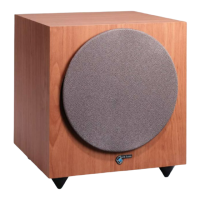
Tips for placing the subwoofer to maximize room amplification and sound quality.
Placing the subwoofer near a corner for increased bass amplification.
Rule of thumb to place subwoofer on the same wall as satellite speakers.
Warning not to cover the subwoofer or its amplifier.
Common issues and checks for subwoofer function problems.
Ensuring all connections are proper and cables are not damaged.
Information about the sophisticated overload protection feature.
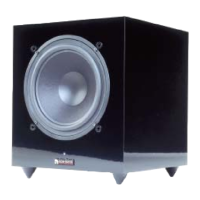
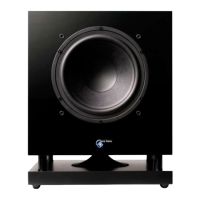
Details on amplifier, woofer, frequency range, and dimensions.
| Type | Active Subwoofer |
|---|---|
| Driver Size | 10 inches |
| Amplifier | Built-in Class D |
| Phase Switch | 0/180 degrees |
| Power Output | 150W |
| Weight | 12 kg |
| Woofer | 10-inch long-throw |
| Inputs | RCA |
| Crossover Frequency | 50Hz - 150Hz |