9
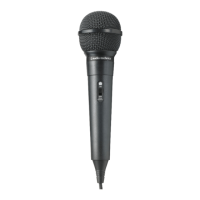
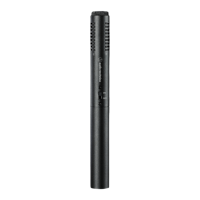
Microphone
ATR USB Mic
Working
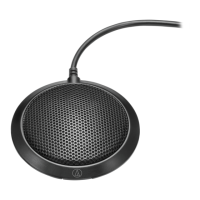
Microphone
SigmaTel C-Major Audio
Working
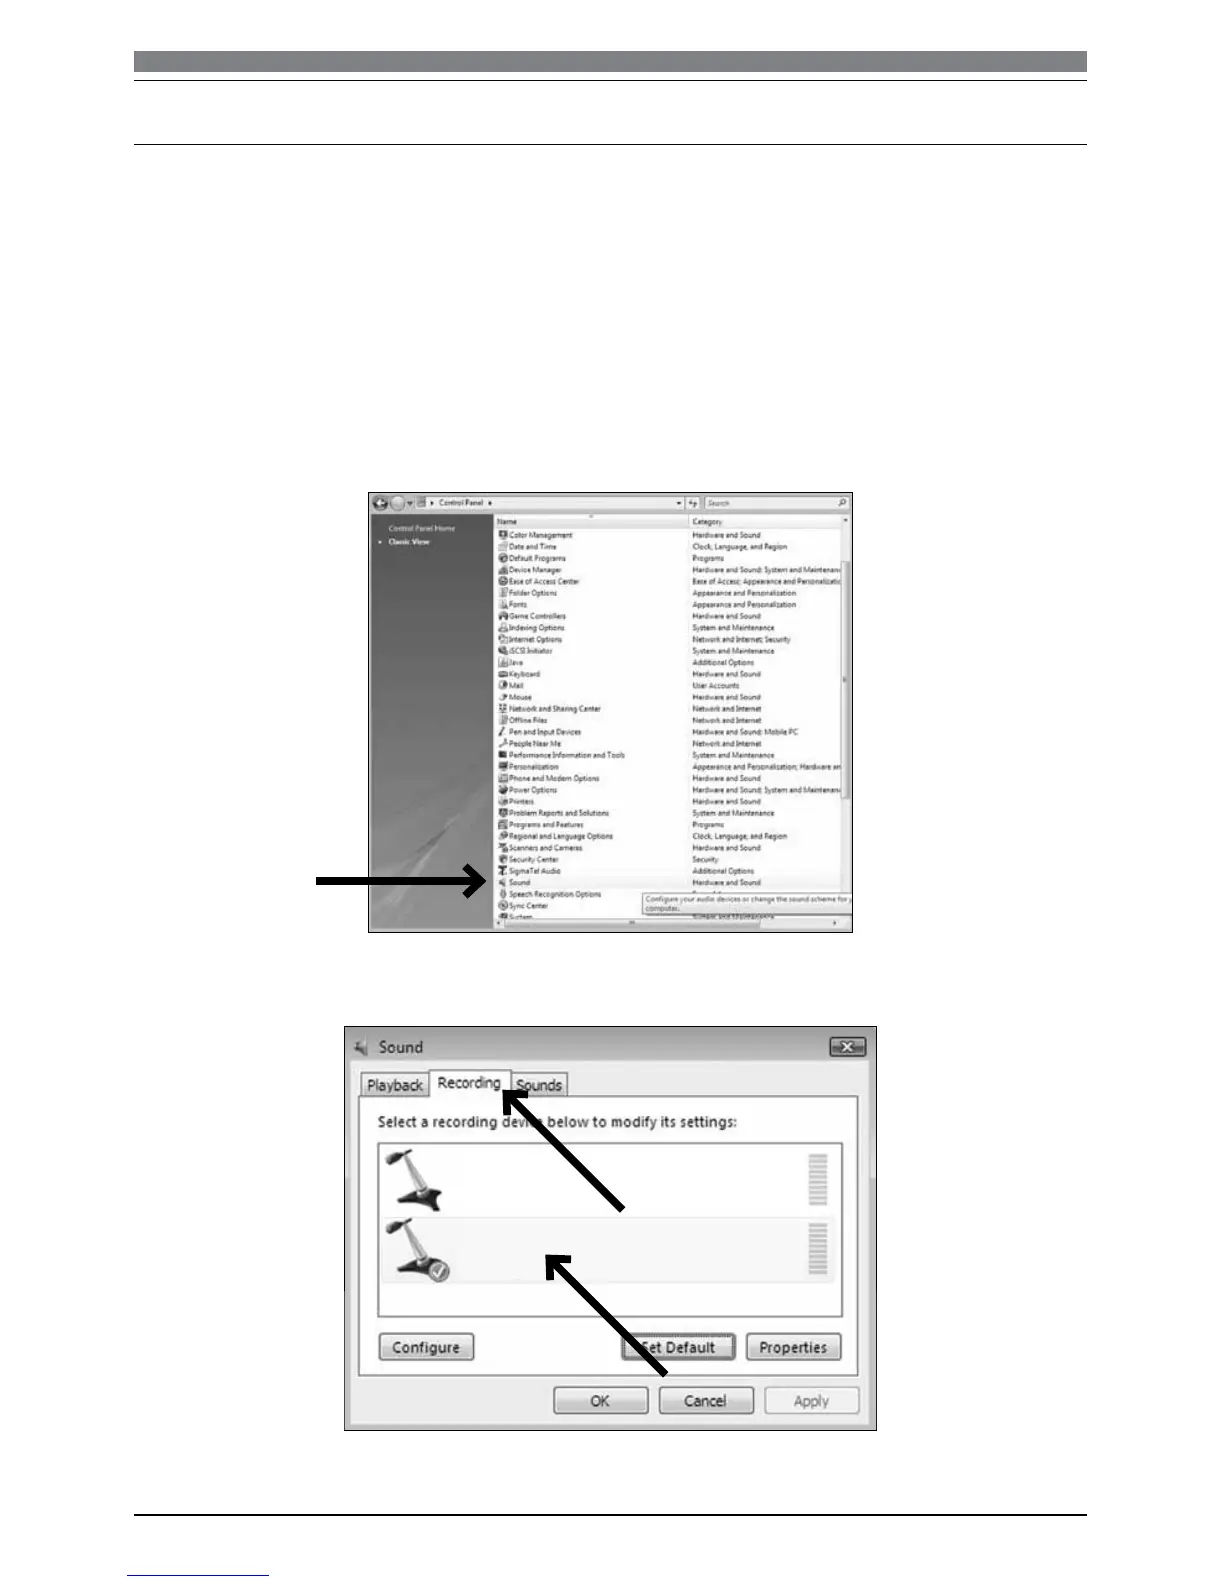
Preliminary setup with Windows Vista
1. Plug the free end of the USB cable into the USB port on your computer. The microphone’s blue
LED will illuminate, indicating the mic is receiving power. Your computer will automatically
recognize the USB device and install a driver.
2. In the lower right portion of your screen you may see a message that new hardware was found;
or you may see a driver software installation notice.
3. To select the ATR2100-USB as your default recording device, begin at your Start menu.
Select Control Panel.
4. Select (double-click) Sound.
5. Select the Recording tab. Make sure that the AT2100-USB microphone is set as the default
recording device. (You should see a green check mark beside the USB microphone icon.)
Your preferences are now set to use the ATR2100-USB with Windows Vista with the recording
program of your choice.
 Loading...