WARNING! Risk of personal injury or injury to others.
Care must be taken when handling and installing the
reective glass panels.
WARNING! Only use the correct size glass panel designed
for the installed hood.
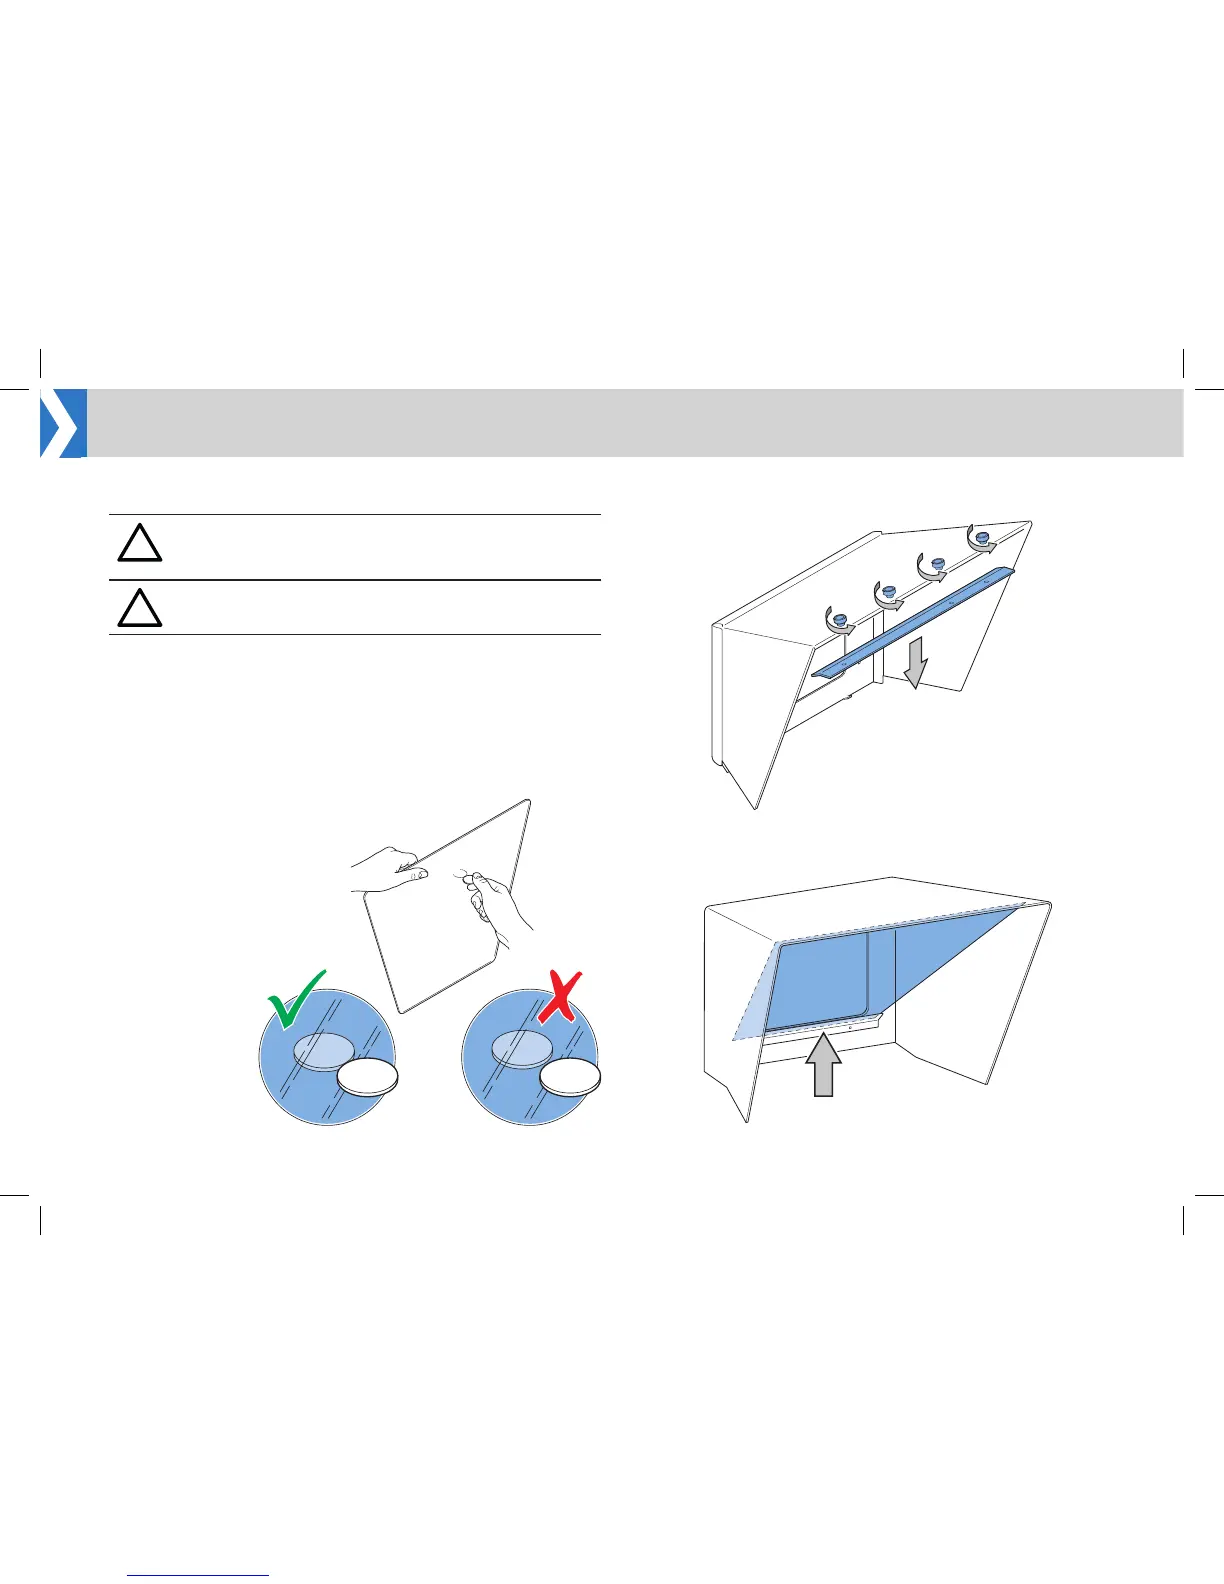
When the hood has been installed, the reective glass panel can be
tted to the prompter assembly.
Panel Orientation
For the EPIC-IP prompter to display images, it is essential that the
reective side of the glass is installed facing outwards. The reective
side of the glass can be established as follows:
Carefully hold a blunt
object such as a coin
against the surface of the
glass.
If the object is being held
against the reective side,
there will be no gap (depth
of the glass) before the
reection.
2. Carefully position the glass panel on the bottom glazing bar inside
the hood.
Installation
 Loading...