Configurazione in pochi passaggi/Set up in just a few steps
Permette la
comunicazione con i più
comuni assistenti vocali
connessi al cloud.
It allows
communication with
the most common
cloud-connected
voice assistants.
Permette il controllo e la
gestione dell’impianto
sia da locale che da
remoto
It allows control and
management of the
system both locally
and remotely
Permette l’integrazione
con la domotica lare
di Ave attraverso il Web
Server.
It allows integration
with the Ave wired
home automation
through the Web
Server.
Permette di intervenire
anche su piccole unità
abitative con un sistema
facile e veloce da
installare.
It is used for operation
even in small residential
units with a system that is
quick and easy to install.
Permette di proporre
una soluzione innovativa
semplice da congurare,
anche senza router.
It proposes an
innovative solution that
is simple to congure,
even without a router.
Scarichiamo ed
installiamo l’App
AveCloud sul nostro
smartphone o tablet.
Apriamo l’App AveCloud:
sulla barra inferiore
selezioniamo “account”
e procediamo con la
registrazione del nostro
account.
We download and
install the AveCloud
App on our smartphone
or tablet.
We open the AveCloud
App: on the bottom bar
we select “account”
and proceed to register
our account.
Siamo nella pagina
“Wizard Impianto”:
seguiamo la indicazioni.
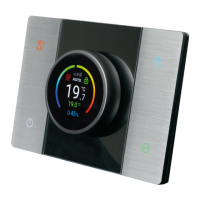
L’unica attenzione che
dobbiamo avere è che
sul nostro termostato
il pulsante per la
programmazione è quello
in alto sinistra (estate/
inverno) e la segnalazione
luminosa è data dal
pulsante in basso a
sinistra (on/o).
We are on the “System
Wizard” page:we follow
the instructions. The
only thing we need to
pay attention to is that
on our thermostat the
programming button is
the top left one (summer/
winter) and the luminous
signal is given by the
button below on the left
(on/o).
Selezioniamo l’impianto
“IOT Wireless” per
avviare la procedura
guidata che ci permette
di creare un impianto con
il termostato e i dispositivi
della serie civile connessa
di Ave.
We select the “IOT
Wireless” system
to start the guided
procedure which allows
us to create a system
with the thermostat and
the devices of the Ave
domestic series.
Display Cronotermostato nella fase di congurazione: AP/Access Point - R/Root node - N/Node
Chronothermostat display in the conguration phase: AP/Access Point - R/Root node - N/Node
Sempre sulla barra
inferiore selezioniamo
ora “impianti”: si apre la
pagina “i tuoi impianti”.
Selezioniamo il pulsante
“+” in alto a destra: si
apre la pagina “aggiungi
impianto”.
Still on the lower bar, we
now select “systems”:
the “your systems”
page opens.
We select the “+”
button in the top right:
the “add system” page
opens.
Tecnologia Smart Evoluta
Advanced Smart Tecnology
6
CONF
AP
CONF
R
CONF
N
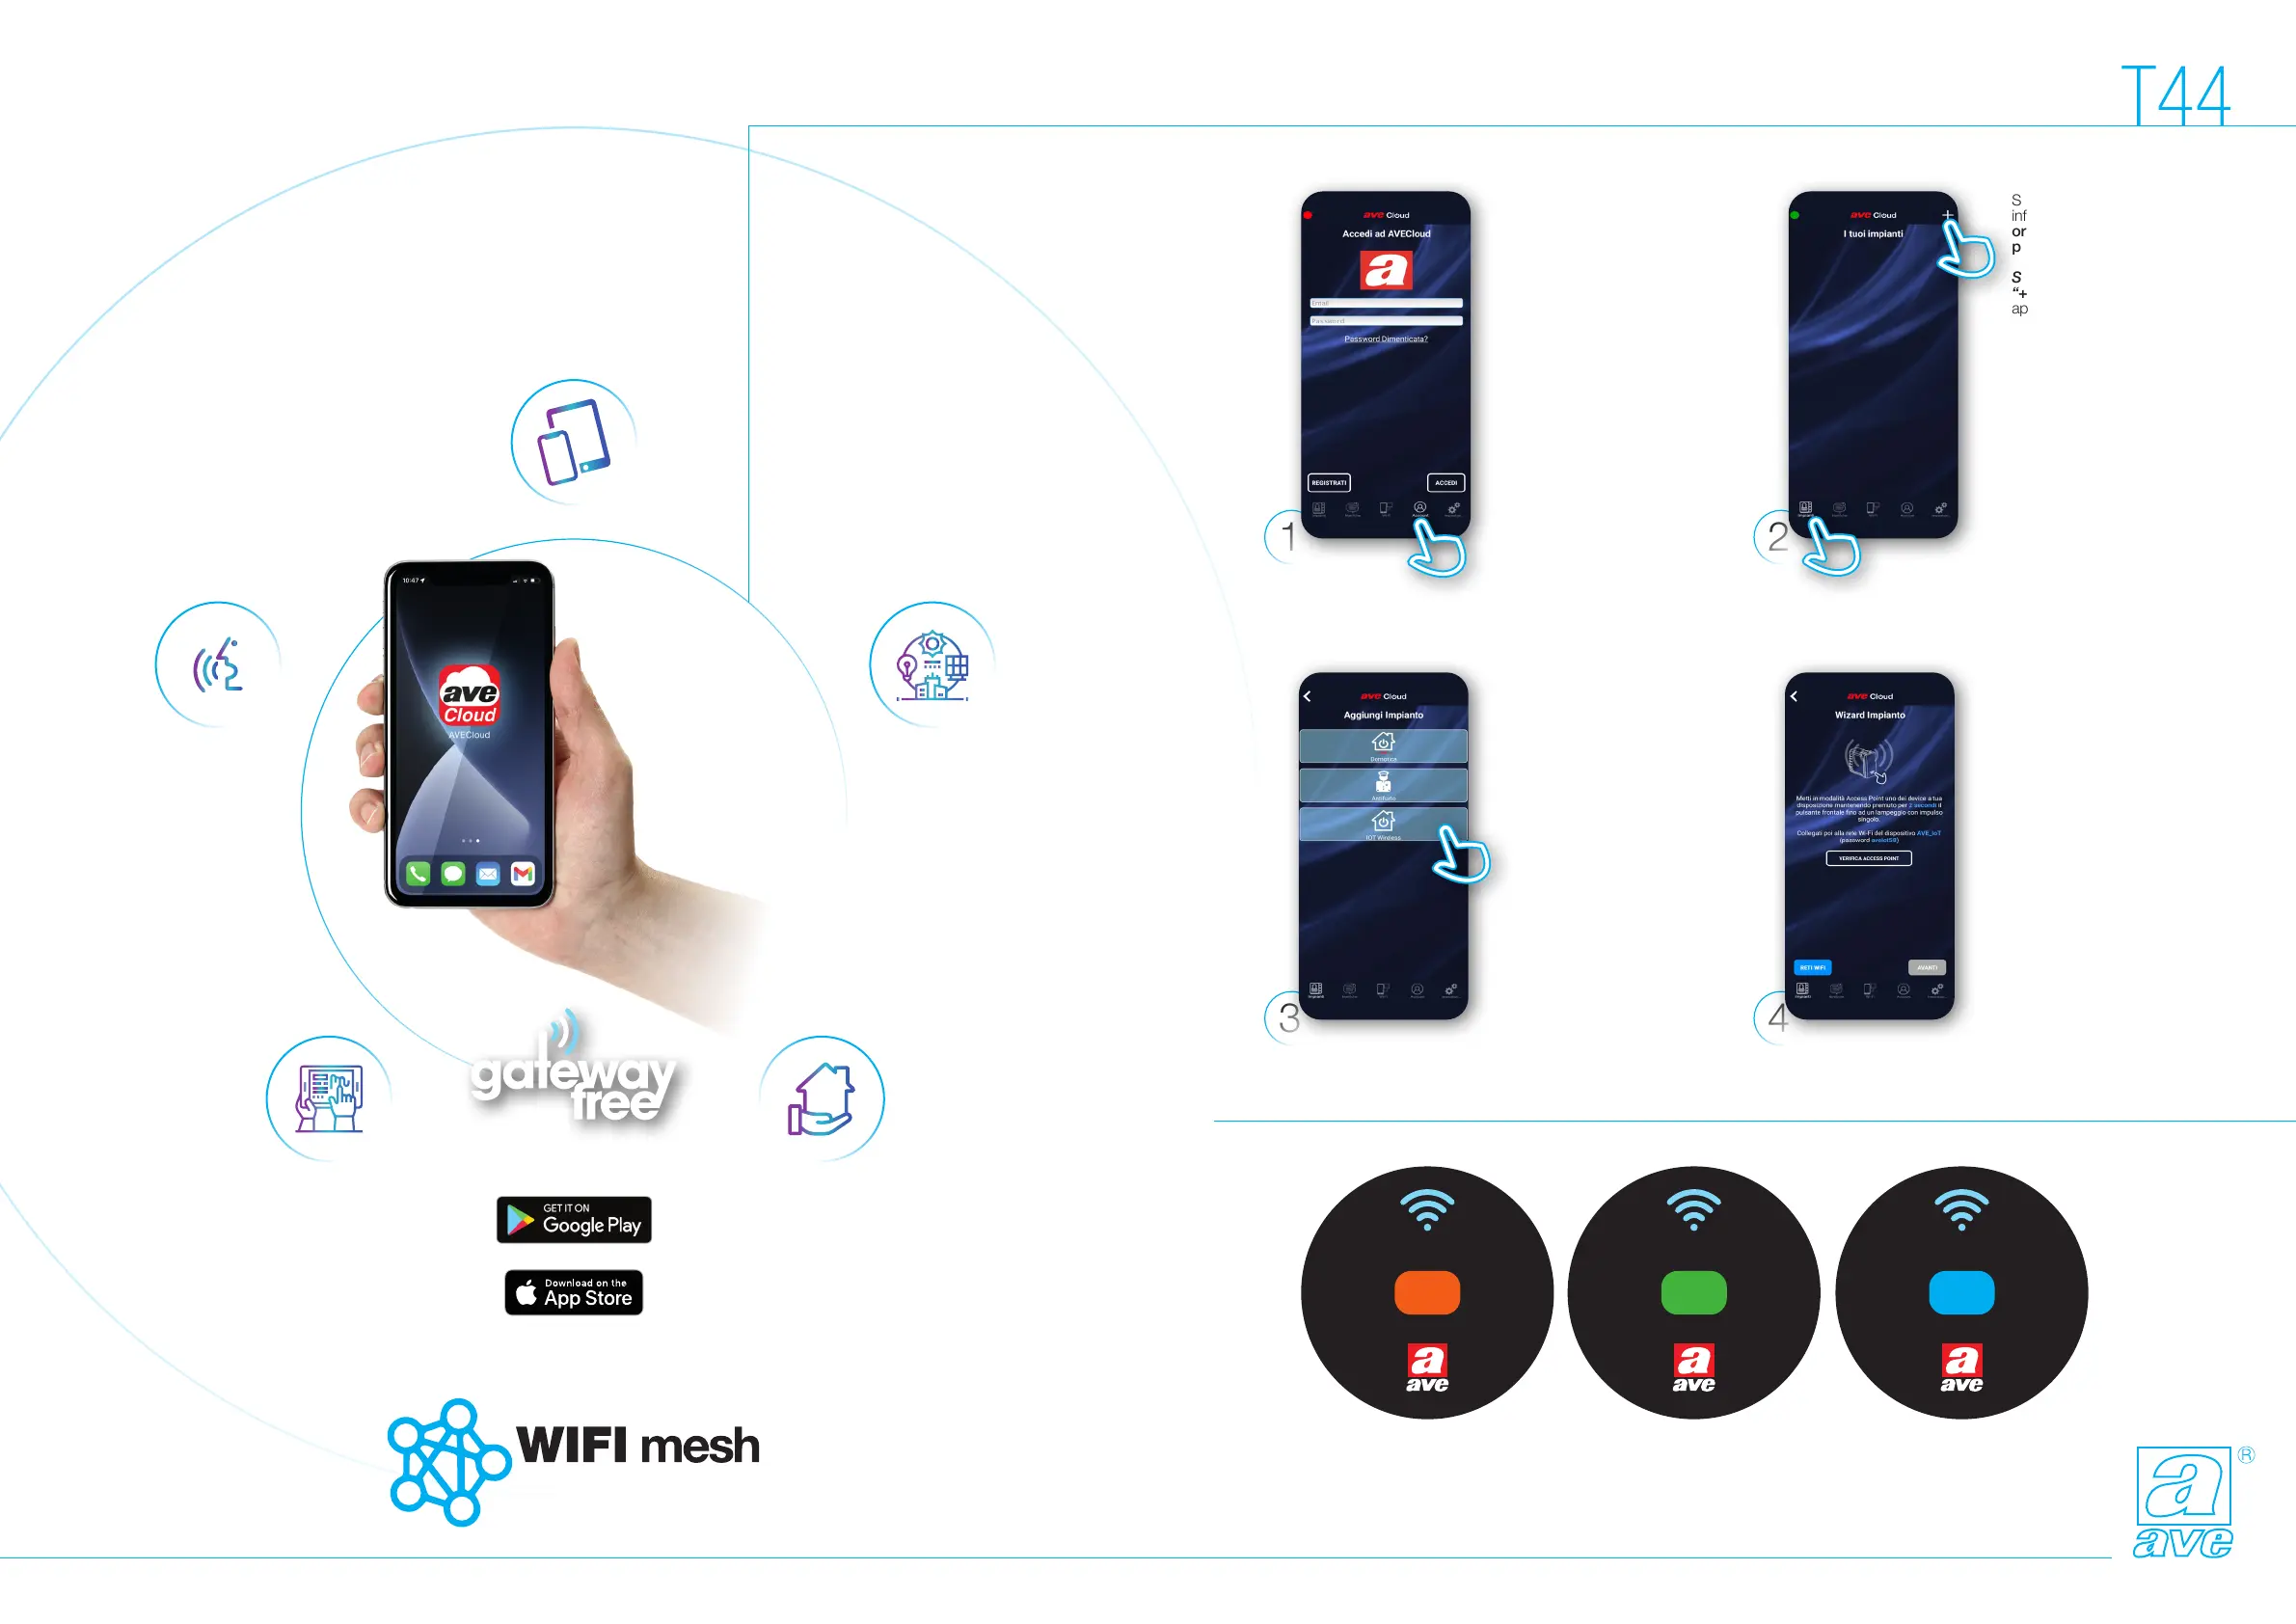 Loading...