1
1. CAMERA NETWORK CONFIGURATIONS
Please follow the instructions below to finish camera installation and network configurations.
You may configure the network connection of this network camera with your laptop / computer, or with your iPhone®
or iPad® based on your network environment.
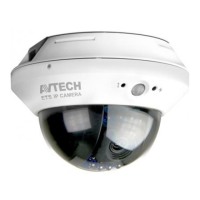
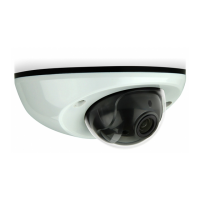
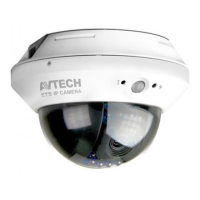
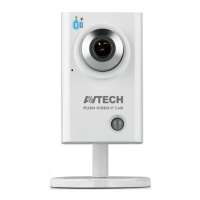
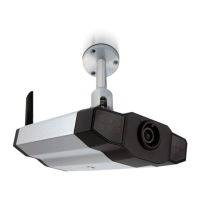
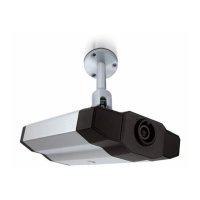
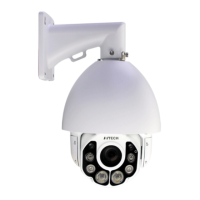
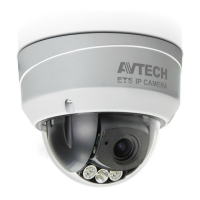
1.1 Camera Overview
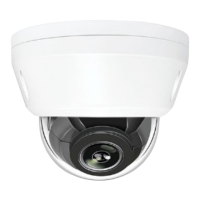
1.2 Assemble & Install Camera
Step1: Loosen the three screws on the camera to remove the dome cover.
Step2: Make sure the screw holes on the plate are aligned with the holes on the camera base.
Note: If not, slightly loosen the two screws on the plate and rotate it.
Step3: Mark the locations of the two screw holes on the ceiling, and drill a hole for each on the ceiling.
Note: The distance between your camera and the location you want to monitor should be 3 ~ 4 meters.
Step4: Fix the camera to the ceiling with the supplied screws.
Step5: Adjust the position and viewing angle of the camera, and fasten the two screws on the plate to fix.
Note: Do not tilt the camera lens too up or down. Part of the IR LEDs might be covered or the dome
cover might not be able to be replaced back.
Step6: Replace the dome cover back to the camera.
Step7: Connect your camera to power.
Note: This camera also supports POE connection. For connection details, please refer to “APPENDIX 3
POE CONNECTION” at page 18.