738z
CAMERA INSTALLATION
To check the complete user manual and free PC CMS software (CMS Lite),
please scan the QR code or go to www.surveillance-download.com/user/m521.swf
TYPE1
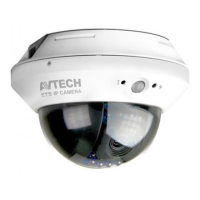
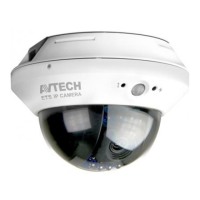
▼ Standard package
Camera Instructions Screws &
wall plugs
a
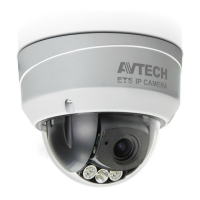
Step1: Separate the dome cover from the camera.
Step2: Make sure the screw holes on the plate are aligned with the holes on the camera base. If not, slightly loosen the two screws on the plate
and rotate it.
Note: A file for its installation sticker could be downloaded from www.surveillance-download.com/user/a_installation_sticker.pdf.
Step3: Mark the locations of the two screw holes on the ceiling or wall, and drill a hole for each on the ceiling or wall. The distance between
your camera and the location you want to monitor should be 3 ~ 4 meters.
Step4: Fix the camera to the ceiling or wall with the supplied screws.
Step5: Connect your camera to power.
Step6: Pan, tilt and rotate the lens itself to adjust the position and viewing angle of the camera, and fasten the two screws on the plate to
fix.
Note: You don’t need to manually pan the type with motorized pan.
Step7: Replace the dome cover back to the camera.
Note: Please wipe the inner part of the dome cover against the lens for clear images.
TYPE2
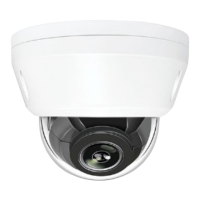
▼ Standard package
Camera Instructions Screws &
wall plugs
▼ For selected models only
Waterproof accessory kit 3-pin terminal
block
Desiccants
a
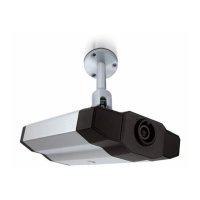
Step1: Uncover the dome camera by loosening the screws on the housing with the supplied wrench (Figure 1).
Step2: Check your desired viewing angle of the camera. According to the viewing angle and the instruction of the installation sticker, paste the
sticker up in an appropriate position on the wall or ceiling.
Step3: Follow the instruction printed on the sticker as the Figure 2 to drill the three holes.
Step4: Locate the three holes on the camera as Figure 3. They are where the three supplied screws belong.
Figure 1 Figure 2 Figure 3
Step5: Screw the camera in place and power on your camera.
Step6: Adjust the viewing angle of the camera. Refer to the section of “ADJUST FOCAL LENGTH & FOCUS” for details.
Step7: (Optional) Remove the desiccants in the camera, and replace it with the pack of desiccants supplied with the package (if supplied)
to ensure the dryness inside the camera.
Step8: Replace the dome cover in a proper position, adjust the transparent dome cover for not to cover the lens, align the hole on the dome
cover in order not to have water leakage as shown in Figure 3 and have the three screws on it tightened.
Note: For clear images, please clear of fingerprints the inner part of the dome cover against the lens.
Note: In order not to affect waterproof, do not have the lines near the lens pressed while replacing the transparent dome cover.
Installation
Guide
Installation
Guide