AXIS 200+ Users Manual Section 4: Configuring the AXIS 200+
37
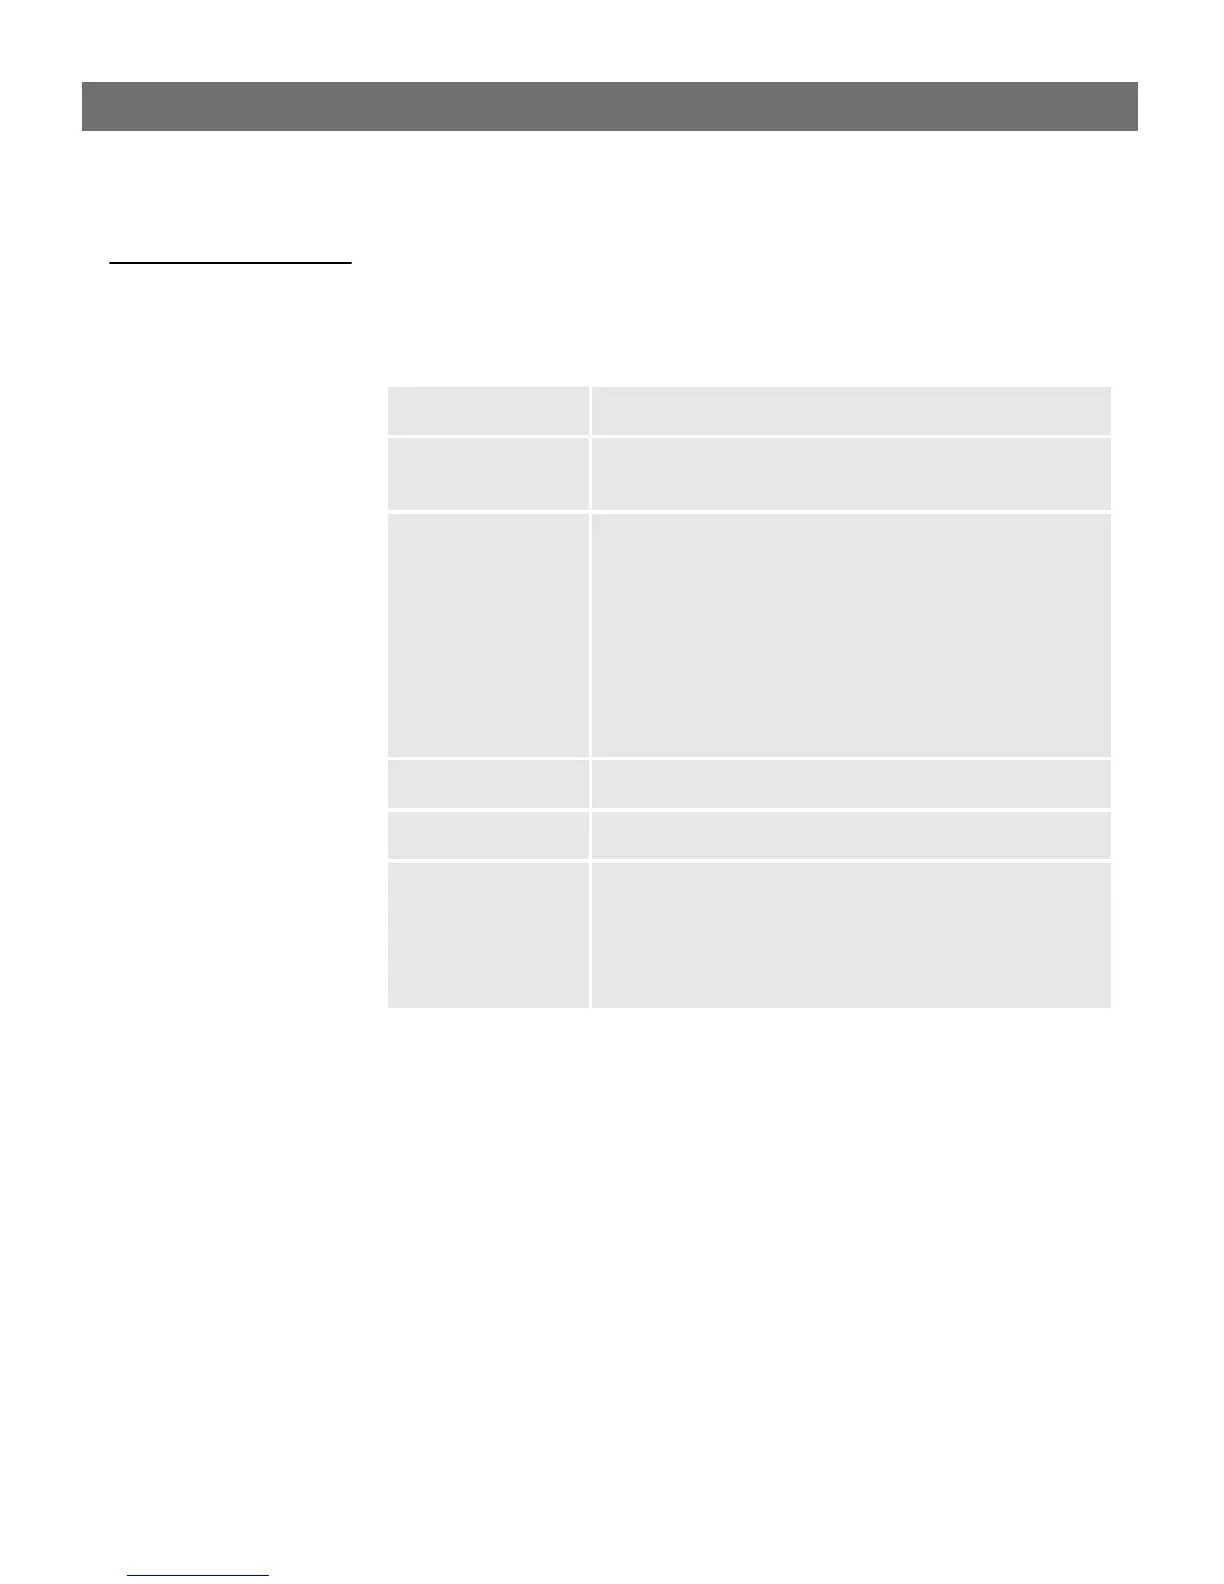
Date & Time Page
To set the current date and time, click Date & Time at the top of the
Configuration page.
The following is a description of the Date & Time parameters
:
Parameter name Description
Date The current date is displayed in this format: day-month-
year.
Time The current time is displayed in this format:
hour:minute:second. The time must be specified in 24 hour
format, e.g. 5 pm should be entered as 17 in the hour field.
Datesync Server
Datesync Period
Datesync Protocol
Datesync Time Zone
To activate the integrated date and time synchronization
mechanism, you must provide the Internet address of a
date server, a synchronization period (in minutes) greater
than zero, the synchronization protocol and time zone
adjustment. The date server provides the actual time and
date when connected to TCP port 13 (Daytime protocol),
TCP port 37 (Time protocol) or UDP port 123 (NTP
protocol). The date and time will be automatically updated
in intervals as specified in the synchronization period field.
Default values are 0.0.0.0, 0, Time and 0, respectively.
Display Date/Time Allows a time stamp to be superimposed upon the picture
image in the format Hour:Minute:Second Day-Month-Year.
Time format Presents the time in either of these formats: 24 hours or
AM/PM.
Clock Position x
Clock Position y
These settings determine where the date and time stamp
will be placed within the snapshot. The stamp will always
appear within the snapshot area, regardless of whether
one or more of the clock co-ordinates are out of limit. If
they are, the stamp will be displayed as close as possible
to the furthest co-ordinate within the snapshot boundary.