Restraining your child in
Axkid One car seat
Before restraining your child in the Axkid One car seat, make sure you have the correct insert installed in the seat. Axkid
One is designed to grow with your child and to ensure a comfortable and safe fit for all children.
Axkid recommends using the relevant insert until it is too tight for your child, but to a minimum length according to table
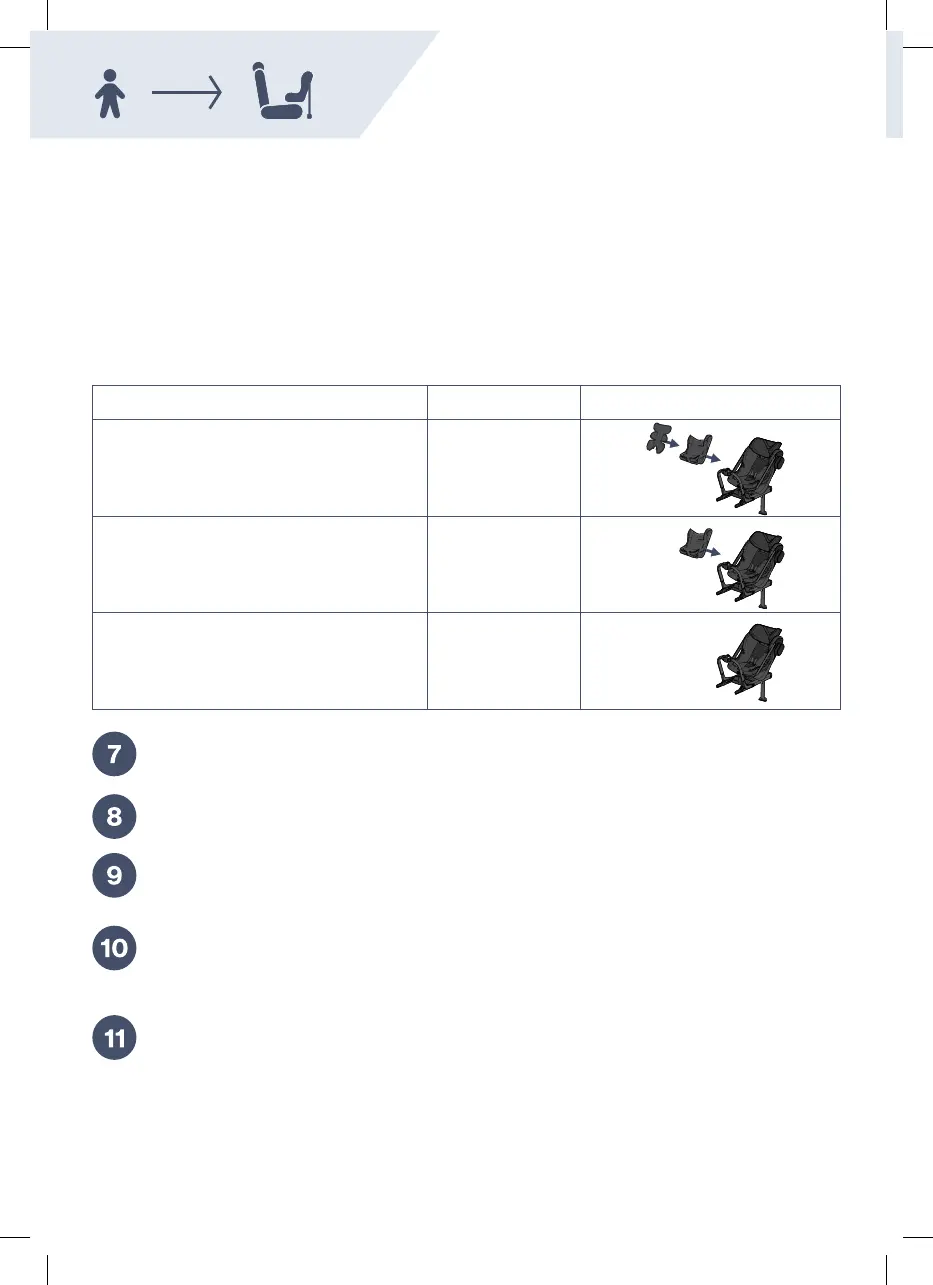
below (note that the age is just an indication):
Age Height
Infant
0-6 month
(Axkid One + only)
0 – 60 cm
Toddler
0-3 years
60 – 100 cm
Child
3-7 years
100 – 125 cm
Loosen the harness by pressing the harness release button (T) and pull out both shoulder straps (A)
at the same time. Avoid pulling only one strap at the time since it may cause the shoulder straps (A) to
become uneven.
Unlock the buckle by pressing the buckle release button (B) and place the straps outside of the seat.
Place your child in the seat and place the shoulder straps (A) over your child’s shoulder. Lock the
harness by first positioning the parts of the buckle that is attached to the shoulder straps (A) together
and then push them into the buckle until you hear a click.
Adjust the headrest (E) until the eye level indicators (F) is in line with your child’s eyes by pushing both
headrest adjustment buttons (M) and slide it upwards or downwards. Note: the eye level indicators (F)
shall not be used when using the infant insert (Axkid One + only). When using Axkid One + for infants,
always make sure that the headrest is in the lowest position.
Check that the shoulder straps (A) is going through the seat straight from your child’s shoulders
or maximum 1 cm above. You might need to adjust the headrest (E) again, even if it makes the eye
level indicator get out of line with your child’s eyes. Now pull on the shoulder straps (A) to tighten
the harness over your child’s hips. While keeping tension in the shoulder straps (A), pull the harness
tension strap (U) until the harness is tightened enough, you should not be able to fit more than one
finger between the shoulder straps (A) and your child’s shoulders.
16
 Loading...