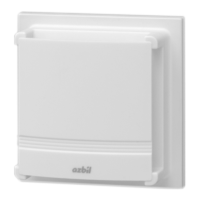
AB-7051
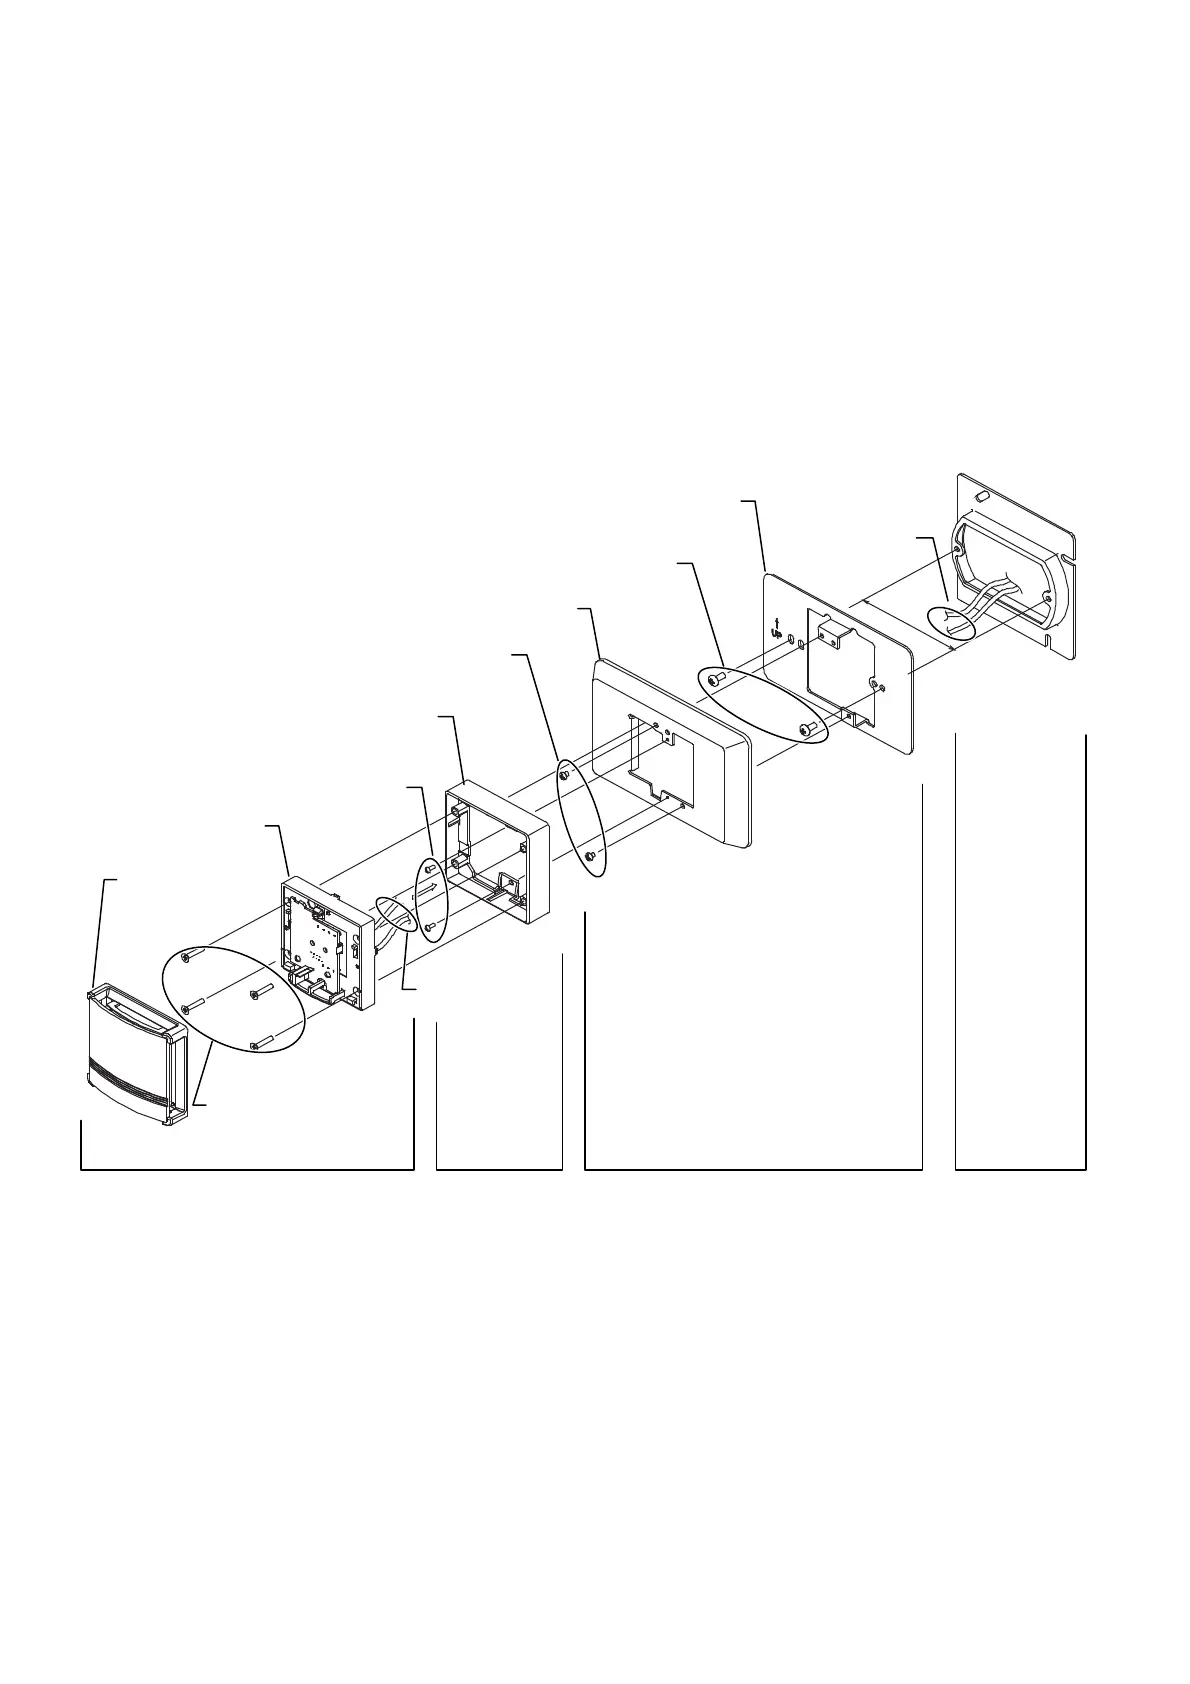
11
Installation steps: Neosensor on Thermoplate with Thermoplate mounting kit
1) Attach the mounting plate of Thermoplate to the outlet box cover (JIS C8340:1999 Boxes and box covers for rigid metal
conduits (mounting dimension: 83.5 mm)) on the mounting surface.
2) Attach the main unit of Thermoplate to the mounting plate.
3) Attach the Thermoplate to the Thermoplate mounting kit.
4) Connect the lead wires of the Neosensor to the external wires (from the load). (See Fig. 15.)
Note: The number of the lead wires differs depending on the models.
Models HY7043D (humidity sensor model) and TY7043D (temperature sensor model): 2 lead wires,
Model HTY7043D (temperature/humidity sensor model): 4 lead wires
5) Remove the cover of Neosensor as shown in Fig. 9, and check that the depth change levers on the bilateral sides of the
Neosensor main unit are set at the upper position (indicated with "L" shown in Fig. 12). Then, mount the main unit of
Neosensor on the main unit of the Wall-direct mounting kit with the 4 mounting screws (M3 16) supplied with Neosensor.
6) Attach the cover back to the Neosensor main unit and complete the installation. (See Fig. 9.)
Figure 8. Installation: Neosensor with Thermoplate mounting kit (on Thermoplate)
External wires
from the load
83.5 mm
Mounting plate of Thermoplate
2 pan-head machine screws (M4
8)
of Thermoplate
Main unit of Thermoplate
2 pan-head machine screws (M4 5)
of Thermoplate
Main unit o
Thermoplate mounting kit
2 tapping screws (M2.6 8)
of Thermoplate mounting kit
Lead wires of
Neosensor
Main unit of Neosensor
4 flat-head machine screws
(M3 16) of Neosensor
Cover of Neosensor
Neosensor
Thermoplate mounting kit
(with separate order required)
Thermoplate
(with separate order required)
Mounting box cove
(JIS C8340
with 83.5 mm mounting dimension,
commercially available)
 Loading...