3. Safety and Installation Guide:
1) Power Pack should be mounted 1 foot or higher above ground level.
2) Trytondthebestlocationthatkeepsthewirerunsasshortaspossible.
3) Recommended to be plugged into a GFCI (Ground Fault Circuit Interrupter).
4) Calculatethetotalloadbyaddingallofthextureswattages,thenadd10%topreventoverload.
5) Nouserserviceablepartsareinside,donotremovethecoverandexposehighvoltages.
6) User is responsible to check all local regulations and installation requirements for their area.
4. Troubleshooting and Testing Procedures:
There are many features built into your Power Pack unit to help prevent failures, such as Overload
Protection, Thermal Protection, Short Circuit Protection, Cooling Fan Monitor, and Auto Reset.
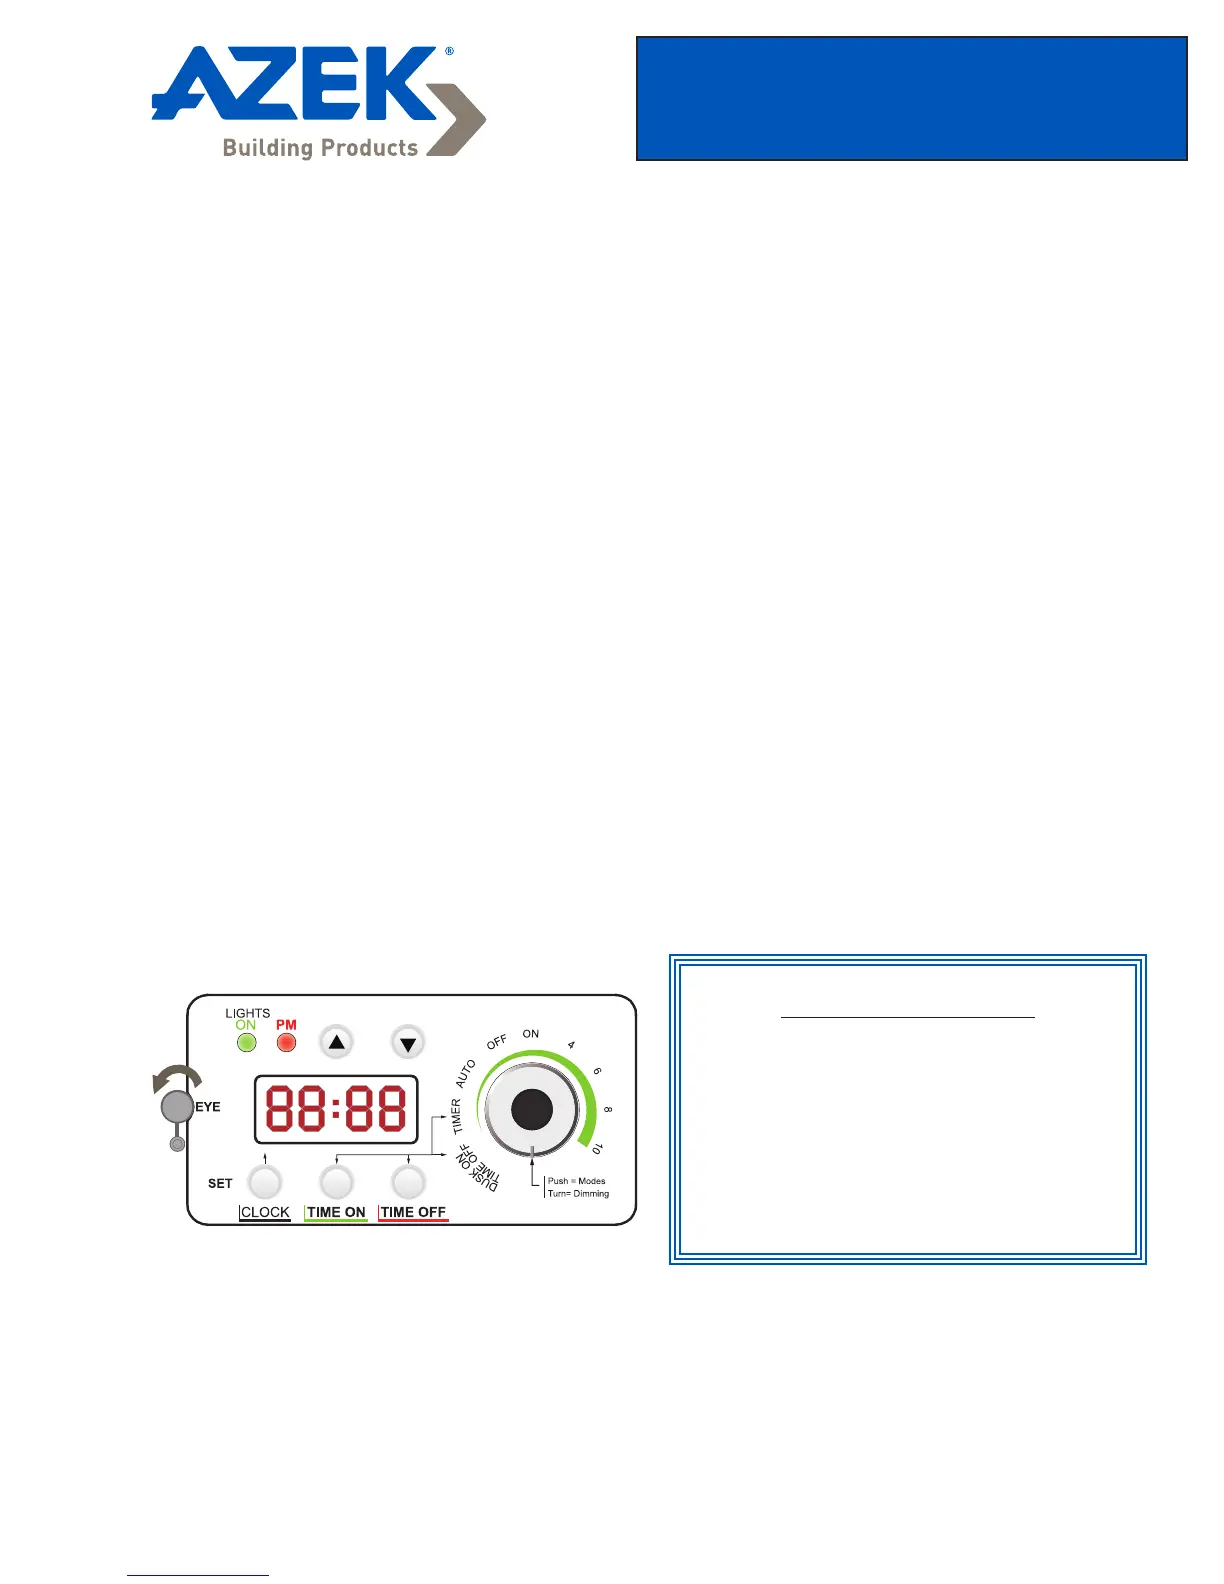
Testing the Photo Eye:
Option #1: Use the internal built-in Photo Eye:
Note:Photoeyemustbeuncoveredatalltimes,exceptwhenusingtheexternalphotoeyeprobe.
Option #2: Use the External Photo Eye:
This option is used when the Power Pack is mounted inside or when you are trying to block uncontrolled
light from a nearby source. You should make sure the internal Photo Eye is covered. Then plug the
ExternalPhotoEyecableinthebottomandmakesureitisushandistightlysealed.Usetheprovided
mountingcliptoaimtheExternalPhotoEyetothedesiredpositionthatworksbest.Usesamemethodas
option #1 to test the light sensitivity.
TO TEST PHOTO EYE
Switch mode to “OFF”
Press and hold the “TIME OFF” button
slide the rubber cover back and forth
over photo eye and the green “LIGHT
ON” led indicator should correspond.
Slide Rubber
cover to
exposeEYE.
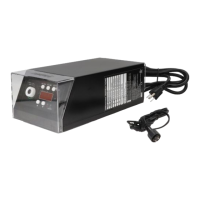
Operating Instructions
150W Power Pack
 Loading...