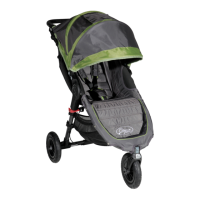
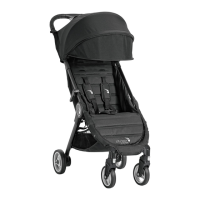
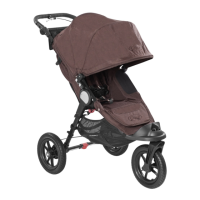
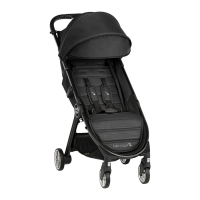
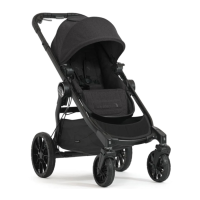
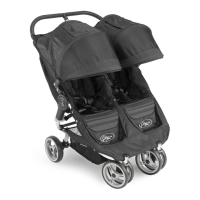
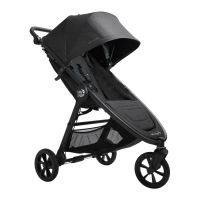
12
FRAME
1 Unpack the stroller frame from the box
and set the wheels aside.
Unlock the stroller by pulling the
storage lock Lever.
2 Unfold the stroller by pulling the
handlebar away from the frame. The
stroller will lock into place and you will
hear a click.
3 Place the stroller in the upright position.
WARNING: Ensure that all the locking
devices are engaged before use.
FRONT WHEEL
4 Installation
• Lay stroller on its back so the
handlebar is resting on the floor.
• Attach the Front Wheel by sliding it
into the front wheel mount until it
clicks. Gently pull on the Front Wheel
to make sure it is properly attached.
5 Removal
• While pressing the front wheel release
button, gently slide the Front Wheel
out of the front wheel mount.
SWIVEL FEATURE
6 Push the swivel button down and
rotate to the left to lock the front wheel
assembly in a fixed position for long
distance strolling.
7 Push the swivel button down and rotate
to the right to allow the front wheel
assembly to swivel.
WARNING: When loading and
unloading child, lock the front wheel in a
fixed position. Although the front wheel
of your stroller locks, it is not intended
for jogging or exercise purposes.
REAR WHEELS
8 Installation
• Align the rear wheel axle with the
wheel mount on the stroller frame
and insert it into the wheel mount until
it locks into place. You will hear a click.
• Gently pull on the rear wheel to make
sure it is properly attached.
9 Removal
• While pressing down on the wheel
release button, gently slide the rear
wheel out of the wheel mount.
BRAKE
10 To Lock the Brakes: gently pull the
Brake Lever into upright position until it
clicks into place.
11 To Release the Brakes: Pinch the gray
tabs and pull the lever towards you.
Push the Brake Lever down until it is
parallel with the frame.
WARNING: Lock the brakes before
loading and unloading your child and
whenever the stroller is not moving.
CANOPY
12 Attach the canopy to the frame by
sliding the canopy onto one of two
mounting brackets. To remove, slide
canopy o of mounts.
NOTE: When using a City Go/
Graco or Britax car seat, the
canopy must be in the top
position. For all other carseats,
canopy must be removed.
13 Snap the two snaps to the stroller
frame.
14 Zip the back of the seat to the canopy
top.
Attach the 2 fastening strips on the side
of the canopy.
15 Pull forward to open canopy and push
backwards to close canopy.
16 There are two canopy windows, a top
one and back one. To use them, roll the
shade up towards the top and secure
with the elastic and button.
HANDLE
17 To change the handle to one of 6 use
positions, press the handle release
buttons on both sides and rotate up or
down to the new position.
ADJUSTING SAFETY HARNESS
18 From the back of the seat, unfasten and
open the pocket to locate the plastic
square stopper. Turn stopper and pass
through the openings in the PE board
EN
 Loading...