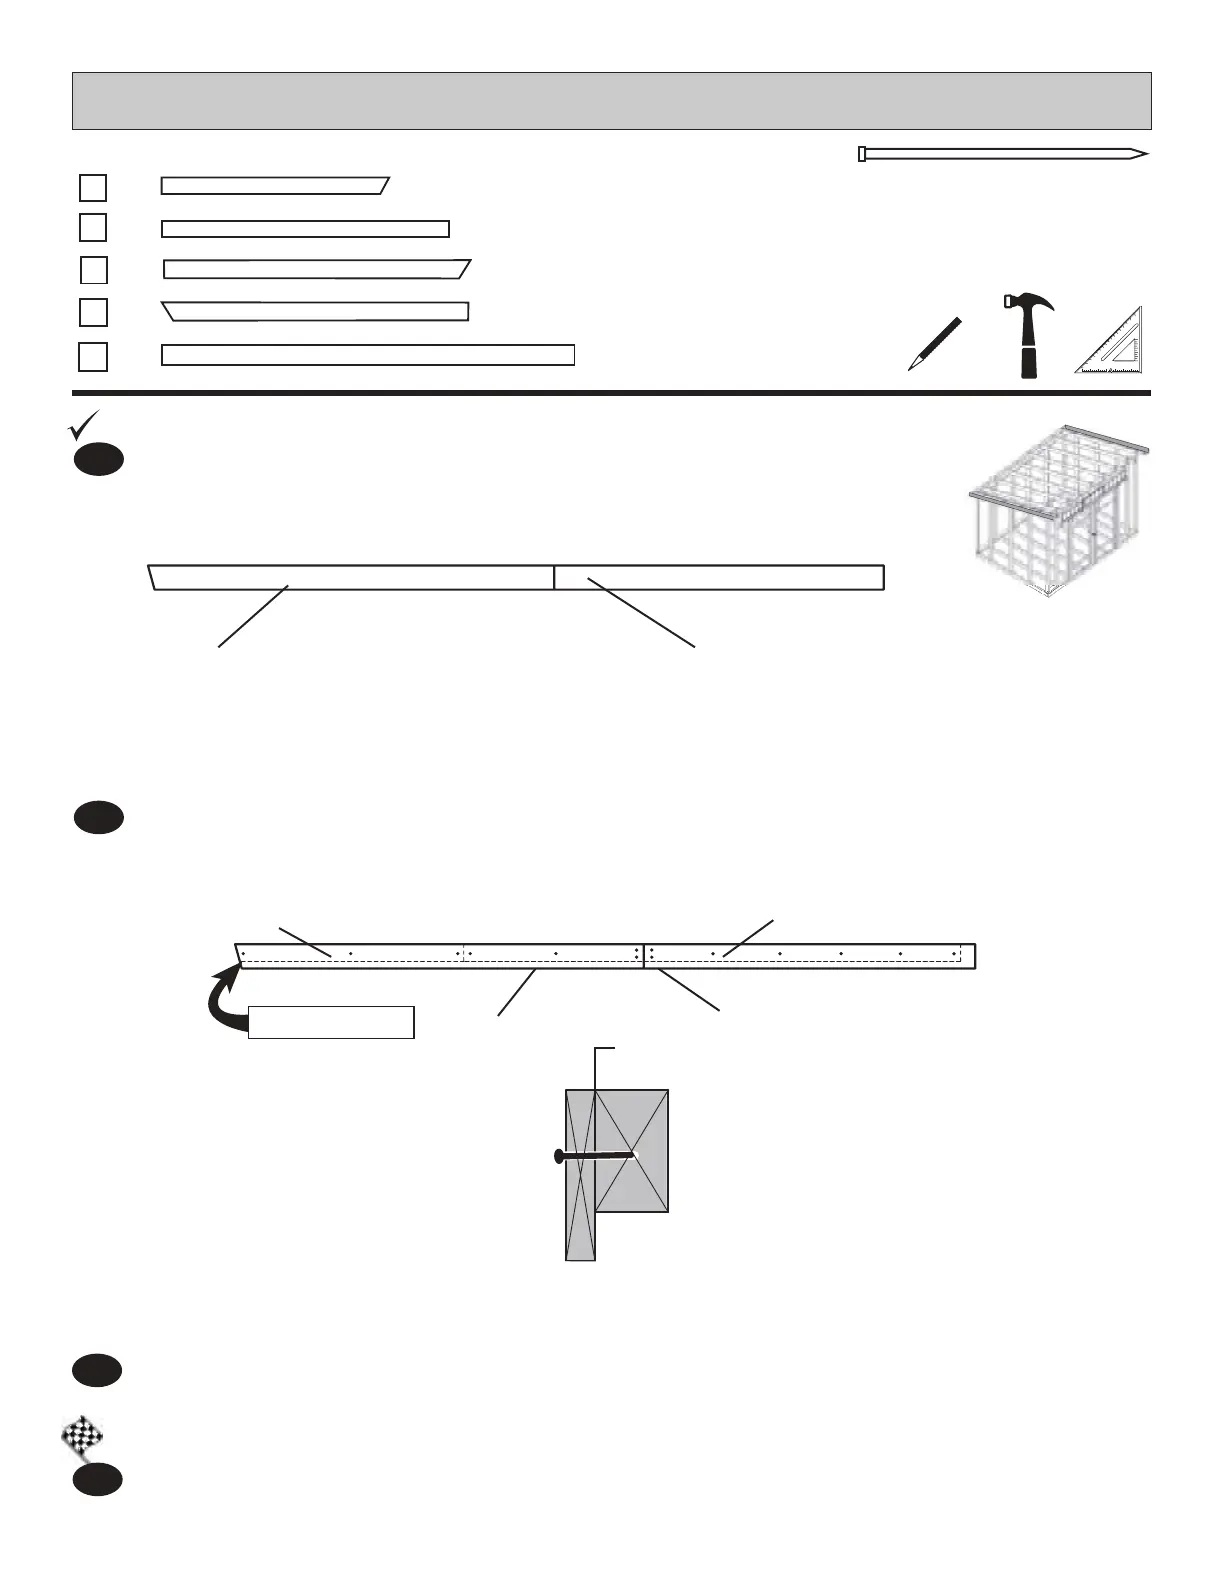
SIDE FASCIA TRIM ASSEMBLY
37
FINISH
4
You have nished assembling the side fascia trim.
Place BXRandZT ush with BQA and OY. Attach with 2" nished nails as shown (Fig.B,C).
Repeat steps 1-2 for the opposite side usingBXL and ZT.
Fig.A
Fig.B
Fig.C
PARTSREQUIRED:
x28
2" (5,1 cm)
x2
19/32 x 3-1/2 x 48" (1,5 x 8,8 x 121,9 cm)
x2
2 x 3 x 33-1/8" (5,1 x 7,6 x 84,1 cm)
BQA
x2
ZT
x1
x1
19/32 x 3 - 1/2 x 59 - 1/4" (1,5 x 8,8 x 150,4 cm)
19/32 x 3 - 1/2 x 59 - 1/4" (1,5 x 8,8 x 150,4 cm)
BXL
BXR
OY
2 x 3 x 72" (5,1 x 7,6 x 182,8 cm)
1
2
3
EdgesofBXRandBQA
areush.
BXR ZT
OY
OYBQA
BQA
Begin rear Fascia assembly on a at surface. Place BQA and OY end to end (Fig.A).
Flush