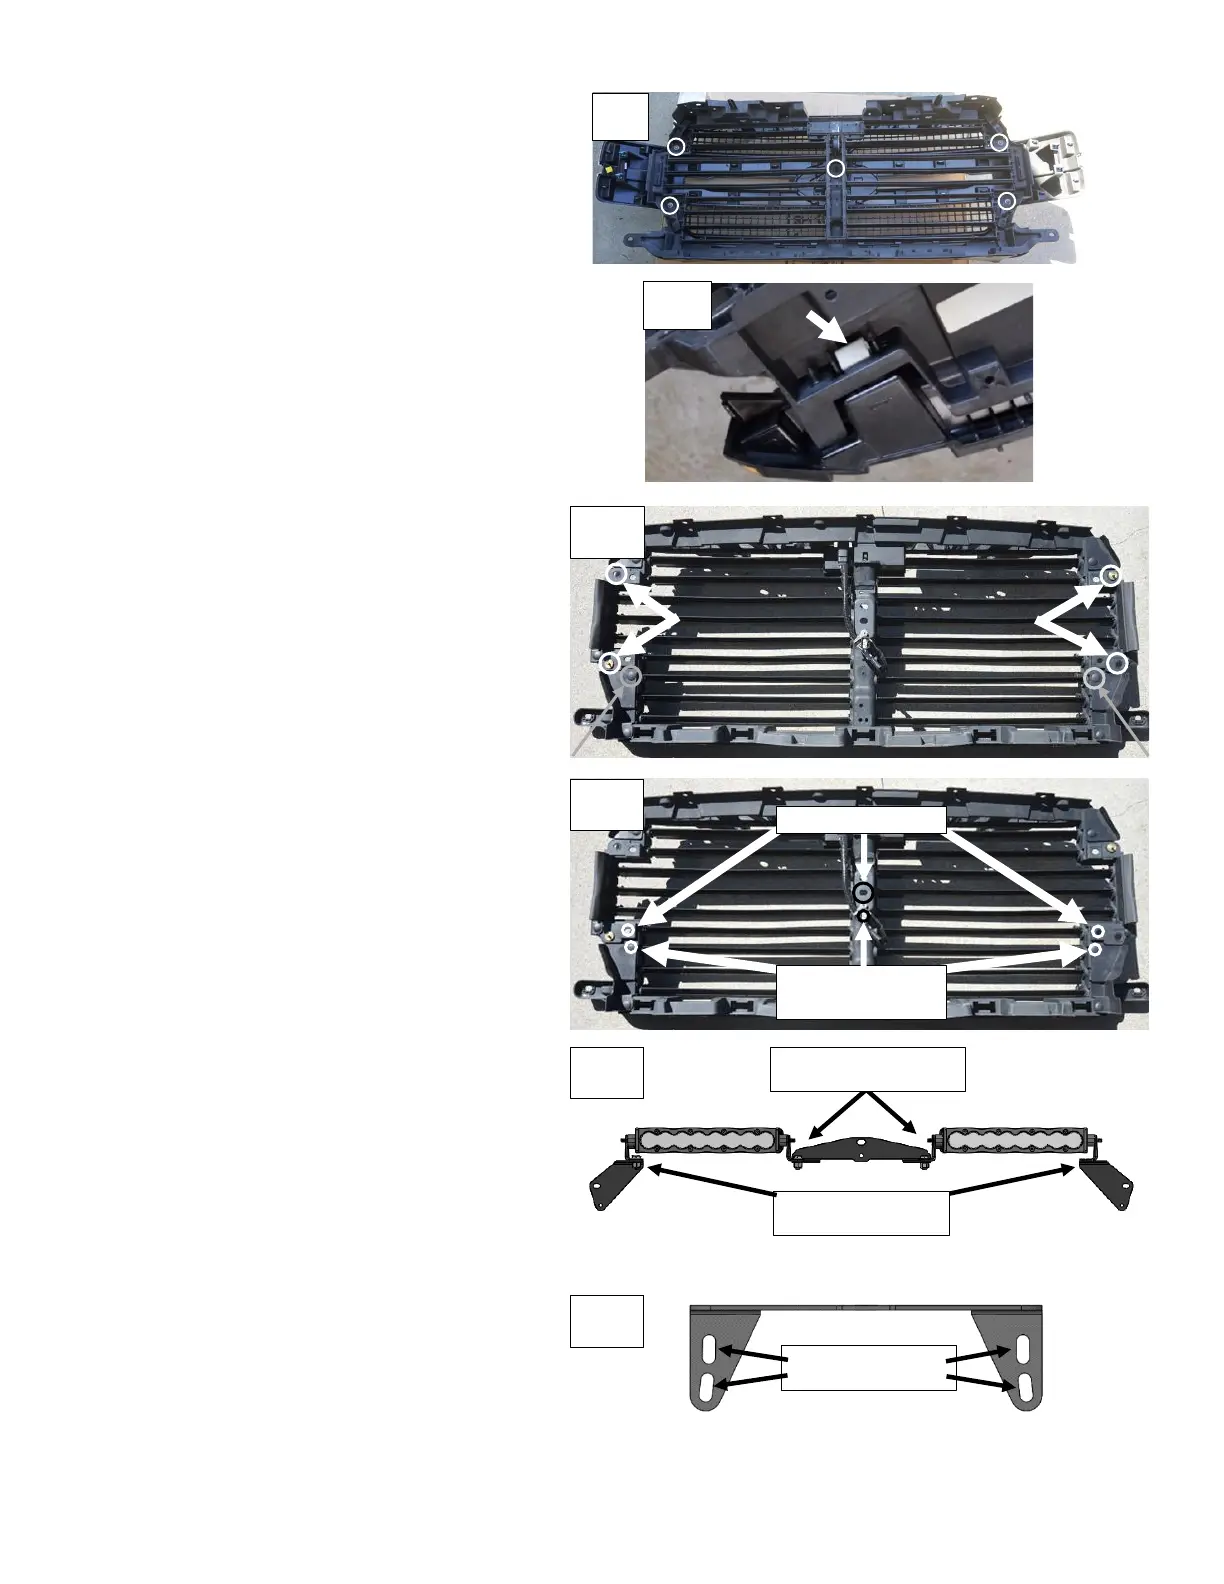
9. Remove the four circled 10mm nuts on the
gold studs shown. Note: if the nuts just spin,
move on and this will be addressed in step
11. Remove the center circled 10mm flange
head bolt.
10. Use the trim tool to pry the five metal clips
that are under where the splash guard was
removed. Now the grill can be removed from
the radiator shutter assembly. Split the two
pieces apart slightly. Unplug the front camera
connector and remove the washer fluid tube
from the shutter assembly. Place grill aside
on a soft surface.
11. If any of the 10mm nuts from step nine
remain on the shutter assembly, grab the
opposite side of the gold stud with the pliers
and remove the nut (White arrowed circles).
On the grill, locate the plastic hardware clips
in the gold stud locations (These may fall
inside the grill and need to be removed with
needle nose pliers). Screw the gold stud back
into the plastic hardware clips and clip it back
into the grill. Pry and remove the two circled
plastic fasteners with the trim tool (Grey
arrowed circles).
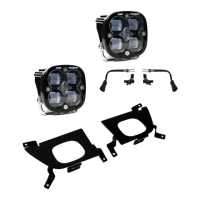
12. Mount the dual S8 F150 mounting brackets
with the 9/16” and 7/16” hex head hardware.
Make sure to use the provided spacer
inbetween the outer bracket and the shutter
assembly in the lower 7/16” hex head bolt
location for both sides (See step 13 for
bracket orientation).
13. Mount each S8 with the standard S8 brackets
mounted in the configuration shown using the
7/16” and 9/16” wrenches and sockets. Make
sure the lights do not interfere with shutters
and have at least 1/8” of clearance.
14. The center bracket has two slots on each
side (Top view shown). Use the rear slots to
have the lights parallel with the front plane of
the vehicle and the front slots to pan the
lights up to 15 degrees.
 Loading...