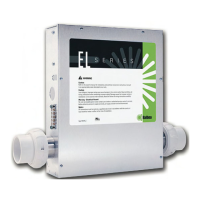
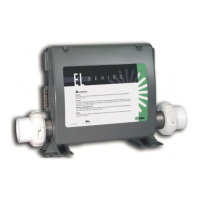
54464_02-97_A
RED AC
WHT A
5
23
19
J4
48
2
4
50
52
BLK A
66
65
63
64
J42
54
56
55
25
57
26
B
CLASS G
FUSE 30
LA
F
E 30A
7
1
2
T1
HTR
TR1
FU
E
0.3A 250V
8
R
7
4
4
J8
12VAC
D
M
J4
74
F
A250V
OR
UE
RAN
E
F
R TB1:
27-30 IN. LB
.
HOT
BLACK
NEUTRAL
WHITE
OT
ED
a
o
R
W
12
J1
1
12
2
W15
BALBOA INSTRUMENTS, INC. MADE IN U.S.A.
EL2000 T
MA
H III
PYRIGHT 200
P
N 22896 REV
1
2
MAIN
E
MAIN
P
E
MAIN
EL
A
X
EL
A
X
P
E
J
5
6
2
5
7
REM
T
9
1
1
W
86
8
6
2
1
U
E 10A 250V
39
7
7
8
9
J1
15
1
83
2
24
8
3
TST
EN
.A
EN
.B
A
EXT. 2
PP
MP 3 E
T. RL
AUX. F
72
F
WIT
HBANK A
WIT
HBANK
90
9
J6
J3
2
1
1
F10
250
-
PN 5
1
Blower
RTC Enabled
4.0 kW
A.V.
Use AUX Board
for Blower
With 2-Speed P2
Use X-B Expander
for Blower
With 2-Speed P2
2-Spd P2
Ozone
Circ.Pump
12V Light
Spa
Light
2-Spd P1
Wiring Configuration and DIP Settings
Setup 1 (As Manufactured)
• 240V Pump 1, 2-Speed
• 240V Pump 2, 2-Speed
• 240V Blower
• 240V Circ Pump
• 120V Ozone
• 12V Spa Light
• 120V Audio\Visual (Stereo)
• 240V 4.0kW Heater
• ML900, ML700, or ML400 Main Panel
120 Volt Connections
240 Volt Connections
Black AC Jumpers
12 Volt Connections
Relay Control Wires
Wiring Color Key
Typically Line voltage
Typically Line voltage for 2-speed pumps
Neutral (Common)
Ground
Note flat sides in connector
Connector Key
WARNING: Main Power to system should be turned OFF BEFORE adjusting DIP switches.
WARNING: Persistent Memory (A12) must be RESET to allow new DIP switch settings to take effect. (See Persistent Memory page)
Switchbank A Switchbank B
A2, Low Amp
A5, Degrees F
A6, Short Timeouts
A9/A10,
No Circ Pump
A9/A10,
No Circ Pump
A1, Test Mode OFF
A3, Filter by Time
A4, 12 Hr Time
A7, Cleanup Cycle OFF
A8, 1Hr O
3
Supress OFF
A12, Memory Retained
B1, Pump 2 2-Speed
B2, Pump 2 Disabled
B3, Blower Disabled
B4, No Fiber/Wheel
B5, Pump 3 Disabled
B6, Panel Scrunching OFF
100
114
28
SSID #
J37
3
2
1
12 V
Light
J91
RTC
Enabled
(Not Jumpered)
B3, Blower Enabled
B2, Pump 2 Enabled
A11, O
3
w/ P1 Low
and P1 is 2-Spd
A2, High Amp
J15
J83
2
X.F
EN
. A
CFG
When the Logic Jumper is not installed on J83 (CFG),
DIP Switch Settings are enabled.
DIP Switches will then operate as shown below.
 Loading...