2
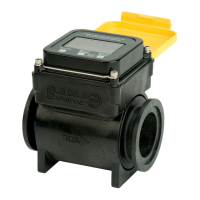
1. When placing the owmeter in line, it is important to rotate the
owmeter so that it is approximately at a 45-degree angle. (See
gure 1) This will improve performance of the ow meter. The ow
meter can be placed vertical as long as ow is sucient to ll the
pipe.
2.
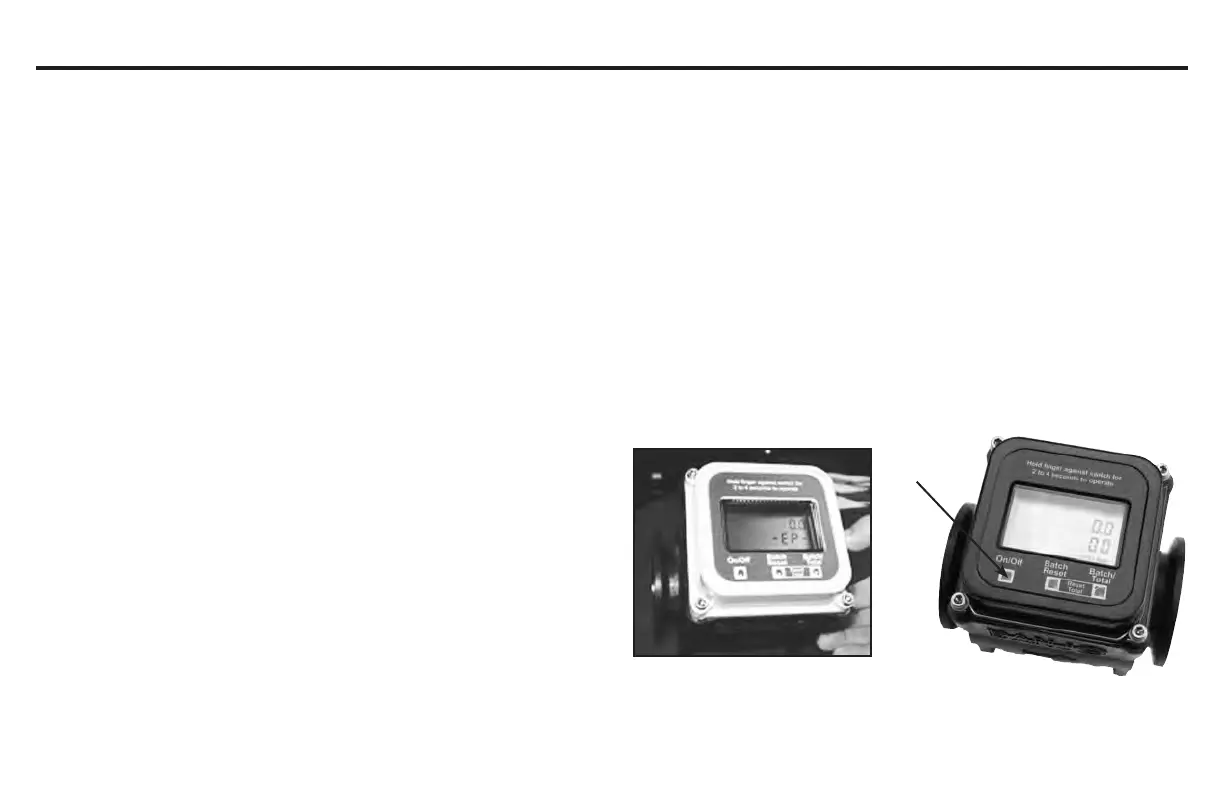
There are 3 photoeyes located on the face of the ow meter.
Note: These are not buttons so you will not push them, instead, to
activate you must hold your nger over the photoeye for 2-4
seconds. To reset the running total you must hold your nger over
both the “batch reset” and the “batch/total” photoeyes. If you would
like liters rather than gallons, you will need to hold your nger over the
rst and third photoeyes at the same time. (See gure 2)
3. There are six (6) AA batteries located inside the ow meter.
To replace the batteries, simply remove the four cover bolts and
gently remove the top cover. Replace batteries and fasten cover
back in place. Be careful not to pinch any wires when assembling the
cover. It is a good idea to change the batteries yearly.
4. The ow rate of the meter is designed to have an unlimited ow,
meaning that the meter will read as much ow as one can push
though a 2" full port coupling. However, the accuracy of the meter
decreases as the meter reaches ows under 6 GPM. From 6 to
300 GPM the meter is within 2-3% accuracy.
5. Its advisable to thoroughly clean the meter and the electrodes at least
once a year. This can be done by gently rubbing the electrodes with a
piece of emery cloth.
FIGURE 1
FIGURE 2
photoeye
6. The “EP” is an error message meaning that the system is idle and
there is no uid traveling through it at that time.
7. It is recommended to have at least 20 inches of straight pipe before
the ow meter and at least 20 inches after.
8. The cover can be rotated. To rotate cover 90°, remove the 4 cover
bolts and carefully rotate the cover to the desired position. Take note
not to pull or pinch any of the connecting wires. To rotate the cover
180°, remove the 4 cover bolts, the 6 AA batteries and the 2 screws
that hold the battery holder in place. Then rotate the battery holder
and the cover together to the desired location. Take note not to pull
or pinch any of the connecting wires.
INSTRUCTIONS


 To Next Page
 Loading...