D
Deborah McguireAug 15, 2025
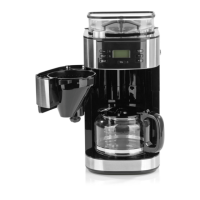
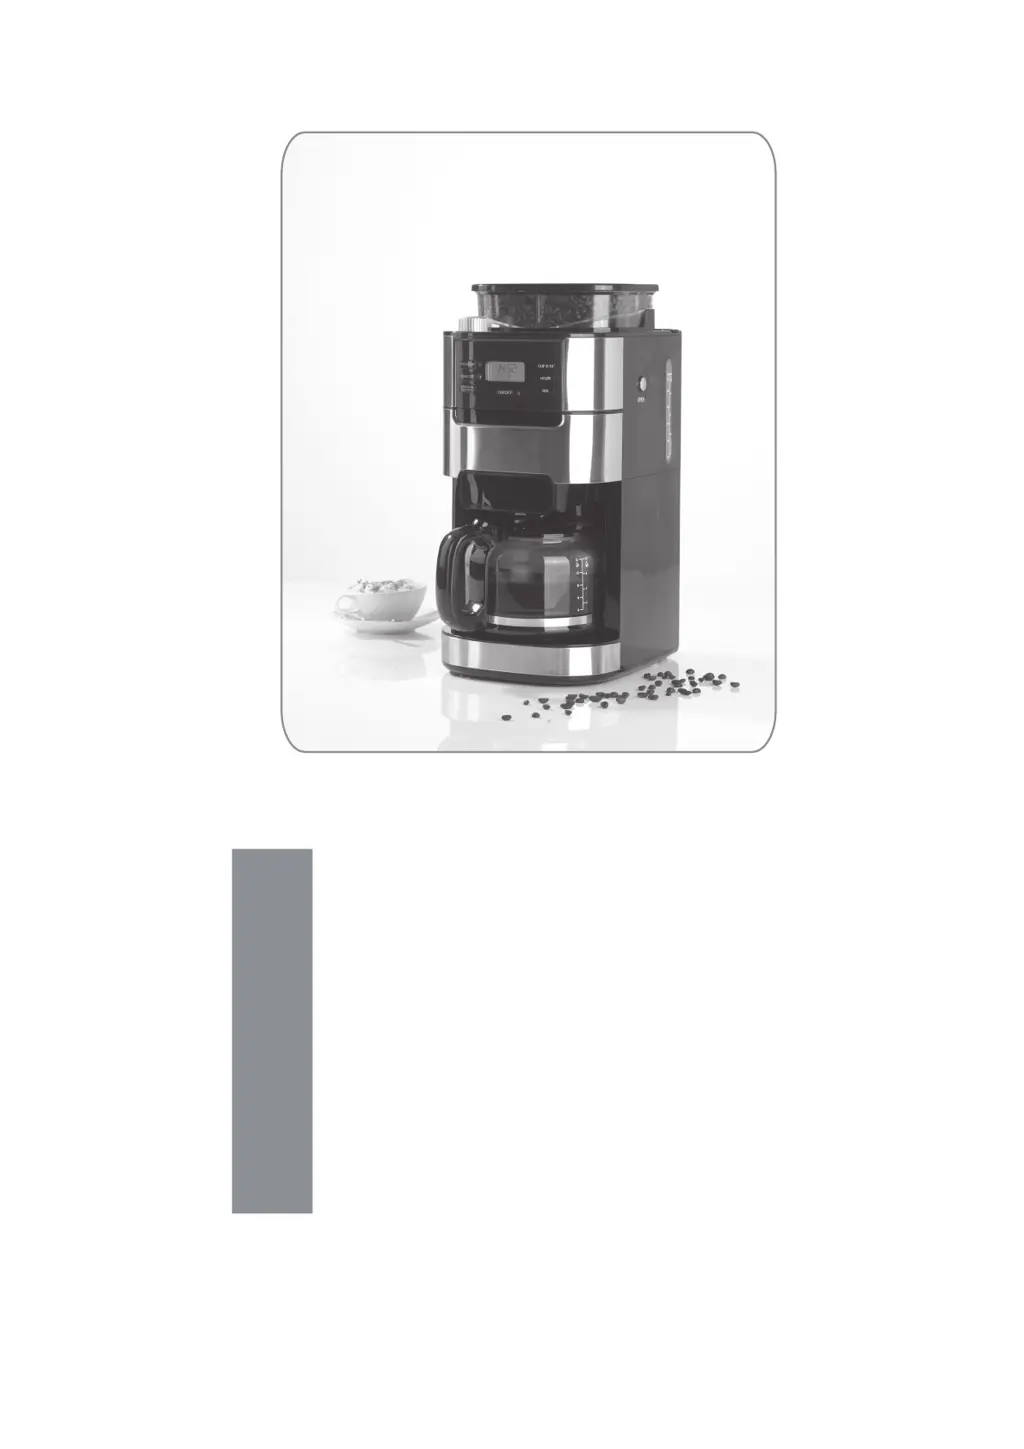
What to do if my Barista CM1025AE-GS Coffee Maker does not brew any coffee?
- AAmanda BartonAug 16, 2025
If your Barista Coffee Maker isn't brewing, there could be several reasons. First, ensure that the permanent filter or the coffee bean compartment is filled with coffee powder or beans. Second, check if the water tank is empty and fill it if needed. Third, make sure you have pressed the Start/Stop button to initiate the brewing process. Finally, if the device has overheated, wait a few minutes for it to cool down before starting another brewing cycle.