Filling and heating
1. Turn the control knob (1) to the position 120“
(fig. 1). ON indicator light (2) comes on.
2. Wait until the device reaches appropriate
parameters and the standby indicator light
comes on (3).
Washing
1. Before inserting dishes to the dishwasher, clean
them from food residues.
2. Open the dishwasher door and insert dishes into
the dishwasher basket and close the dishwasher
door.
3. Press the START button (4), to start the washing
cycle. The indicator light in the main switch is lit
until the end of the washing cycle.
4. After completion, the washing process may be
repeated.
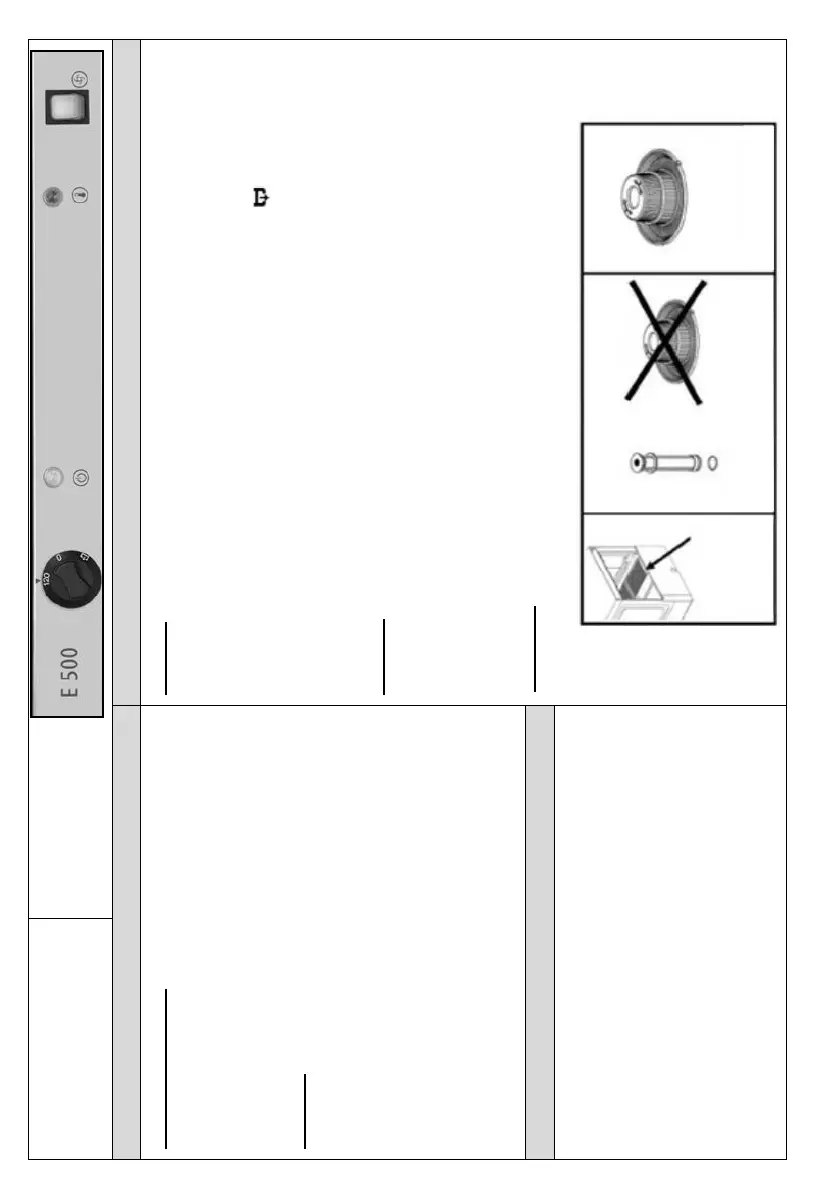
Draining
1. Turn the control knob (1) to OFF “0“ position (Fig. 1).
2. Open the device door, take out the sliding filter (Fig. 2) and overflow (Fig.3).
Never remove the filter and make sure not to lose the overflow with
O-ring gasket.
3. Close the dishwasher door and turn the control knob (1) to position in
order to drain the water. (Fig. 1)
4. Press the START button (4), to start the washing cycle. The indicator light in
the main switch is lit until the end of the washing cycle. (Fig. 1)
5. Turn the control knob (1) to OFF “0“ position (Fig. 1).
Cleaning
1. Open the dishwasher door, remove the filter (Fig. 4) and sliding filter (Fig.2)
and clean them.
2. Reinstall the filter, overflow with O-ring gasket and sliding filter.
3. Clean and dry the dishwasher with a soft cloth. Leave the dishwasher door
open until the next use of the device.
4. Turn the control knob (1) to OFF “0“ position (Fig. 1).
Descaling
Add the descaling agent to the wash-tank and run the required washing cycles
(as indicated in the operating manual).
Cleaning agent and rinse aid dosing pumps have
standard design.
Follow the instructions included in the operating
manual regarding setting and operation of these
dosing devices!
The cleaning agent must be designed for industrial use
for high temperature and cannot foam during use.
Only liquid cleaning agents may be used.